8.1 Setting a Migration Job
8.1.1 Using the Migrate Client
For any migration job, you must have a discovered source and a discovered target. For information about discovering source workloads and migration targets, see Discovering Details for Source Workloads and Targets.
To start a migration job:
-
Do one of the following to open the Action window:
-
Drag a discovered source and drop it on a discovered target.
-
Click a task in the Tasks pane.
-
Click the New Job toolbar.
-
In the Jobs view, right-click a source and select a command from the context menu. Available commands depend on the type of source.
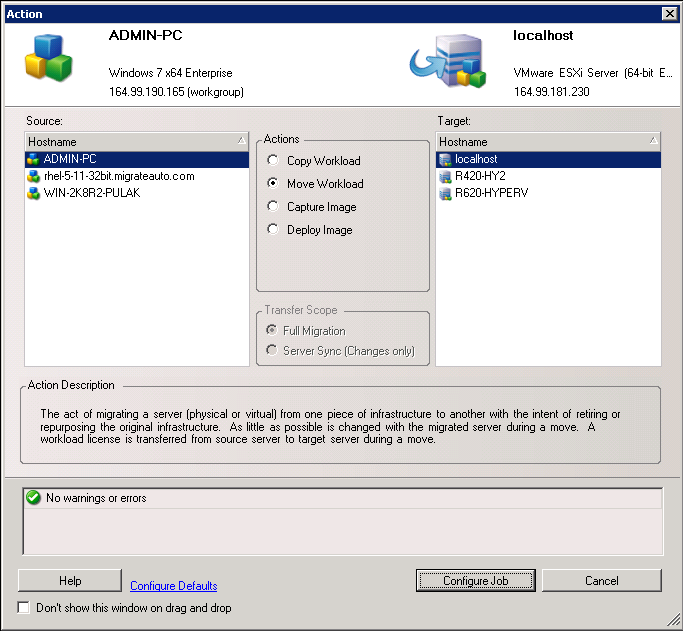
The Source and Target panes display workloads and targets applicable to the selected type of a migration job.
The and options are enabled in the following circumstances:
-
The system detects an existing operating system on the target
-
The operating system profile of the target matches that of the source workload
-
-
Check the validation messages at the bottom of the window.
-
To start configuring your migration job, click . See Configuring Migration Parameters Using the Migrate Client.
-
(Optional) For convenience, to avoid displaying the window on drag-and-drop, select before you proceed. Subsequent drag-and-drops actions bypass the Action window and directly open a Conversion Job window.
To restore the job migration startup behavior, restore the application defaults. See Configuring General Options.