6.1 Registering CIs
Upon registration, CIs are assigned to a community. Owners and producers can use myWorkspace to create private CIs that can be assigned (published) to a community later.
Concerning CI relationships, part of registering a CI might be defining rules that create associations between items. If you are a Operations Center administrator, you can define these relationships through the Operations Center console. For more information, see Section 3.6, Managing CMS Elements from Operations Center. For ways to relate CIs after creation, see Section 6.5.2, Adding Additional CI Relationships.
Review the following sections to register CIs:
6.1.1 Registering a CI
To register a configuration item:
-
Do one of the following:
-
Click the menu, then select .
-
Click the name under any community icon, then select .
This presets the CI to be created in that community by default.
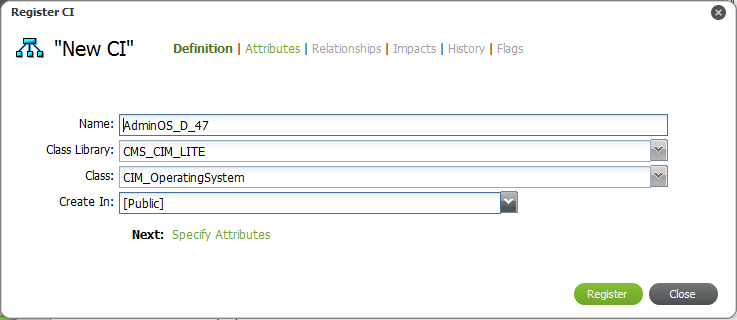
The Register CI dialog box opens:
-
-
Specify the name of the CI in the field.
-
Select the library of classes from the drop-down list.
-
Select the class from the drop-down list.
Class options are available based on the selection above.
HINT:Begin typing (or enter a portion of a word) in the drop-down lists to start an automatic search of matches for a quicker selection.
-
Select the community the CI belongs to from the drop-down list.
You must be a community owner or producer to create CIs in a community.
-
When the definition section is complete, click to check for relationship rules.
Clicking not only creates the new CI, but also check against association cardinality rules to see if there is a relationship that must be created to make this CI complete.
If an association rule exists, you’ll see additional options below the definition fields:
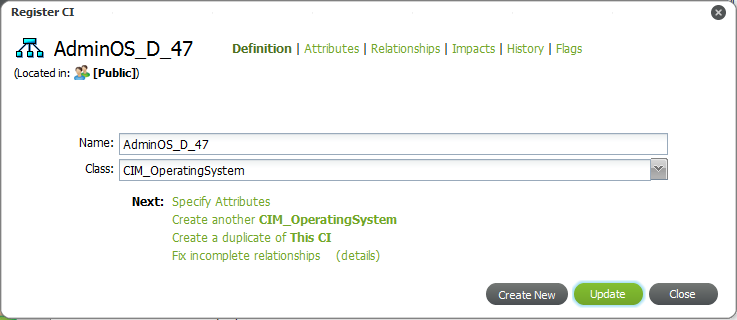
Clicking after registration closes the current CI you are defining and starts with a completely new CI definition.
To continue with the CI definition without fixing an incomplete relationship if there is one, click , then skip to Step 8.
To establish the necessary relationship, follow the steps below.
-
To view details of an incomplete relationship, click .
A message displays describing the incomplete relationship:

In this example, the Operating System requires relationship to one Computer System.
-
Do the following:
-
To fix the incomplete relationship, click :

-
Do one of the following:
-
Click to search and link to an existing CI to open a search dialog box.
Select the desired CIs, then click either or .
-
Click .
-
-
When finished, click to return to specify details for the new CI.
-
-
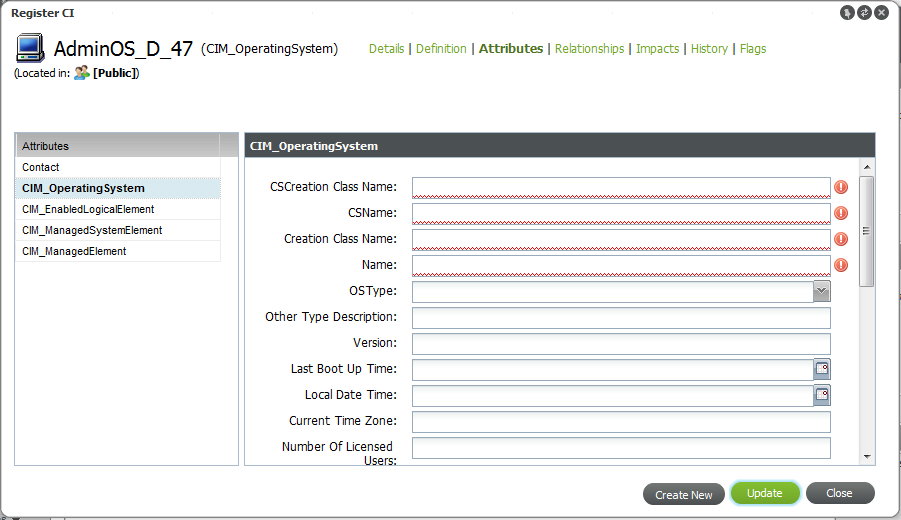
Click to specify attribute values for the CI.
The section opens:
-
Click each attribute name to define any fields as desired or required.
Red highlighted fields are mandatory.
-
Click to define any further relationships.
The section opens:
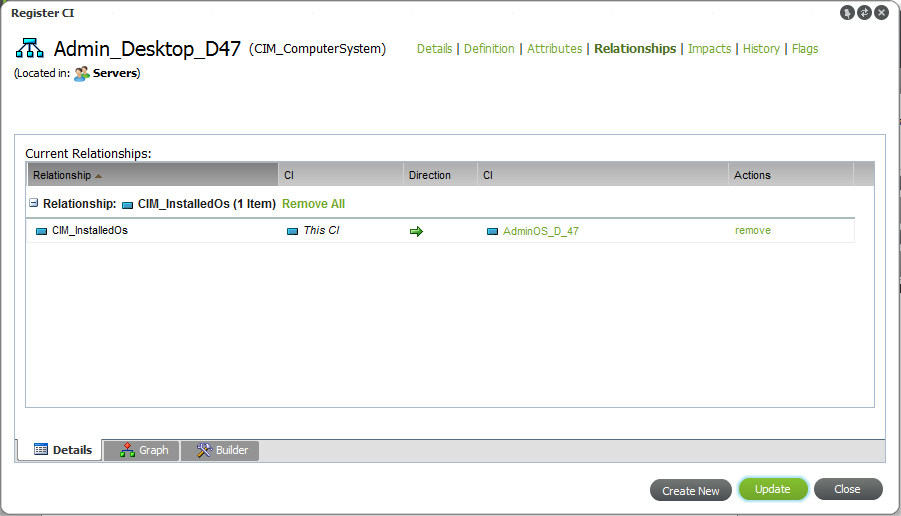
The tab shows existing relationships (that were defined in Step 7 by fixing a broken relationship rule).
-
Do the following:
-
Click the tab.
The Builder is used to define additional relationships.
-
Select the desired relationship type from the drop-down list.
A new relationship item displays in the section.
-
Do one of the following:
-
Select the CIs to relate (as source or destination endpoints) by clicking next to to relate.
-
Create a new CI that will be related with this rule when clicking next to the to relate.
-
-
Click to save the new relationships and add them to the tab.
-
-
To complete the CI registration and save any additional changes, click .
6.1.2 Registering a CI as a Child (Nesting)
CIs can be created (or nested) under a parent CI to create an additional hierarchical structure, if necessary.
To register a CI as a child CI (nest a CI):
-
From the pinboard, right-click the desired CI to be the parent CI, then select to open the Register CI dialog box.
-
Define the CI as required.
The CI is created under the parent CI.