3.6 Managing CMS Elements from Operations Center
Because the CMS structure exists in Operations Center (see Section 3.5, Understanding Operations Center’s Services Hierarchy for CMS), there are various maintenance activities that can be accomplished through the Operations Center console. These include the deleting of CMS configuration items and users as well as the managing of relationships.
3.6.1 Relating CIs
Adding a New Relationship
-
In the Operations Center console pane, navigate to the element under > > .
The element must have a CIM class for this option for this functionality to be available.
-
Right-click the desired element, then select .
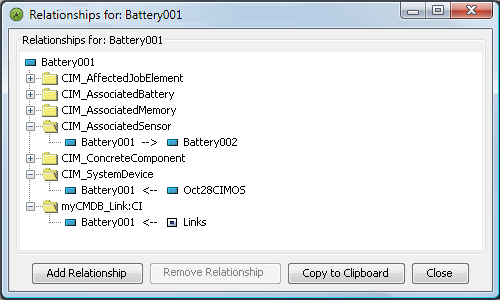
The Relationships dialog box opens, displaying a list of existing relationships for that configuration item:
-
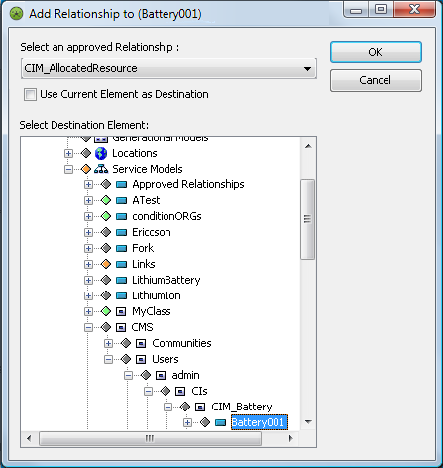
Click to open the Add Relationship dialog box:
-
Select a relationship appropriate for the element from the drop-down list.
-
Select to define the current element as the destination instead of the source element.
-
Select another element as the destination endpoint (or source endpoint if the check box is selected) from the Select Destination Element window.
-
Click to add the new relationship.
A new relationship definition displays under the element.
Deleting a Relationship
-
In the Operations Center console pane, navigate to the element under > > .
-
Right-click the desired element, then select .
The Relationships dialog box opens, displaying a list of existing relationships for that configuration item.
-
Click .
A confirmation message asks whether you wish to delete the relationship.
-
Do one of the following:
-
Click to confirm the deletion.
-
Click to cancel the deletion.
-
3.6.2 Retiring CIs
CIs at the end of their lifecycle can be retired by using automation scripts in Operations Center. When a specific value on a metamodel property is reached (either manually, using BSCM, or a job function changing the value), the script responds to the event by moving the CI from its location into a similar location under a specified root element in the service model.
Before implementation, decide how users should indicate that a CI is retired. In the simplest case, a metamodel property can be used with a behavior model matcher to cover a subset of the service model. The metamodel property page would have a value that is well known and contains the state of the CI either by using several states (such as preproduction, development, QA, cert, retired, and so on) or simply a True/False value.
The default automation script /OperationsCenter_install_path/database/scripts/cmdb/Action_RetireConfigurationItem.fs retires CIs based on the presence of a nonblank value for the supplied property. Alternate approaches can be introduced to this script, or the script modified to handle a series of state values (such as production, qa, dev, test, retired, and so on).
The following step-by-step tasks demonstrate setting up a Retired property that triggers the automation script that retires a CI when Retired is set to True. For additional information about automations, see Defining and Managing Automation Events
in the Novell Operations Center 5.0 Server Configuration Guide.
To enable the automation script to retire CIs when a property is set to True, do the following in order:
Creating the New Property and the Accepted Values
For this example, we create Production State behavior model that has a Production State property page with a True/False Retired property.
-
From the pane, navigate to the > > element.
-
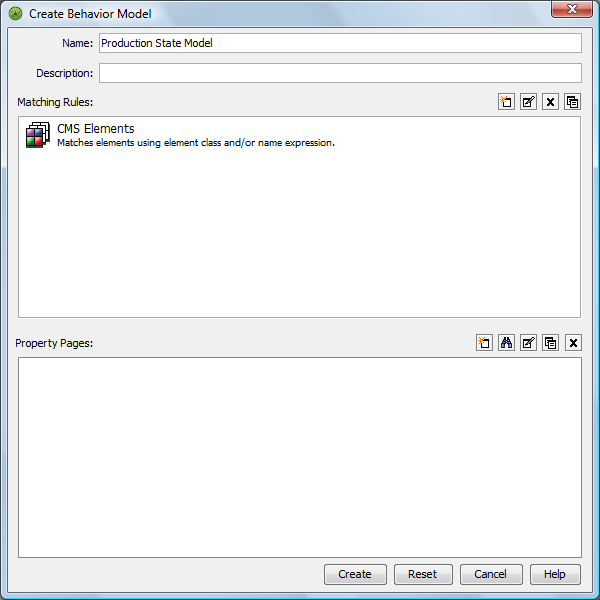
Right-click the element, then select , to open the Create Behavior Model dialog box:
-
Specify the name of the new model.
For example, we named ours Production State Model.
-
Define a matching rule to include all CMS elements.
We defined a rule to consider all elements under .
For more information on creating behavior models and defining matching rules, see the Novell Operations Center 5.0 Service Modeling Guide.
-
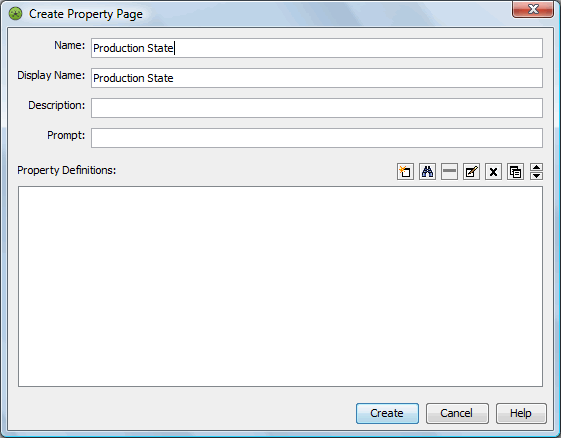
Right-click the icon, to open the Create Property Page dialog box:
-
Specify the name of the new property page.
We named ours Production State.
-
Click the icon, to open the Add Property dialog box:
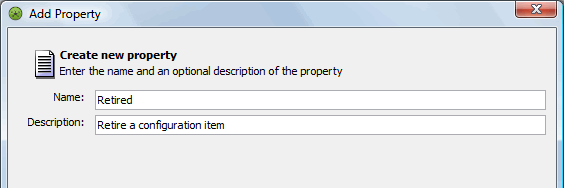
-
Specify the name of the new property, then click to continue.
-
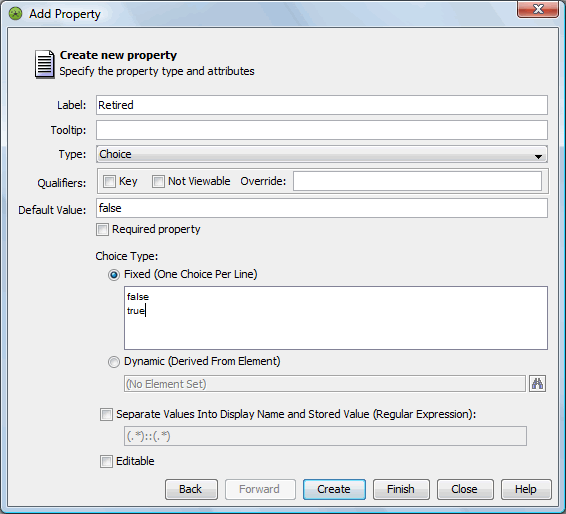
Define the type and accepted values of the new property.
-
To define a True/False value, select for the property type and enter True and False for .
-
Click to create the new property.
The Add Property dialog box closes. The new property is added to the Create Property Page dialog box.
-
Click to create the new property page.
-
Test that you can set this value on elements arbitrarily through the property pages of the element using the Operations Center console.
Creating an Element
-
Create an element under > that retired CIs should be moved to:
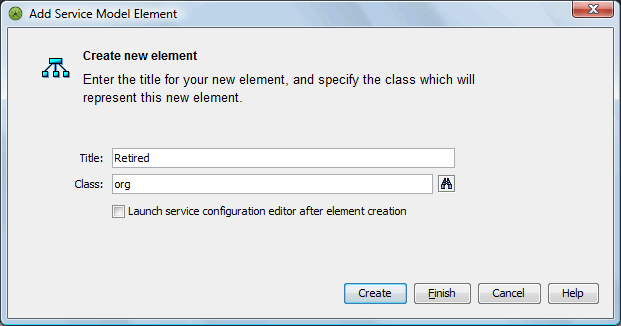
-
View on the element and note the DName.
For example, we created a element.
Setting Up Automation
To set up automation for the automation server (nonuser) on the branch of elements that contain this service model:
-
Select the check box for the to trigger automation processing:
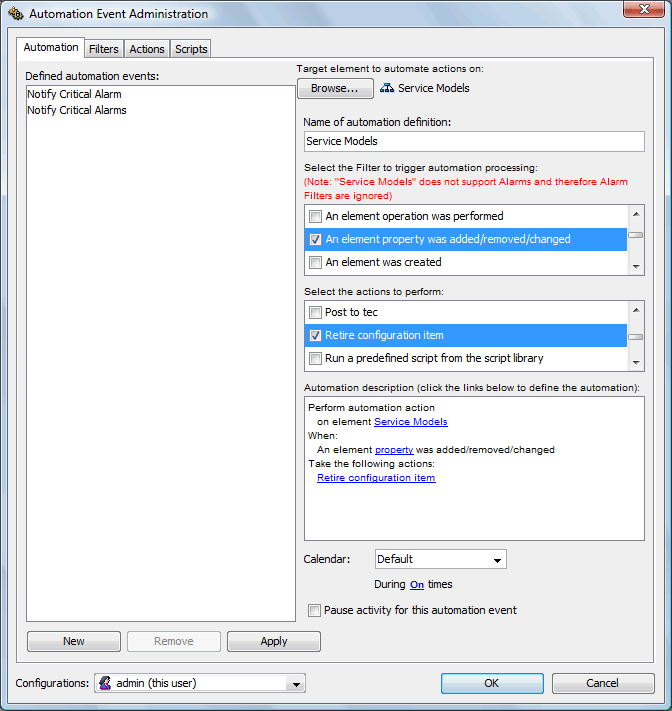
-
Select the check box for the action to perform.
-
Specify settings for the configuration item action.
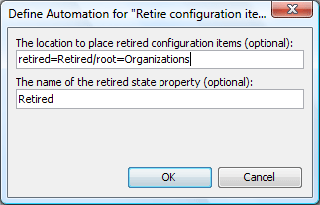
-
Specify the DName of the element where elements are placed after being marked as retired.
-
Specify the name of the property to monitor.
-
Click .
Retiring an Item to Verify
To retire an item to verify that elements are retired as expected:
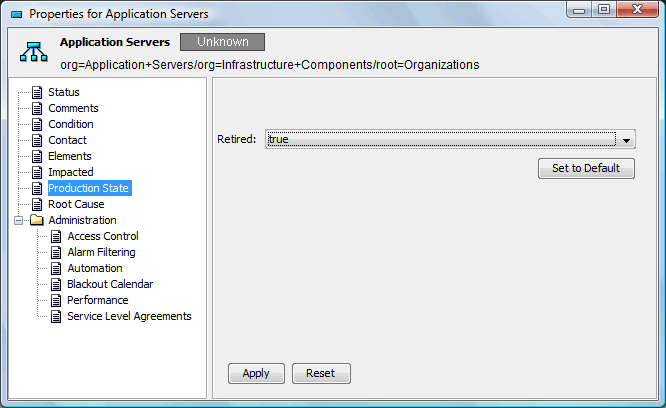
-
View the Properties for a CI element and set the Production State’s Retired property to True.
-
Verify that the element is moved from its original location to > > .