6.3 Adding Repositories
You can add new repositories for a VM’s files, including its image. is the default, but the path information is blank and must be filled in with known data.
-
On the server where you plan to specify a new repository, create the path that you plan to use and make a note of it.
When you provide this path information in Step 6, the fields do not provide browsing.
-
In the VM Client, click the view, then do one of the following:
-
Click the
 button.
-
Click > .
-
Press Ctrl+R.
The following dialog box is displayed:

-
-
Specify a name for the repository, then click .
A default local repository is created, using default paths and other information.
-
Right-click the new repository, then select .
The following is displayed:

-
On the tab, from the drop-down list for the field, select one of the following:
-
Network Attached Storage
-
Local
The following also display, but are not selectable. They must be created outside of the VM Client. For example, the Datagrid type is created by default as ZOS for the datagrid that belongs to the Orchestrate Server.
-
Storage Area Network
-
Datagrid
-
Virtual
-
-
Fill in the fields:
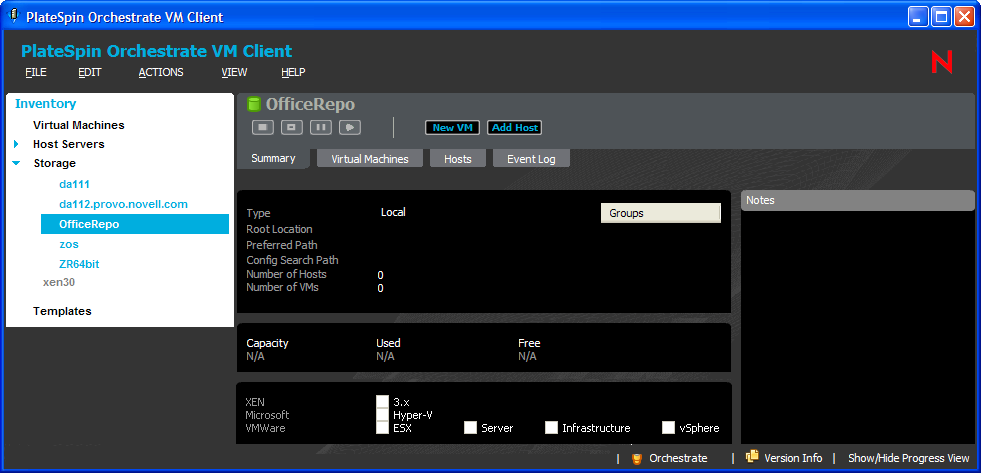
Root Location: For example, “/” (root) for .
Preferred Path: For example, var/lib/xen/images for . This path does not start with a forward slash. The root of the path is provided in the field.
Config Storage Path: For example, /etc/xen/vm for . Be sure to include the root of the path, such as the forward slash.
The and fields display only hosts and VMs that are currently using this repository.
-
To enable one or more hypervisors for access to this repository, click the check box:
-
XEN 3.x
-
Microsoft Hyper-V
-
VMware ESX
-
VMware Server
-
VMware Infrastructure
-
VMware vSphere
At least one must be selected. Unavailable options are dimmed.
-
-
(Optional) Provide any useful information in the field.
When you change focus from field, the information that you entered is automatically saved.
-
(Optional) Control disk space usage as necessary:
NOTE:By default, all repository sizes are set to unlimited (-1).
-
In the Development Client, browse for the repository in the Explorer panel.
It should be listed under the section for your grid.
-
On the tab, open the section, then open the section.
-
In the field, change the default (-1) to the desired repository limitation in megabytes.
For example, to create a repository size limit of 20 GB, enter 20000.
-
Click > to make the change effective.
-
-
To associate this repository with host servers, see: