2.5 Installing the Orchestrate Development Client Only
You can use the PlateSpin Orchestrate Development Client to administer the Orchestrate Server from any SLES 10 or a Windows (XP or Vista) machine. No other PlateSpin Orchestrate components need to be installed on that machine. This section includes information that details how to install the Orchestrate Development Client by itself.
2.5.1 Installing the Orchestrate Development Client for Windows from the Administrator Information Page
After you install the PlateSpin Orchestrate Server on the network, you can launch the PlateSpin Orchestrate Administrator Information page. The page has links to various installer programs that you can use to install required PlateSpin Orchestrate software on the computing resources that you will be utilizing in the grid system.
The following browsers support the PlateSpin Orchestrate Server Portal and PlateSpin Orchestrate Administrator’s Web page applications:
-
Internet Explorer, version 6.0 or higher
-
Netscape Navigator, version 6.0 or higher
-
Firefox, version 1.5 or higher
Using a supported browser, enter the following URL to access the Administrator Information page for PlateSpin Orchestrate from the server:
http://server_name_for_PlateSpin_Orchestrate:8001/
This URL is the DNS name (or IP address) of the server for PlateSpin Orchestrate. Be sure to use Port 8001 in the address to access and display the page, as shown in the following illustration:
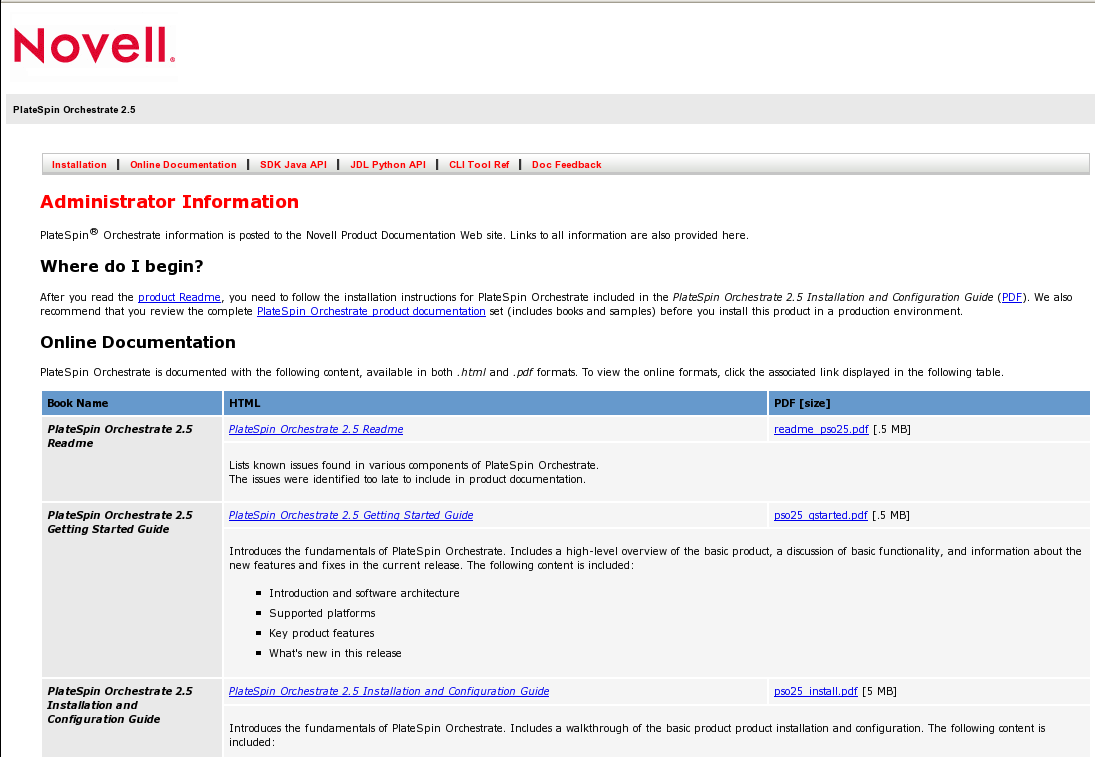
The page includes links to information for PlateSpin Orchestrate administrators, including product documentation and the installers for the PlateSpin Orchestrate Development Client and the PlateSpin Orchestrate Agent.
To install the Orchestrate Development Client for Windows from the Administrator Information page:
-
On the computer where the Orchestrate Development Client for Windows is to be installed, launch the PlateSpin Orchestrate Administrator Information page, as shown above.
-
Scroll to the section of the page:
-
In the clients section of the Web page, identify the zosclients_windows_2_5_0_with_jre.exe installer link.
-
Click the installer link to initiate the download of the Orchestrate Development Client on the Windows computer.
-
At a Windows XP or Windows Vista location where you downloaded the client installer, double click the zosclients_windows_2_5_0_with_jre.exe icon to run the installer.
When you launch the installer on Windows XP or Windows Vista, a Security Warning for an Unknown Publisher is displayed. You can ignore this warning and run the installer without a problem.
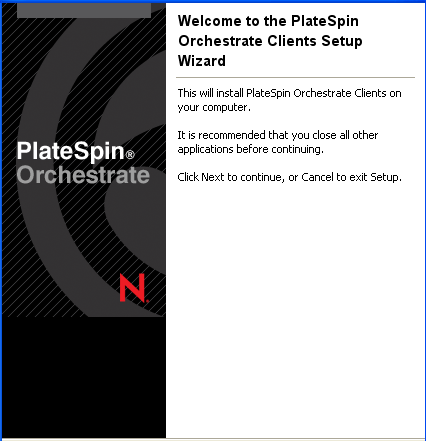
The first page of the Orchestrate Clients Setup Wizard is displayed.
-
Click to display the License Agreement page.
-
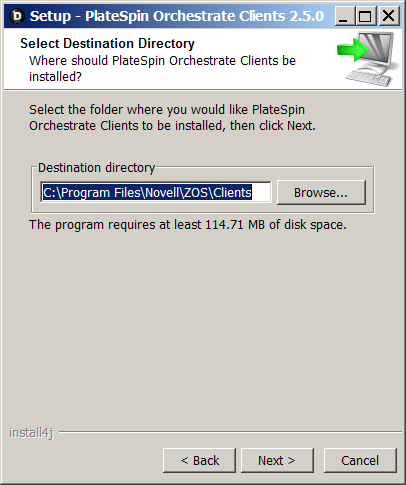
Accept the license agreement, then click to display the Select Destination Directory page.
-
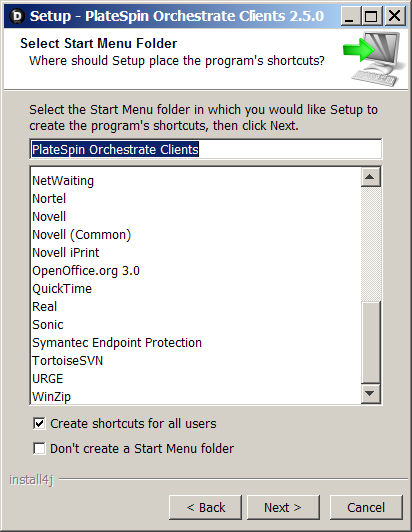
Select the folder where you want to install the clients, then click to display the Select Start Menu folder page.
-
Select the Start Menu folder where you want the install program to create the client shortcuts, then click to begin the installation. The file extraction and copy process proceeds until the following page is displayed:
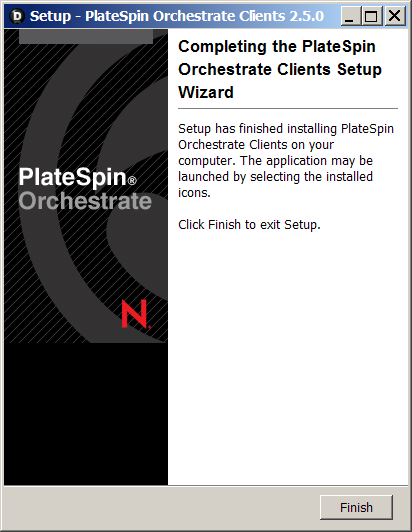
The following items are installed on the Windows machine:
-
PlateSpin Orchestrate User Client & Toolkit: The zos command line tool and a .jar file used to develop custom clients.The zos command line tool provides a non-Web method for a user to access the server.
For more information, see the PlateSpin Orchestrate 2.5 Command Line Reference.
-
PlateSpin Orchestrate Development Client and Tools: The PlateSpin Development Client, which is a thick client console for administrators. It also installs the zosadmin command line tool for administrators. Both of these tools require administrator login.
For more information, see the PlateSpin Orchestrate 2.5 Development Client Reference and the PlateSpin Orchestrate 2.5 Command Line Reference.
-
-
Click to exit the setup.
Installing these components on a Windows workstation adds several items to the program group available from . One of these programs is the PlateSpin Orchestrate Command Prompt. The PATH is preset in this prompt to run the zos and zosadmin commands.
2.5.2 Using the ISO to Install the Orchestrate Development Client on Windows Machines
The PlateSpin Orchestrate Client is supported on Windows Vista and Windows XP only. Use the following steps to download the PlateSpin Orchestrate Client for installation:
-
To verify that the device where you want to install the client software fulfills the necessary requirements, review Section 1.0, Planning the Orchestrate Server Installation.
-
Download the appropriate PlateSpin Orchestrate Server ISO (32-bit or 64-bit) to an accessible network location.
-
Create a DVD from the ISO or use a tool that will mount the ISO.
-
Navigate to the directory path (DVD drive:\Windows) where the Windows files reside.
-
Double-click the appropriate file (zosclients_windows_2_5_0_with_jre.exe) to launch an installation and configuration wizard.
See Section 2.5.1, Installing the Orchestrate Development Client for Windows from the Administrator Information Page for information about this wizard.
2.5.3 Installing the Orchestrate Development Client for SLES 10 From the Administrator Information Page
Before you can perform any PlateSpin Orchestrate management functions, such as creating user accounts and managing activities of the server, you need to install the PlateSpin Orchestrate Development Client. The console is a thick desktop client designed for administrative tasks including infrastructure management (for example, managing computing resources) and monitoring. You can install the console on the server itself or on another network computer.
When you install the Orchestrate Development Client, you also install the zosadmin command line tool that also facilitate the administration of PlateSpin Orchestrate and its computing resources.
The following steps explain how to install the Development Client and other Orchestrate Clients from the web hosted Administrator information page.
-
On the computer where the Orchestrate Development Client is to be installed, launch the PlateSpin Orchestrate Administrator Information page. For information about how to do this, see Section 2.4.2, Installing the Orchestrate Agent from the Administrator Information Page.
-
Scroll to the section of the page:
-
In the PlateSpin Orchestrate Clients section, download:
-
novell-zenworks-zos-clients-2.5.0-<build_number>.i586.rpm
-
The Java 1.6.0 (32-bit) or Java 1.6.0 (64-bit) RPM
-
-
Install the Java 1.6.0 RPM by entering the one of the following commands (as applicable):
rpm -ivh novell-zenworks-zos-java-1.6.0_sun_update14-1.x86_64.rpm
or
rpm -ivh novell-zenworks-zos-java-1.6.0_sun_update14-1.i586.rpm
-
Install the Orchestrate Development Client by entering the following command:
rpm -ivh novell-zenworks-zos-clients-2.5.0-<build_number>.i586.rpm
-
Start the Development Client by entering the following command in /opt/novell/zenworks/zos/clients/bin:
./zoc
-
Select the Orchestrate Server grid object you want to log onto, then enter the username and password for that server to connect to it.
2.5.4 Using the ISO to Install the Orchestrate Client on SLES 10 Machines
Use the following procedure if you want to use the Add-on CD method to install just the Orchestrate Agent or the Orchestrate Clients to a SLES machine.
-
To verify that the device where you want to install the agent and client software fulfills the necessary requirements, review Section 1.0, Planning the Orchestrate Server Installation.
-
Download the appropriate PlateSpin Orchestrate Server ISO (32-bit or 64-bit) to an accessible network location.
-
(Optional) Create a DVD ISO (32-bit or 64-bit) that you can take with you to the machine where you want to install it.
-
Install PlateSpin Orchestrate Client software:
-
Log in to the target SLES server as root, then open YaST2.
-
In the YaST Control Center, click , then click to display the Add-on Product Media dialog box.
-
In the Add-on Product Media dialog box, select one of the following:
-
(Conditional) Select , click , insert the DVD, then click .
-
(Conditional) Select , click, select the ISO Image check box, browse to the ISO in the file system, then click .
-
-
Read and accept the license agreement, then click to display YaST2.
-
In YaST2, click the drop-down menu, then select to display the install patterns available on the PlateSpin Orchestrate ISO.
-
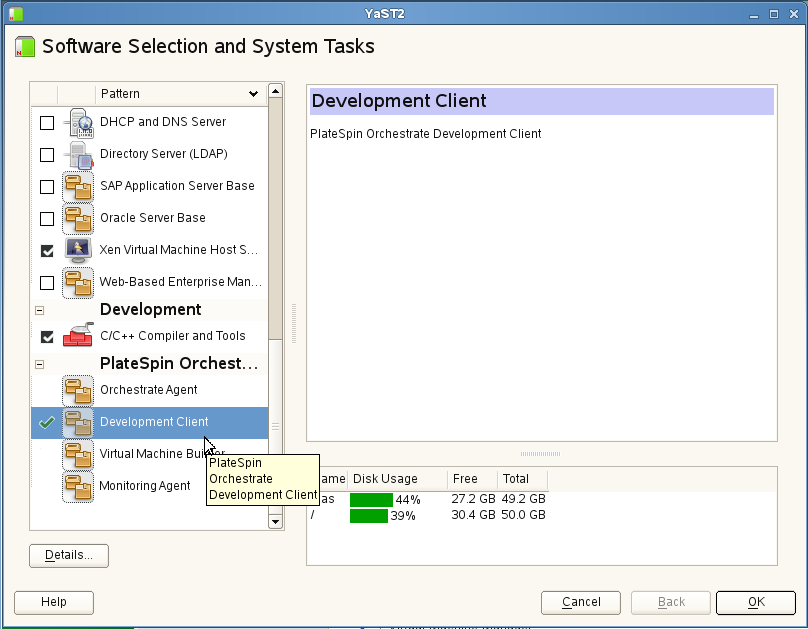
Select the PlateSpin Orchestrate Development Client installation pattern.
This pattern includes both a GUI console (the Development Client) and command line interface tools. These clients let you troubleshoot, initiate, change, or shut down server functions for PlateSpin Orchestrate and its computing resources. For information about the client tools, see PlateSpin Orchestrate Clients. This pattern includes packages that help you configure the Orchestrate Clients.
Refer to the information in Section A.0, PlateSpin Orchestrate Components: Install Patterns for details on the installation data that you need to know.
-
Click to install the packages.
You must install PlateSpin Orchestrate components before you can configure them.
-
-
Launch the Orchestrate Development Client from /opt/novell/zenworks/zos/clients/bin with the following command:
./zoc
-
Select the Orchestrate Server grid object you want to log in to, then enter the username and password for that server to connect to it.
2.5.5 Using the ISO to Install the Orchestrate Client on SLES 11 Machines
Use the following procedure if you want to use the Add-on CD method to install just the Orchestrate Orchestrate Clients to a SLES machine.
-
To verify that the device where you want to install the client software fulfills the necessary requirements, review Section 1.0, Planning the Orchestrate Server Installation.
-
Download the appropriate PlateSpin Orchestrate Server ISO (32-bit or 64-bit) to an accessible network location.
-
(Optional) Create a DVD ISO (32-bit or 64-bit) that you can take with you to the machine where you want to install it.
-
Install PlateSpin Orchestrate Client software:
-
Log in to the target SLES 11 server or SLED 11 machine as root, then open YaST2.
-
In the YaST Control Center, click , then click to display the Add-on Product Media dialog box.
-
In the Add-on Product Media dialog box, select one of the following:
-
(Conditional) Select , click , insert the DVD, then click .
-
(Conditional) Select , click, select the check box, browse to the ISO in the file system, then click .
-
(Conditional) Select , click , enter the repository name of the ISO image, browse to the location of the ISO image, then click .
-
-
Read and accept the license agreement, then click to display YaST2.
-
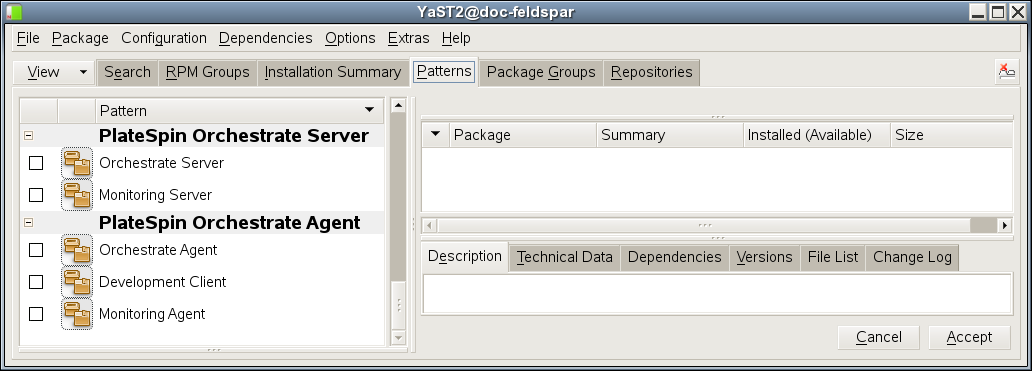
In YaST2, click the drop-down menu, then select to display the install patterns available on the PlateSpin Orchestrate SLES 11 ISO.
-
Select the PlateSpin Orchestrate Development Client installation pattern.
This pattern includes both a GUI console (the Development Client) and command line interface tools. These clients let you troubleshoot, initiate, change, or shut down server functions for PlateSpin Orchestrate and its computing resources. For information about the client tools, see PlateSpin Orchestrate Clients. This pattern includes packages that help you configure the Orchestrate Clients.
Refer to the information in Section A.0, PlateSpin Orchestrate Components: Install Patterns for details on the installation data that you need to know.
-
Click to install the packages.
You must install PlateSpin Orchestrate components before you can configure them.
-
-
Launch the Orchestrate Development Client from /opt/novell/zenworks/zos/clients/bin with the following command:
./zoc
-
Select the Orchestrate Server grid object you want to log in to, then enter the username and password for that server to connect to it.