14.2 Defining Automation Events
Configure automations for the Automations Server, and any user or group from the element under , rather than having individually configure automations from each user or group.
To define automation events:
-
In the pane, expand .
-
Right-click , then select to open the property page.
-
In the left pane, under , click to open its property page.
-
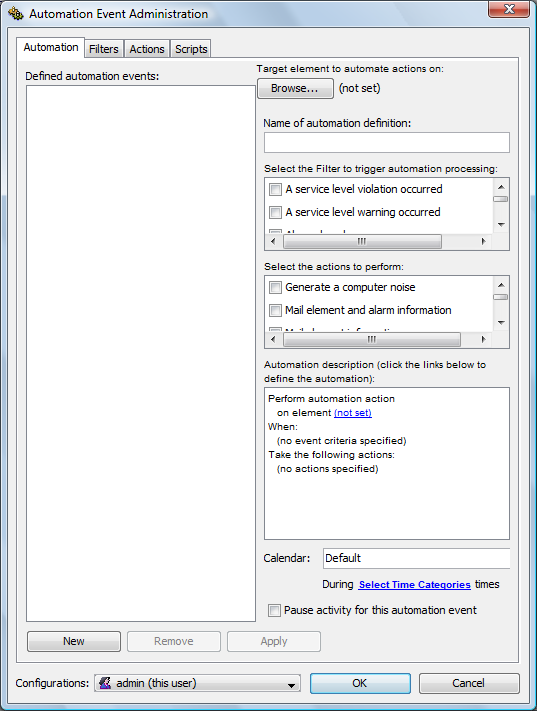
Click to open the Automation Event Administration dialog box:
-
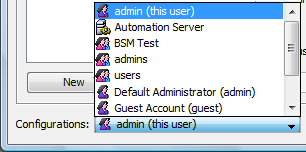
Click the drop-down list located at the bottom of the dialog box, then do one of the following:
-
To define server-side automations, select .
-
To define client-side automations, select a user or group.
-
-
Click to define a new automation.
-
Click at the top of the dialog box to select a target element for the automation event.
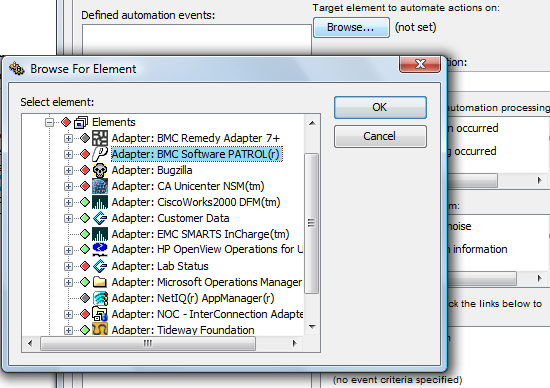
The selected element displays in the field and :
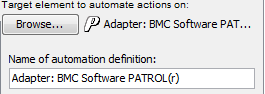
If you prefer a different name for the automation even, you can change the name in the field.
-
In the section, select one or more check boxes to specify filters to trigger the automated action.
-
To define additional filters, click the tab.
For more information about creating filters, see Section 14.6, Using Automation Filters.
-
In the section, select one or more check boxes to specify the actions to perform when the filter is applied.
-
To define additional actions, click the tab.
For information about creating actions, see Section 14.7, Using Automation Actions.
-
In the section, click a link to view, then select additional parameters for the automation event.
-
Click the drop-down list, then select a calendar to identify when to watch for the filter events:
For information about calendars, see Section 13.0, Time Categories, Calendars, and Schedules.
-
Click the link, then select one or more check boxes to specify applicable time categories within the calendar:
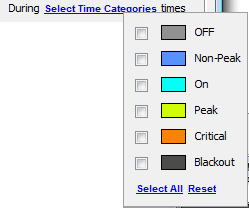
For more information about time categories, see Section 13.0, Time Categories, Calendars, and Schedules.
-
To pause the event, select the check box.
-
Click .
The automation event for the user, group, or Automation server is activated.