6.2 Configuring the WebSphere Environment

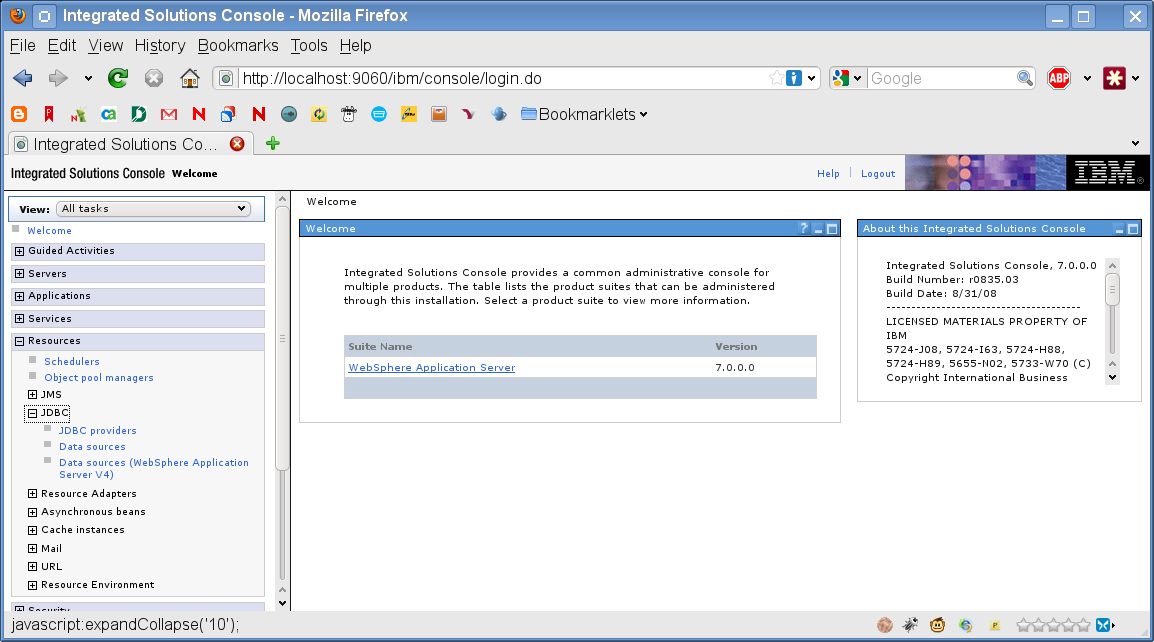
6.2.1 Creating a Data Source

To configure a database for use with WebSphere, you need to create a JDBC Provider and a data source. This section provides instructions for creating the provider and the data source.

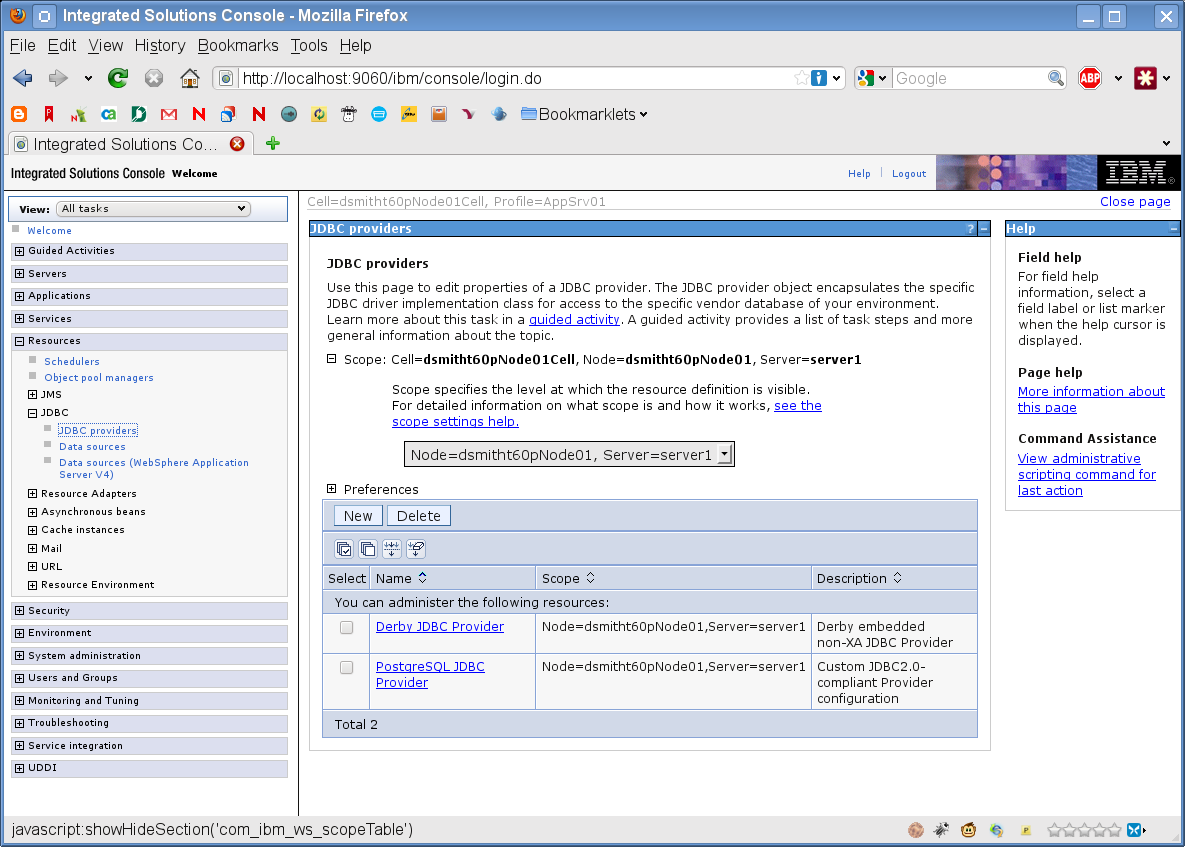
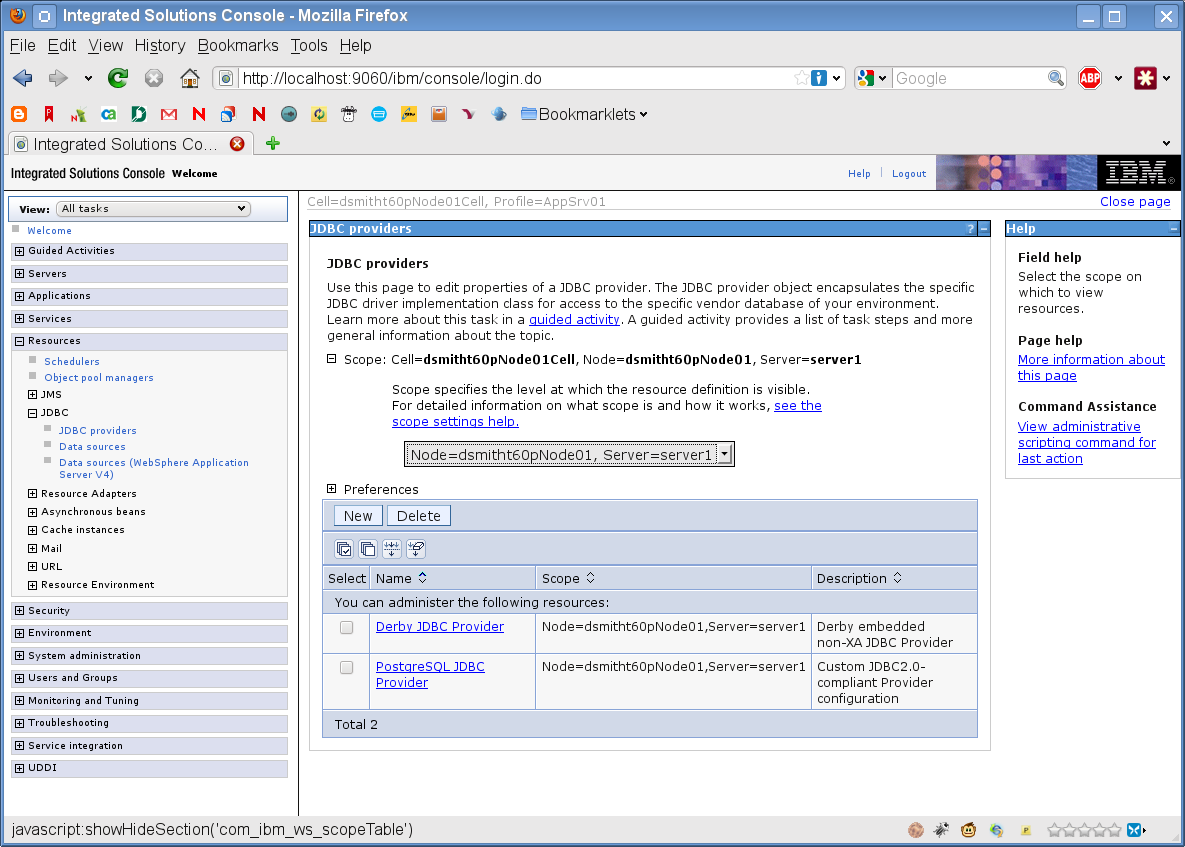
To create a JDBC Provider:

  1. Expand Resources on the left side of the Integrated Solutions Console page:

  2. Expand JDBC:

  3. Click JDBC providers:

  4. Expand Scope:

  5. Select Node=yourservername, Server=server1.

  6. Click the New button.

  7. Select the Database Type (for example, DB2).

  8. Click Next.

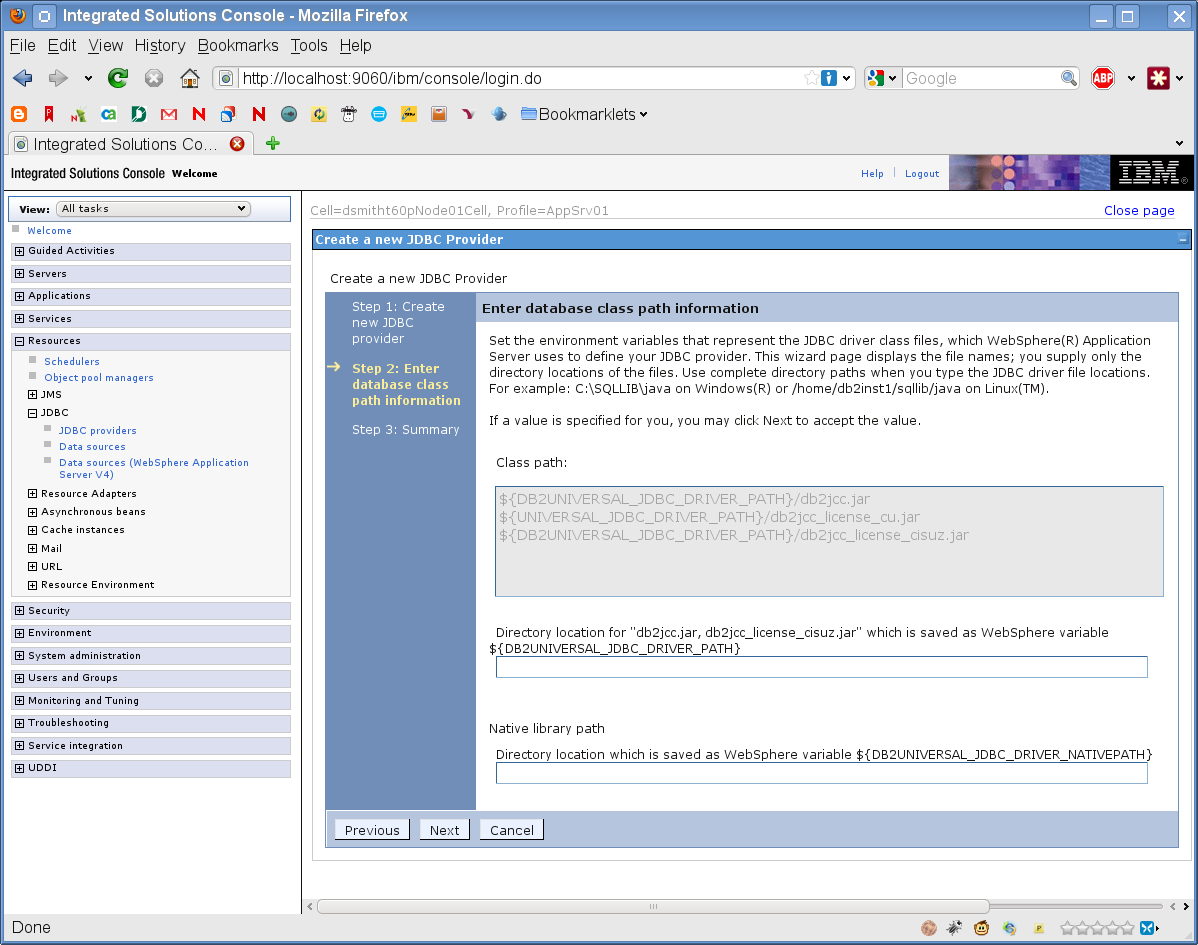
  9. Enter the JDBC classpath information.

  10. Click Next.

  11. Click Finish.

  12. Click the Save link.

To create a data source:

  1. Expand Resources on the left side of the page.

  2. Expand JDBC.

  3. Click Data sources.

  4. Expand Scope.

  5. Select Node=yourservername, Server=server1.

  6. Click the New button.

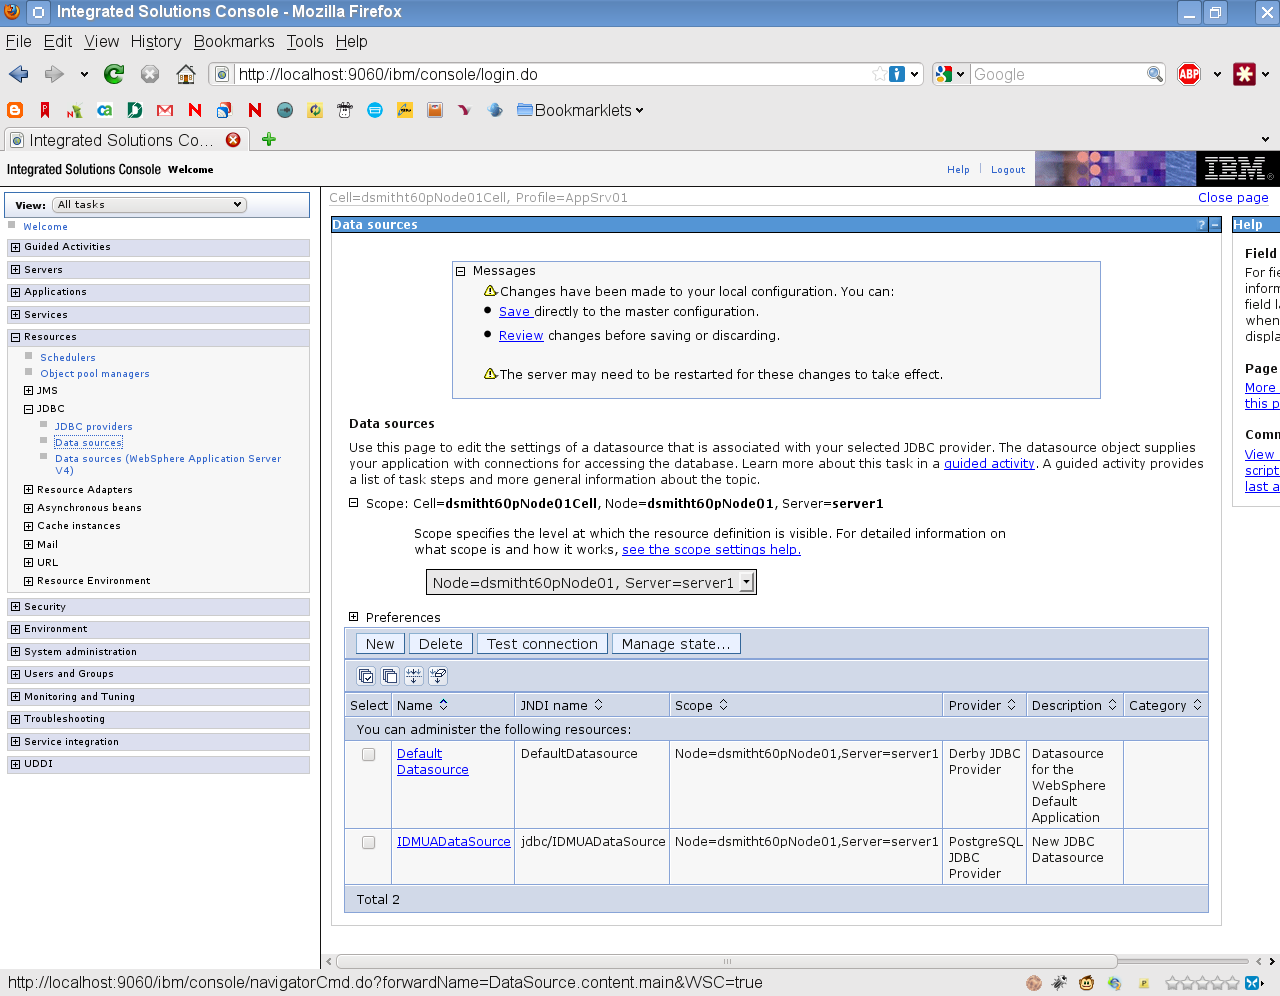
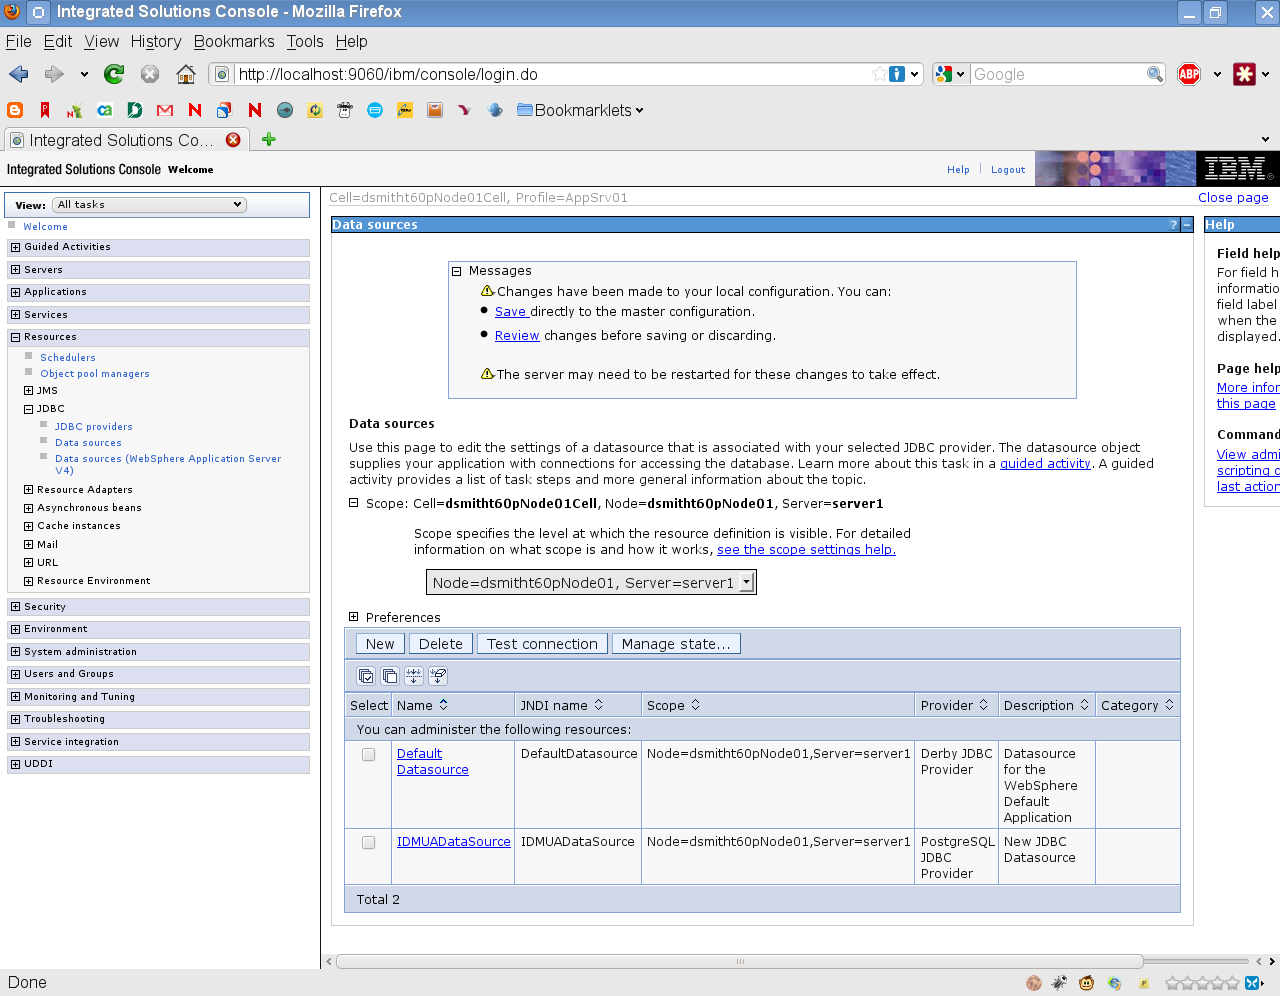
  7. Enter the DataSource name and JNDI name (for example, IDMUADataSource for both).

  8. Click Next.

  9. Click Select an existing JDBC provider.

  10. Select the JDBC Provider you created above.

  11. Click Next.

  12. Enter the database information required for the DataSource (databasename, server name, port, username, and password).

  13. Click Next.

  14. Enter Security Alias information or leave defaults.

  15. Click Next.

  16. Click Finish.

  17. Click Save.

  18. Select your new DataSource by clicking the checkbox to the left of the name.

  19. Click the Test Connection button, and make sure it returns Success.

6.2.2 Deploying the WAR File

Deploy the WAR file using the WebSphere deployment tools.

6.2.3 Adding User Application Configuration Files and JVM System Properties

The following steps are required for a successful WebSphere installation:

  1. Copy the sys-configuration-xmldata.xml file from the User Application install directory to a directory on the machine hosting the WebSphere server, for example /UserAppConfigFiles.

    The User Application install directory is the directory in which you installed the User Application.

    IMPORTANT:Configupdate.sh will update the local version of this file. In the future, if you run configupdate.sh, you must update WebSphere's version of this file by copying it again. As a precaution, you should also make backups of all of the versions of this file.

  2. Set the path to the sys-configuration-xmldata.xml file in the JVM system properties. Log in to the WebSphere admin console as an admin user to do this.

  3. From the left panel, go to Servers > Application Servers.

  4. Click the server name in the server list, for example server1.

  5. In the list of settings on the right, go to Java and Process Management under Server Infrastructure.

  6. Expand the link and select Process Definition.

  7. Under the list of Additional Properties, select Java Virtual Machine.

  8. Select Custom Properties under the Additional Properties heading for the JVM page.

  9. Click New to add a new JVM system property.

    1. For the Name, specify extend.local.config.dir.

    2. For the Value, specify the name of the install folder (directory) that you specified during installation.

      The installer wrote the sys-configuration-xmldata.xml file to this folder.

    3. For the Description, specify a description for the property, for example path to sys-configuration-xmldata.xml.

    4. Click OK to save the property.

  10. Click New to add another new JVM system property.

    1. For the Name, specify idmuserapp.logging.config.dir

    2. For the Value, specify the name of the install folder (directory) that you specified during installation.

    3. For the Description, specify a description for the property, for example path to idmuserapp_logging.xml.

    4. Click OK to save the property.

      The idmuserapp-logging.xml file does not exist until you persist the changes through User Application > Administration > Application Configuration > Logging.

NOTE:If you plan to configure a clustered environment, you should also specify the workflow engine ID explicitly as a JVM system property. To specify the engine ID, add a system property with the name com.novell.afw.wf.engine-id (following the steps you used to define the other JVM system properties) and specify any value you would like for the ID.

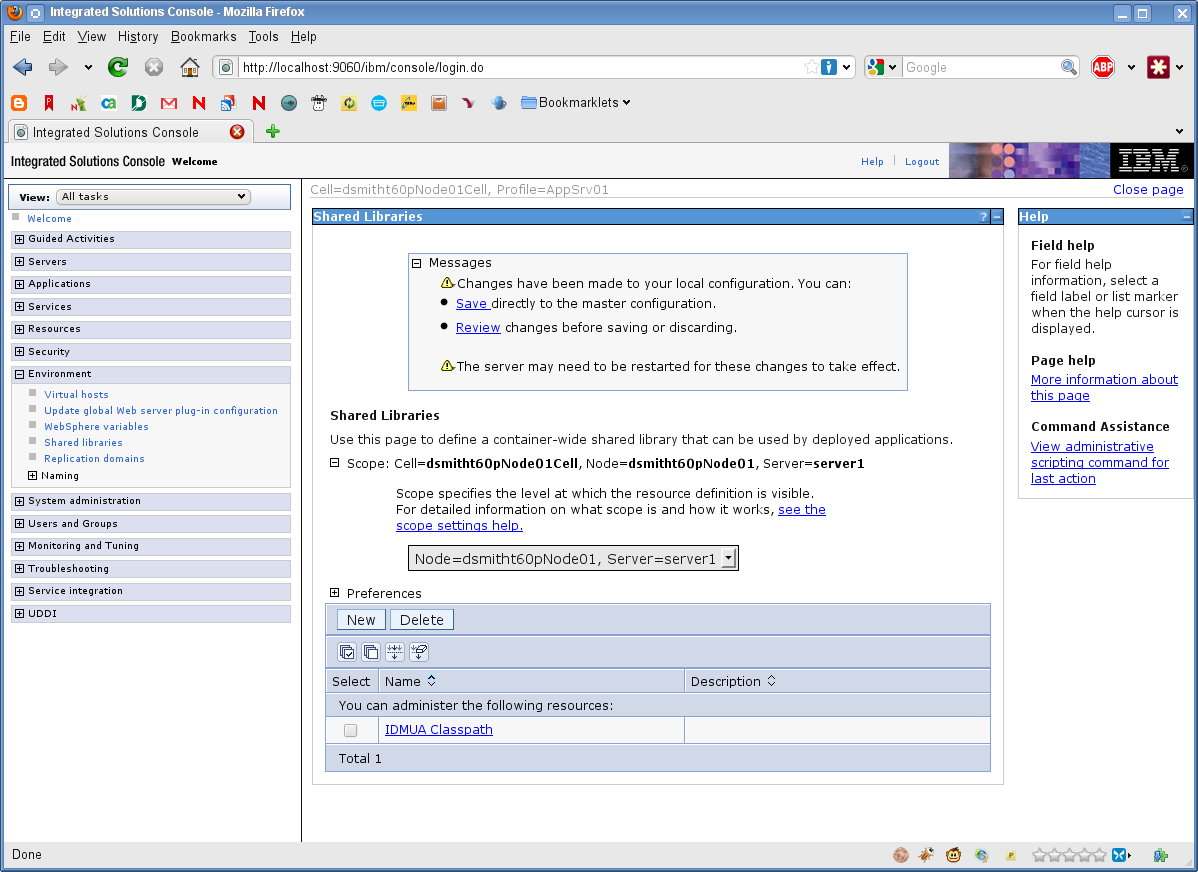
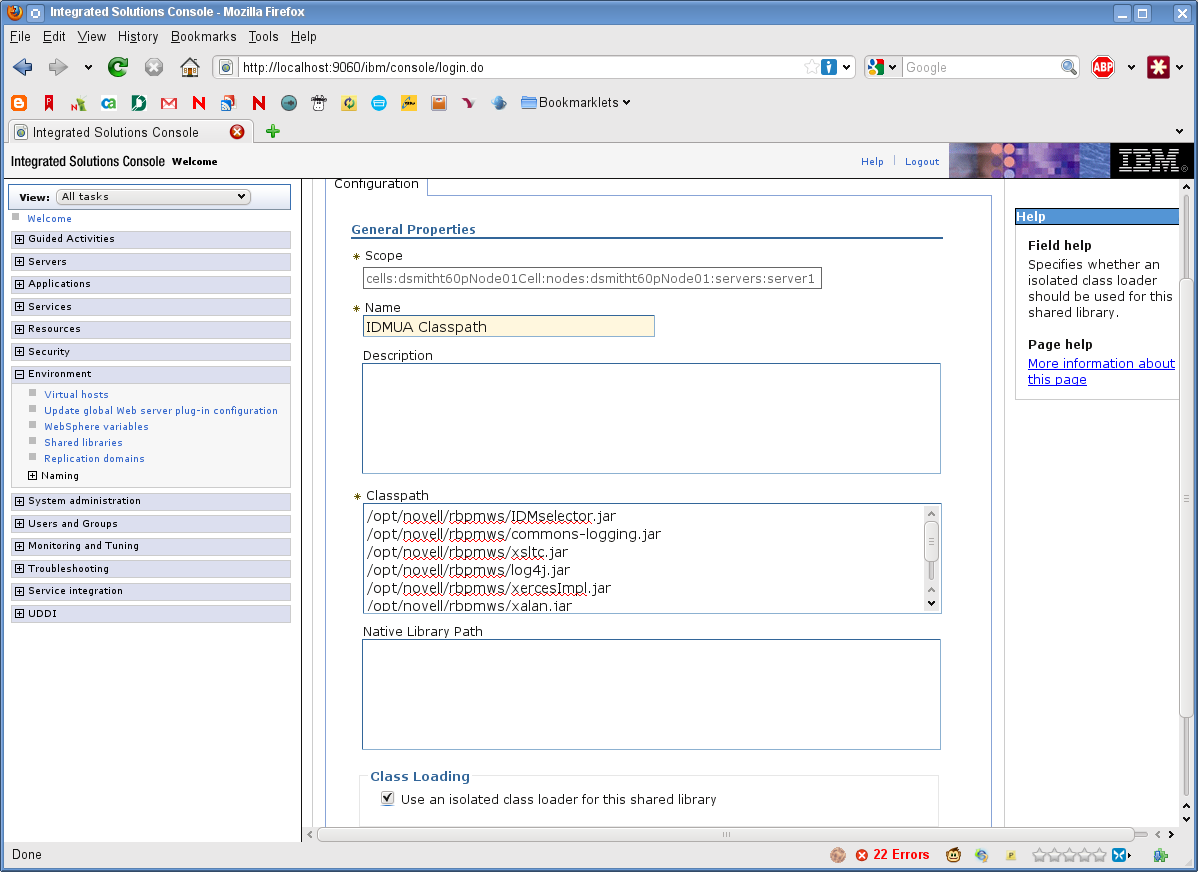
6.2.4 Configuring the Shared Library

If you are using WebSphere 7.0 with Version 4.0.2 of the RBPM, you need to be aware that several JAR files have been upgraded to the latest available versions in this release of RBPM. You will encounter class loading problems with JAR files that have shipped with WebSphere if you do not configure a shared library for RBPM. This will ensure that WebSphere uses the RBPM versions of these JAR files.

WebSphere class loading problems can be manifest as the following kinds of exceptions:

  • ClassCastException

  • ClassNotFoundException

  • NoClassDefFoundException

  • UnsatisfiedLinkError

  • LinkageError

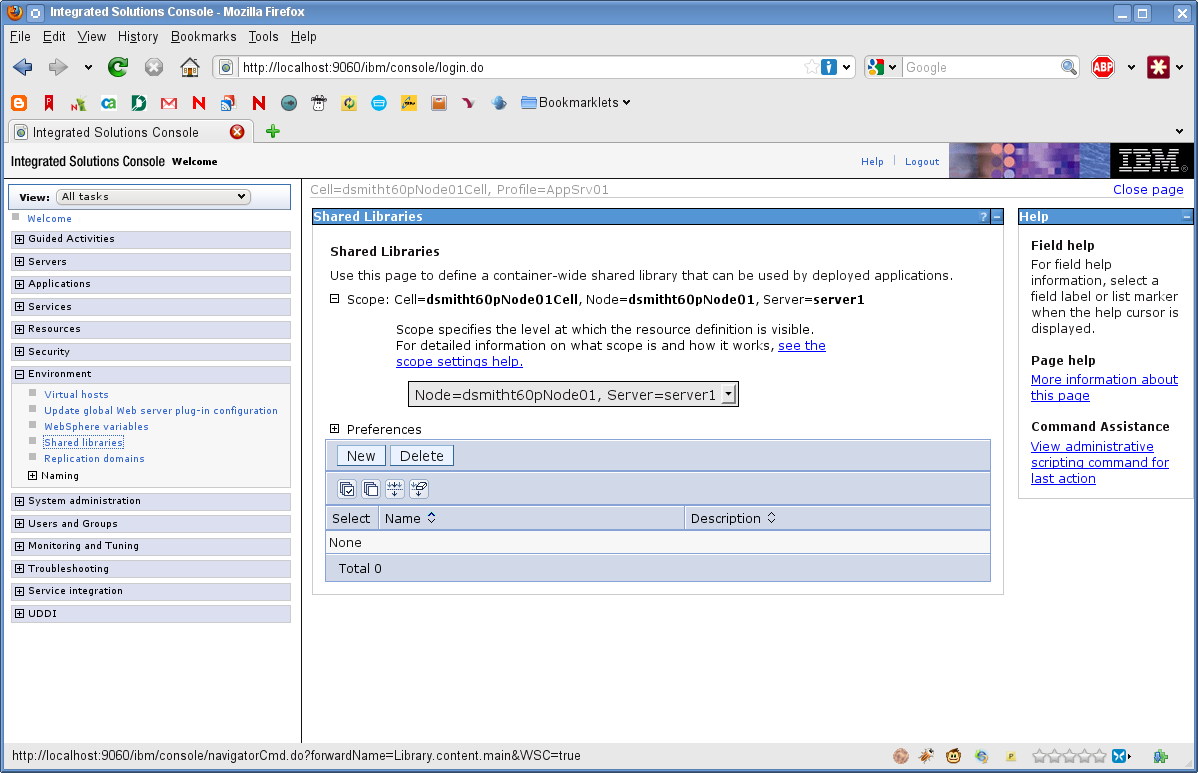
To configure the shared library:

  1. Click on Environment in the left-navigation menu.

  2. Click Shared Libraries.

  3. Click the New button.

  4. Enter a name (such as IDMUA Classpath).

  5. Enter the list of required JAR files into the Classpath field:

    • antlr.jar

    • log4j.jar

    • commons-logging.jar

      NOTE:You need to download this JAR file from the Apache site.

    • xalan.jar

    • xercesImpl.jar

    • xsltc.jar

    • jaxb-impl.jar

  6. Select Use an isolated class loader for this shared library.

  7. Click OK.

  8. Click the Save link.

6.2.5 Applying the Shared Library to a New Class Loader

The shared library must now be applied to a new class loader.

To apply the shared library to a new class loader:

  1. Create the shared library, as outlined in Section 6.2.4, Configuring the Shared Library.

  2. Go to Application servers > server-name > Class loader.

    NOTE:By default, this option is collapsed under the Java and Process Management section.

  3. Click New to create a new class loader and choose Classes loaded with local class loader first (parent last).

  4. Click Apply.

  5. Choose Shared library references.

  6. Click Add and choose the shared library you created earlier.

  7. Click Apply.

  8. Click OK.

  9. Click Save to save the changes to the master configuration.

6.2.6 Importing the eDirectory Trusted Root to the WebSphere Keystore

  1. Copy the eDirectory trusted root certificates to the machine hosting the WebSphere server.

    The User Application installation procedure exports the certificates to the directory in which you install the User Application.

  2. Import the certificates into the WebSphere keystore. You can do this by using the WebSphere administrator’s console (Importing Certificates with the WebSphere Administrator’s Console) or through the command line (Importing Certificates with the Command Line).

Importing Certificates with the WebSphere Administrator’s Console

  1. Log in to the WebSphere administration console as an admin user.

  2. From the left panel, go to Security > SSL Certificate and Key Management.

  3. In the list of settings on the right, go to Key stores and certificates under Related Items.

  4. Select NodeDefaultTrustStore (or the trust store you are using).

  5. Under Additional Properties on the right, select Signer Certificates.

  6. Click Add.

  7. Type the Alias name and full path to the certificate file.

  8. Change the Data type in the drop-down list to Binary DER data.

  9. Click OK. You should now see the certificate in the list of signer certificates.

  10. Click Save link at the top of the screen.

Importing Certificates with the Command Line

From the command line on the machine hosting the WebSphere server, run the keytool to import the certificate into the WebSphere keystore.

NOTE:You need to use the WebSphere keytool or this does not work. Also, be sure the store type is PKCS12.

The WebSphere keytool is found at /IBM/WebSphere/AppServer/java/bin.

The following is a sample keytool command:

keytool -import -trustcacerts -file servercert.der -alias myserveralias -keystore trust.p12 -storetype PKCS12

If you have more than one trust.p12 file on your system, you might need to specify the full path to the file.

6.2.7 Applying the Unrestricted Policy Files for the IBM JDK

In Section 6.1, Installing and Configuring the User Application WAR, which describes installation of RBPM on WebSphere, the IBM JDK policy files were applied for the installer's IBM JDK. These unrestricted policy files must also be applied for each WebSphere IBM JDK server that is running RBPM.

Review each WebSphere server IBM JDK to ensure you have applied the unrestricted policy files. Without these unrestricted policy files, the error Illegal key size will occur during startup of RBPM.

6.2.8 Passing the preferIPv4Stack Property to the JVM

The User Application uses JGroups for the caching implementation. In some configurations, JGroups requires that the preferIPv4Stack property be set to true in order to ensure that the mcast_addr binding is successful.

Without this option, the following error may be observed:

[10/1/09 16:11:22:147 EDT] 0000000d UDP           W org.jgroups.util.Util
createMulticastSocket could not bind to /228.8.8.8 (IPv4 address); make sure
your mcast_addr is of the same type as the IP stack (IPv4 or IPv6).

Alternatively, you may also see this error:

[3/21/12 10:04:32:470 EDT] 00000024 UDP      E org.jgroups.protocols.TP down
failed sending message to null (131 bytes)
        java.lang.Exception: dest=/228.8.8.8:45654 (134 bytes)
    at org.jgroups.protocols.UDP._send(UDP.java:353)

The parameter java.net.preferIPv4Stack=true is a system property that can be set in the same manner as other system properties such as extend.local.config.dir. For instructions on setting system properties, see Section 6.2.3, Adding User Application Configuration Files and JVM System Properties.