4.14 Mapping Table Editor
The Mapping Table editor allows you to create, edit, and manage mapping table objects. A mapping table object is used by a policy to map a set of values to another set of corresponding values. After a mapping table object is created, the Map token maps the results of the specified tokens from the values specified in the mapping table.
To use a mapping table object, the following steps must be completed:
To edit a mapping table, see Section 4.14.3, Editing a Mapping Table Object.
4.14.1 Creating a Mapping Table Object
A mapping table object can be created in a library, driver object, Publisher channel, or Subscriber channel.
-
In the Outline view, right-click the location to create the mapping table, then select .
-
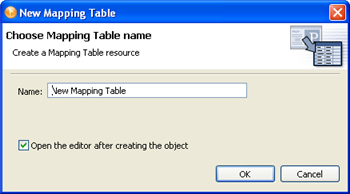
Specify the name of the mapping table object, then click .
Select to open the Mapping Table editor.
-
In the File Conflict message, click to save the project before opening the Mapping Table editor.
-
In the Mapping Table editor, select .
-
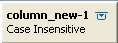
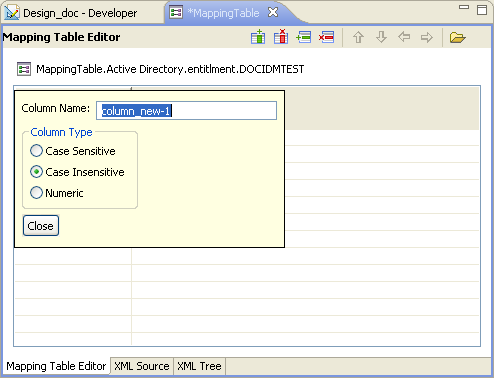
Specify a column name and data type, then click .
Column names must be unique. The data type lets you specify if the column values are , , or .
-
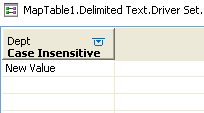
Select to specify a cell value.
-
(Optional) To add another column, click the icon
 , then repeat Step 4 and Step 5.
-
(Optional) To add another row, click the icon
 , then repeat Step 6.
-
Press Ctrl+S to save the mapping table object.
-
Continue with Section 4.14.2, Adding a Mapping Table Object to a Policy.
4.14.2 Adding a Mapping Table Object to a Policy
-
Either create a policy to use the mapping table in, or select an existing policy to edit.
-
Launch the Argument Builder in the Policy Builder.
For information on how to access the Argument Builder, see Launching the Argument Builder.
-
Double-click from the list of verbs to add it to the expression panel.
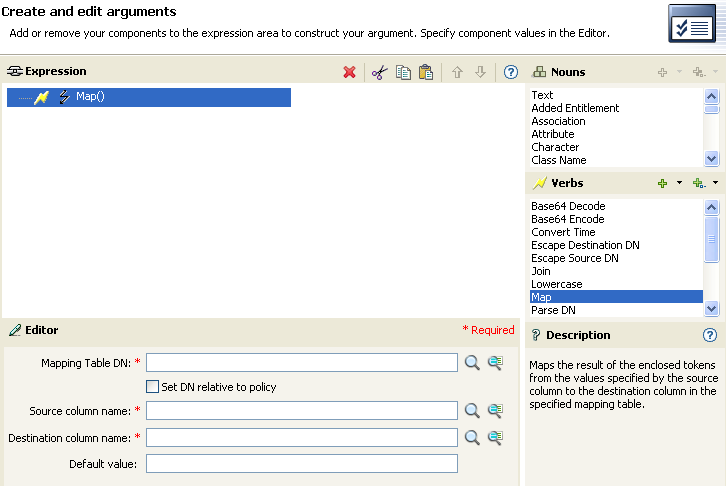
-
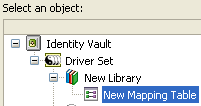
In the field, browse to and select the mapping table object created in Section 4.14.1, Creating a Mapping Table Object, then click .
-
Select whether the mapping table DN is set relative to the policy or not.
-
Select the source column name by clicking the icon.
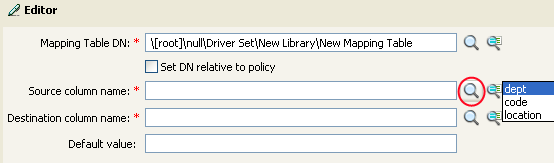
-
Select the destination column name by clicking the icon.
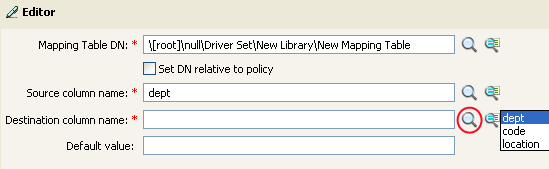
The mapping table can be used in any manner at this point. In this example, the OU attribute is populated with the value derived from the mapping table.

4.14.3 Editing a Mapping Table Object
Designer provides the following options to edit the mapping table:
Table 4-5 Editing Options for the Mapping Table Editor
 Undo Add Column
 Redo Add Column
 Delete Column
 Delete Row
 Move Row Up
 Move Row Down
 Move Column Left
 Move Column Right
The Mapping Table Editor also supports keyboard shortcuts for several of its operations:
Table 4-6 Keyboard Shortcuts for the Mapping Table Editor
4.14.4 Importing Data from a CSV File
The Mapping Table editor allows you to import data that is stored in a CSV file. It then populates the table with the information in the CSV file. To import a CSV:
-
In an empty Mapping Table, select
 .
.
-
Browse to and select the CSV file, then click .
-
Click to overwrite your existing data.
-
Press Ctrl+S to save the data in the table.
4.14.5 Exporting Data to a CSV File
The Mapping Table editor allows you to export data to a CSV file. To export data to a CSV file:
-
When the data in the Mapping Table is ready to export, select
 .
.
-
Click to save this editor’s changes and continue.
-
Specify a name and location for the CSV file, then click .
4.14.6 Testing a Mapping Table Object
You can use the Policy Simulator to test the functionality of the mapping table. The Policy Simulator tests the mapping table by testing the policy that is using the mapping table. For more information, see Section 9.0, Testing Policies with the Policy Simulator.