B.2 Installing an Orchestration Agent to Match the New Resource
This section demonstrates installing an Orchestration Agent to be used as a resource in your Orchestration grid. The information in this part of the walkthrough assumes that a resource account has already been created for the Orchestration Agent being installed.
-
From the managed device desktop, launch a browser to access the Web page for Orchestrate, as described in Section 2.2.1, Obtaining the Agent Installer and Supporting Files from the Administrator Information Page.
-
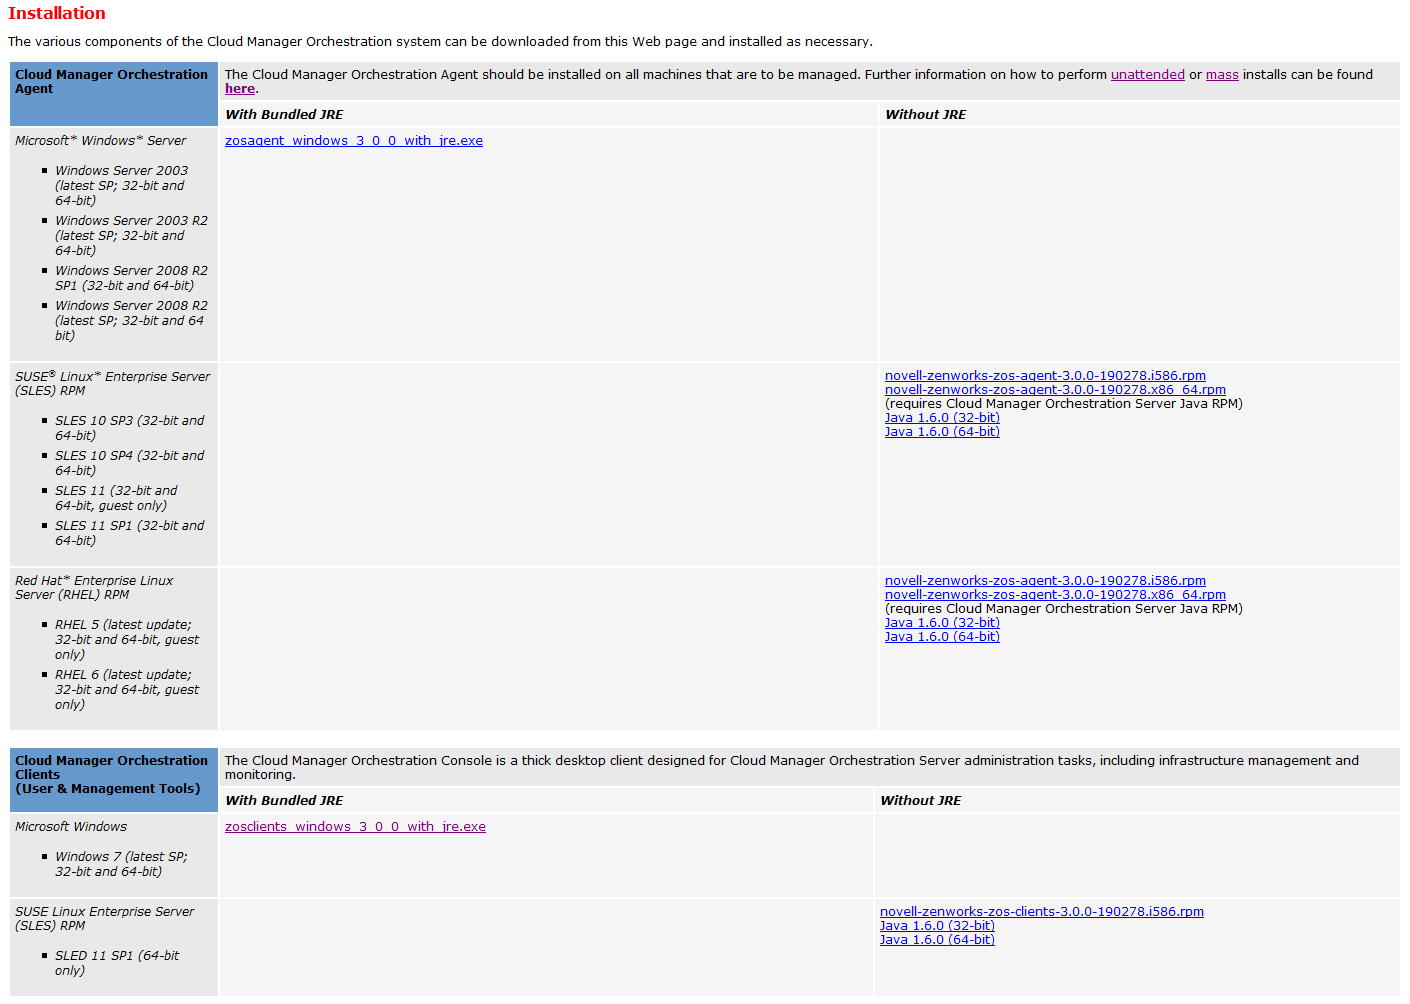
Scroll to the section of the page:
-
In the agent section of the Administrator Information page, find the installer link for the operating system of the device where you want to install the agent. For this walkthrough, we will install the Windows agent on a Windows operating system.
-
Click the installer link to download the zosagent_windows_3_0_0_with_jre.exe version of the agent to the computing node where you plan to install it.
-
From the machine where you will install the agent (in this walkthrough, a Windows 2008 64-bit machine), open the desktop and navigate to the location where you saved the Orchestration Agent file, then double-click the zosagent_windows_3_0_0_with_jre.exe icon to launch the Orchestration Agent Setup Wizard.
-
Follow the prompts in the wizard until the page displays, then ensure that you correctly enter the Platespin_Orchestrate_Server_name in the field.
IMPORTANT:Make sure that the name you give the agent during the installation matches the name of the resource account you created in Using the Orchestration Console to Create a Resource Account.
You might find it easier to click so that the installer searches for and finds the Orchestration Server on the network.
-
Accept the remaining defaults on the wizard pages to complete the installation of the Agent.
-
When the installation is complete, click to exit the wizard.
-
In the Orchestration Console, open the Resources Monitor to observe the resource object you created change from offline to online. When the object is no longer dimmed, the agent has logged in as a resource and is registered.
When the resource is online, the Resources Monitor displays a labeled box representing the registered agent. This box includes information about the agent, including the number of available slots it has and a status color indicating its state of readiness for Orchestrate jobs.

The status color window can be white (inactive), green (available for use), or blue (in use). If the color changes from green to blue, a job is running on this resource. To find out what kind of job is running, you can click on the monitor button on the toolbar.