27.1 管理資料永續性層
在 Visual Studio Code 應用程式中執行以下步驟來修改 Pod 的資料層:
-
下載並安裝 Visual Studio Code。請參閱 code.visualstudio.com/download。
-
開啟 Visual Studio Code 應用程式,按一下
 。
。 -
在搜尋方塊中輸入 Azure,然後按 Enter。
-
在「Azure 工具」中按一下。
-
按一下
 。
。 -
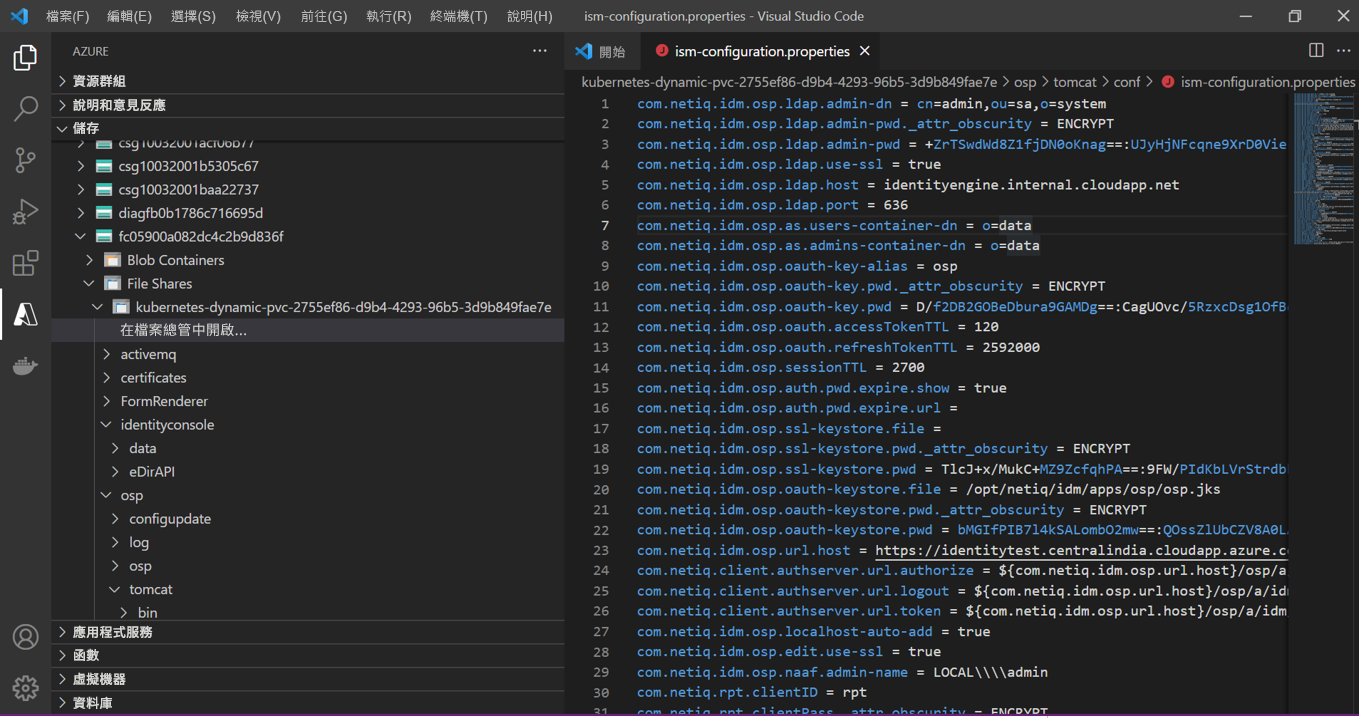
移至 > > > > (如需詳細資訊,請參閱圖 27-1)。
附註:上面導覽路徑中提及的 Security-IdentityMgmtAZ-NonProd 和 fc05900a082dc4c2b9d836f 金鑰僅供參考,請根據您的登入身分證明予以變更。
圖 27-1 Visual Studio 儲存
-
選取檔案並變更所需內容。
-
移至功能表,按一下。
-
儲存所有變更後,重新啟動 Pod (請參閱重新啟動 Pod)。