24.3 Installing in Other LDAP Environments
-
Log in to the workstation as an administrator.
-
From the SecureLogin\Client, select the appropriate install package and double-click it to begin the install process. The Installation Wizard for Novell SecureLogin is displayed.
-
Click . The License Agreement page is displayed.
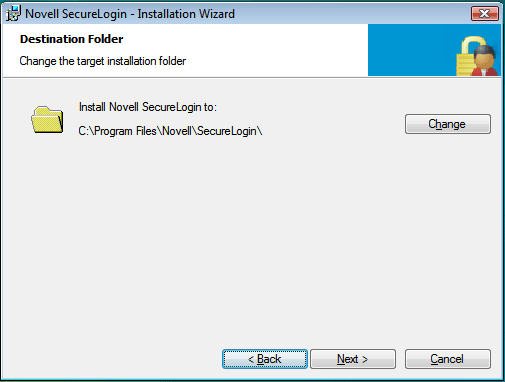
The Destination Folder page is displayed. By default, the program is saved in C:\Program Files\Novell\SecureLogin\.
-
ccept the default folder.
or
Click and navigate to your desired folder.
-
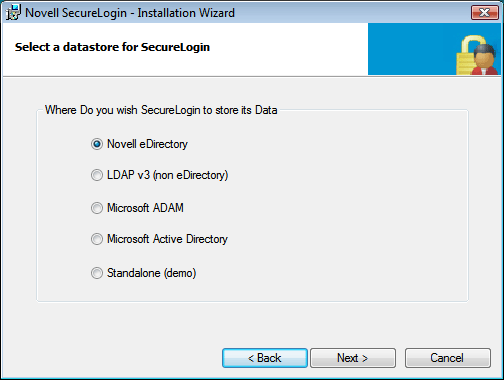
Select Novell eDirectory as the directory where Novell SecureLogin stores its data.
-
Click . The protocols page is displayed
-
Select how you want Novell SecureLogin to access eDirectory.
If the Novell Client is installed, the installation program recommends the Novell Client for Windows option. Otherwise, LDAP is recommended.
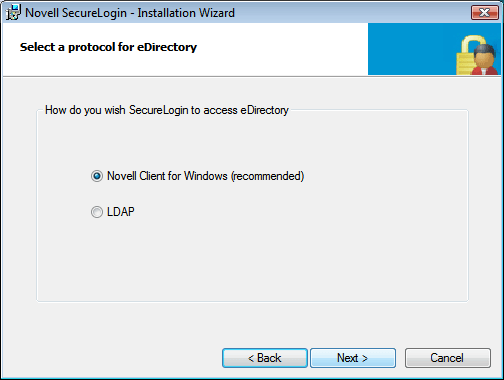
This dialog box is displayed only if you have Novell Client for Windows installed on your machine. Otherwise, LDAP is auto-selected as the protocol.
-
Click . The smart card option page is displayed.
-
Click if you want to use a smart card. If you do not want to use a smart card, proceed with Step 11.
-
Select a cryptographic service provider from which Novell SecureLogin requests PKI credentials through a Microsoft Crypto API.
-
Select a PKCS#11 compatible library required for accessing the smart card, then click .

This specifies the location of the Cryptographic Token Interface installed as part of the smart card vendor’s software. These API files are used by Novell SecureLogin to communicate with the smart card.
-
-
Click if you do not want to use smart card support. Proceed with Step 11.
-
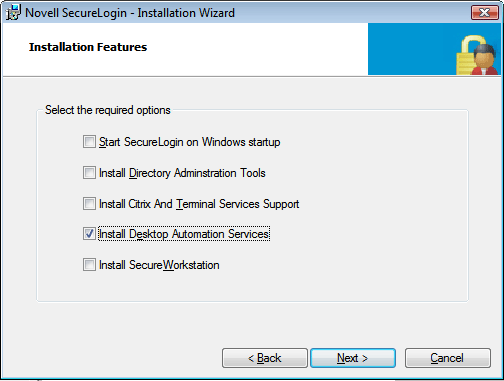
Select the install features that you want to install, then click .
You can select both and .
-
Click . Select the client login pcProx method.
-
Select the NMAS Methods.
-
Click . The installation features page is displayed.
-
Select as the feature that you want to install.
-
Click . The location for the DAS configuration file page displayed.
-
Select the location for the configuration file.
If you choose , the registry settings set for ARS.exe use the actions.xml file located in the Program Files\Novell\SecureLogin\Desktop Automation Services folder of the workstation.
-
Click . The program is ready to install.
-
Click .
-
Click . By default, the option is selected
-
You are prompted to restart your system. Select to restart the system for Desktop Automation Services to take effect.