8.1 Installing Novell SecureLogin in Non-eDirectory LDAP Environment
-
Log in to the workstation as an administrator.
-
Double-click the Novell SecureLogin.msi located in the SecureLogin\Client directory of the Novell SecureLogin 7.0 SP1 installer package to begin the install process. The Installation Wizard launches.
-
Click . The License Agreement page is displayed.
-
Accept the license agreement, then click .
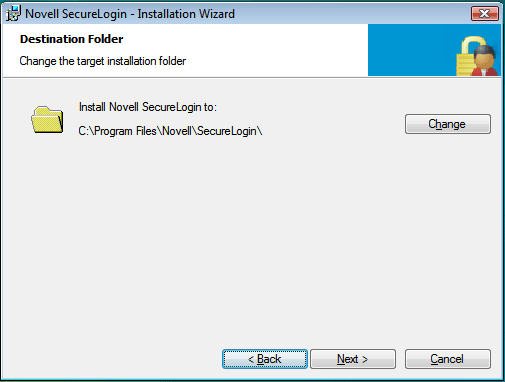
The Destination Folder page is displayed. By default, the program is saved in C:\Program Files\Novell\SecureLogin\.You can accept the default folder or choose to change. To change, click and navigate to your desired folder.
-
Click . The Select a datastore for SecureLogin (that is the installation environment) page is displayed.
-
Select as the platform where Novell SecureLogin stores its data.
-
Click . The LDAP Authentication Setup page is displayed.
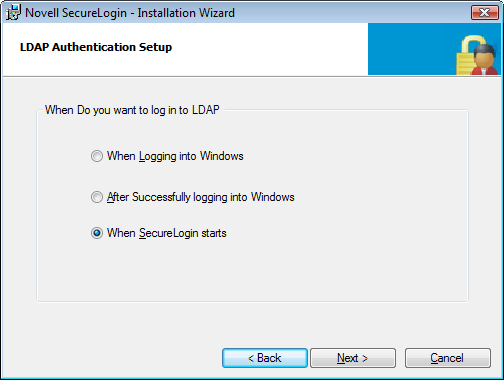
Select one of the following options:
-
-
-
When Logging into Windows: This is the LDAP (GINA) mode. If you select this option, the default Windows login dialog box is replaced by the Novell SecureLogin authentication dialog box . If the directory authentication is successful, Novell SecureLogin launches seamlessly.
Continue with Step 9.c.
-
After Successfully logging into Windows: This is the LDAP Credential Manager mode. If you select this option, Novell SecureLogin login dialog box appears after logging in to Windows and before the desktop screen appears. Novell SecureLogin starts seamlessly after the desktop opens.
-
Select the login user to be associated with your LDAP distinguished user.
-
Click . Select how you want to associate your Windows username with the LDAP distinguished name.
-
Click and continue with Step 9.c.
In the complete mode of installation, the install takes the default values and proceeds with the installation. If the Novell Client is installed, the default account association is Novell Client association. If you do not have the Novell Client installed, the default account association is a Windows association.
However, if you want to associate the account to the Novell Client, change the registry setting in hklm/software/novell/login/ldap as follows:
DoNTAssoc REG_SZ 1
DoClient32Assoc REG_SZ 0
-
-
When SecureLogin Starts This is the LDAP authentication mode. Novell SecureLogin launches after the desktop comes up. Otherwise, the desktop loads and you must manually launch Novell SecureLogin.
Continue with Step 9.c.
-
-
-
-
Click . Specify the LDAP server information.

-
Click . The Smart Card dialog box is displayed.
-
(Conditional) If you want to use smart card, select > click , then continue with Step 12
-
(Conditional) If you do not want to use smart card, select > click , then continue with Step 14.
-
Select a cryptographic service provider from which Novell SecureLogin requests PKI credentials through a Microsoft Crypto API.
-
Select a PKCS#11 compatible library required for accessing the smart card, then click .

NOTE:This specifies the location of the Cryptographic Token Interface installed as part of the smart card vendor’s software. These API files are used by Novell SecureLogin to communicate with the smart card.
Manually configuring the third-party smart card PKCS library assumes a high level of understanding the Cryptographic Service Provider’s product.
-
Click . Select the location where you want Novell SecureLogin to store the local cache.
-
Click . The installation features dialog is displayed.
-
Select the installation features you want to install.
-
In the Ready to Install SecureLogin dialog box, click .
-
Click , click , then restart the computer by clicking .
-
After the computer restarts, log in to LDAP before SecureLogin starts, then provide necessary information.
The first time that you log in to LDAP, you need to provide the server’s IP address and the port number.
New users must also provide a passphrase question and answer.
NOTE:The ?syscontext variable indicates the computer name instead of displaying the context in which the user’s directory object resides.