3.8 Configuring Notifications
You can use the Application Definition Wizard to configure notifications such as login notifications and change password notifications.
3.8.1 Creating an Application Definition for Login Notification
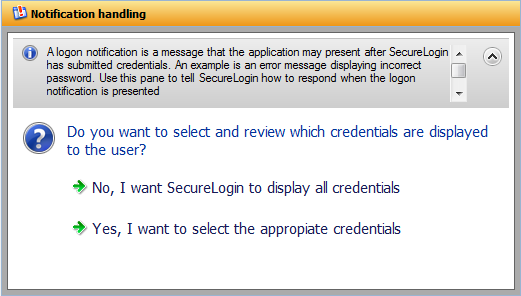
You can use the menu to create application definitions that inform the users about an event that occurred during login, such as a mismatch of the username and password or an incorrect password. You can configure the notification to display all or part of the credentials to the user. A login notification is also a message that the application presents after Novell SecureLogin submits the credentials.
NOTE:A login notification cannot be created if a login form is not defined.
For details on the tasks involved in creating a login notification, see Section 2.1.2, Login Notification.
Example: Creating a GroupWise Messenger Login Notification
In the following example, you create a login notification for the Google Talk.
Prerequisites
-
Create a login for GroupWise Messenger. That is, an application definition must be created for GroupWise Messenger.
-
This example assumes that you have previously specified an incorrect username or password or, both.
-
Launch GroupWise Messenger.
-
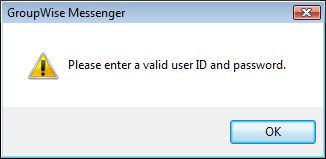
(Conditional) Because you have specified incorrect credentials when creating the application definition, Novell SecureLogin detects the incorrect credentials and prompts you to specify correct credentials.
The GroupWise Messenger dialog box is displayed.
-
Right-click the Novell SecureLogin icon on the notification area (system tray), then select .
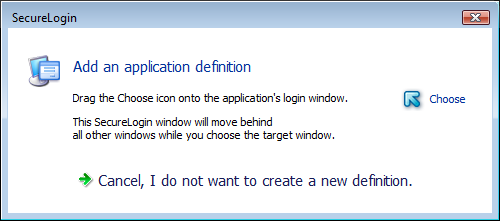
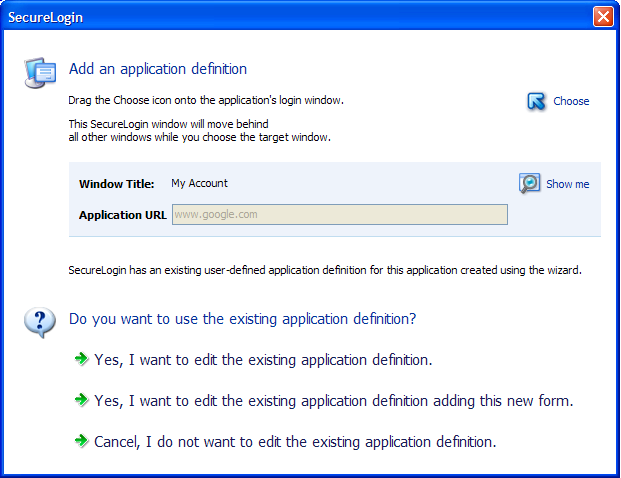
The Add an Application Definition dialog box is displayed.
-
In this example, you have specified incorrect user ID and password. To identify the fields, drag the
 icon to the GroupWise Messenger dialog box displaying the error message.
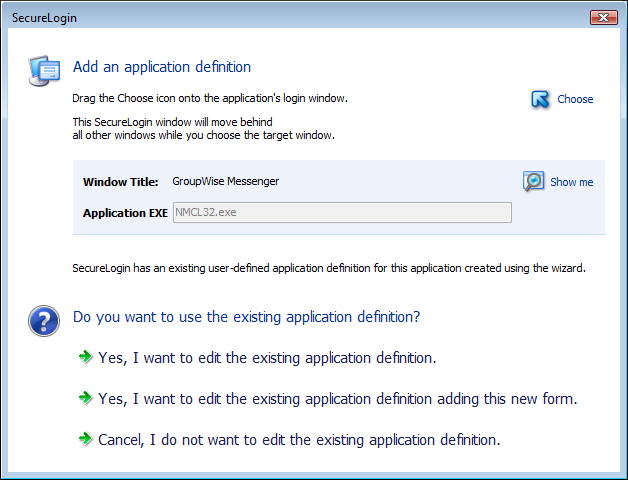
You are prompted to edit the existing application definition, edit the application definition by adding a new form, or not edit the application definition.
-
Select .
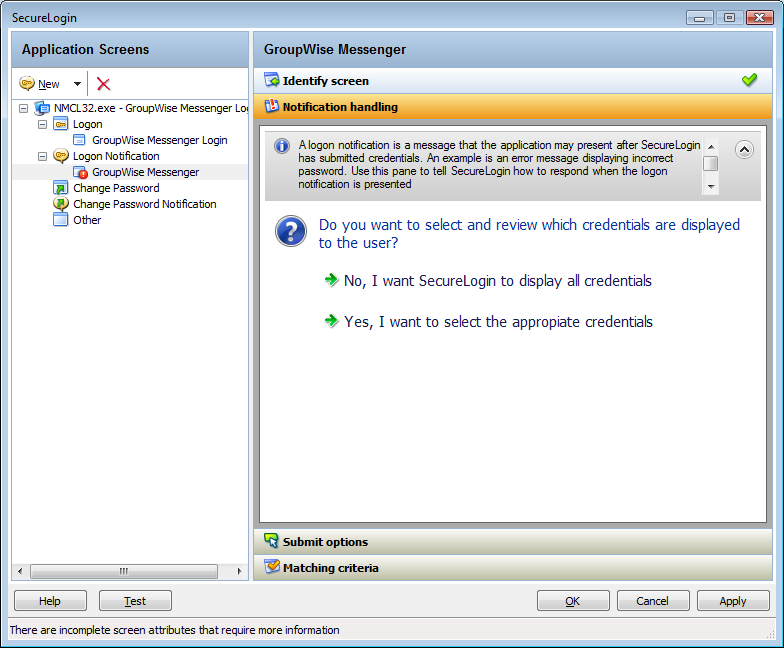
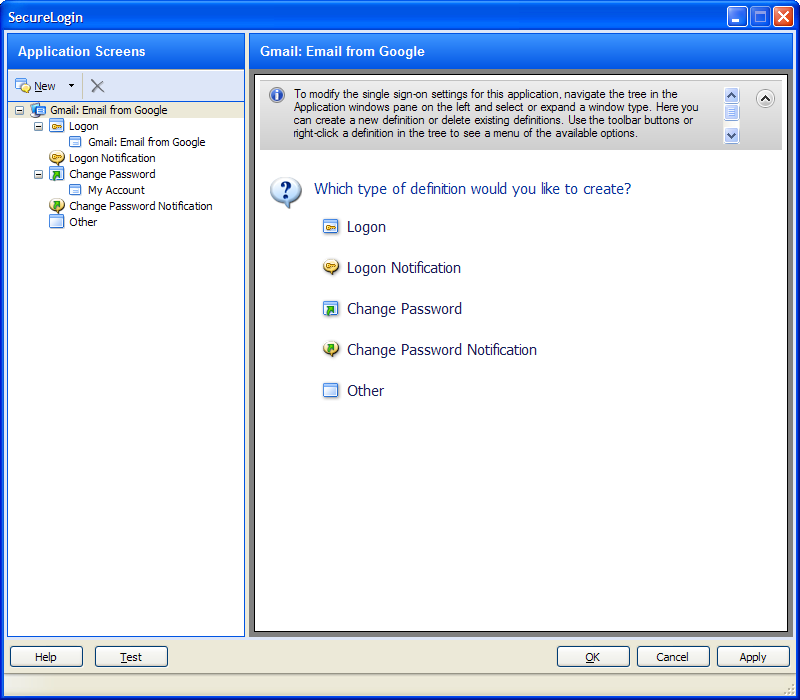
The Application Definition Wizard opens. The Identify Screen menu has a
 green check mark because the fields are identified correctly.
NOTE:A form named GroupWise Messenger is created under .
-
Navigate to the menu.
-
Select .
-
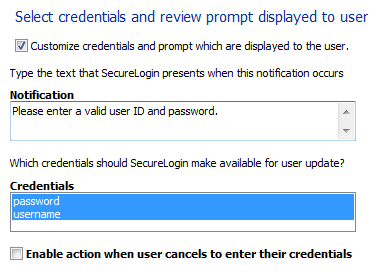
In the text box, specify the message that is presented to the user.
-
From the list, select the credential for which you want to create a notification. In this example, select .
-
Navigate to the menu.
-
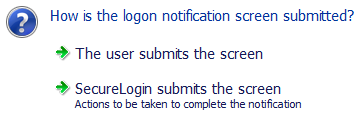
Specify how the login notification screen is submitted. Select .
By default, the is selected
-
Select the option. In this example, the button is identified by the wizard to submit the login screen.
-
Navigate to menu.
-
Select .
-
Click to save your settings.
-
Click to exit the Application Definition Wizard and return to the Novell SecureLogin Client Utility page.
-
Click and to exit.
You have successfully created an application definition to handle a login notification. Next, test the application definition.
Testing the Login Notification Application Definition
-
Launch GroupWise Messenger.
In Section 3.8.1, Creating an Application Definition for Login Notification you created an application definition to notify the wrong password.
Because you specified a wrong password when enabling Google Talk for single sign-on, you are prompted to specify the credentials. The message is displayed on the Enter your Credentials dialog box is the message that you specified.
-
Specify the correct password to log in successfully.
3.8.2 Creating an Application Definition for Change Password
Application definitions can also include instructions for changing the password for an application. Novell SecureLogin can automatically generate new passwords for an application that match your organization’s password policy or it can allow users to select new password. You can also customize the change password prompts displayed to the users.
Example: Creating a Gmail Change Password
Prerequisite
-
Create a login for Gmail*. That is, an application definition must be created for Gmail.
-
Launch Gmail.
-
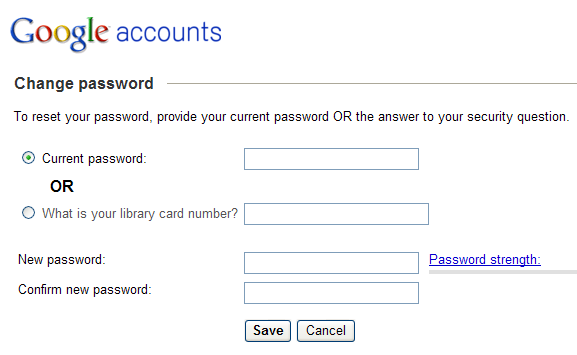
Navigate to the screen.
-
Right-click the Novell SecureLogin icon on the notification area (system tray), then select .
-
Drag the
icon to the change password screen.
-
Select .
The Application Definition Wizard opens. The menu has a
green check mark because the fields are identified correctly.
By default, the menu is displayed.
-
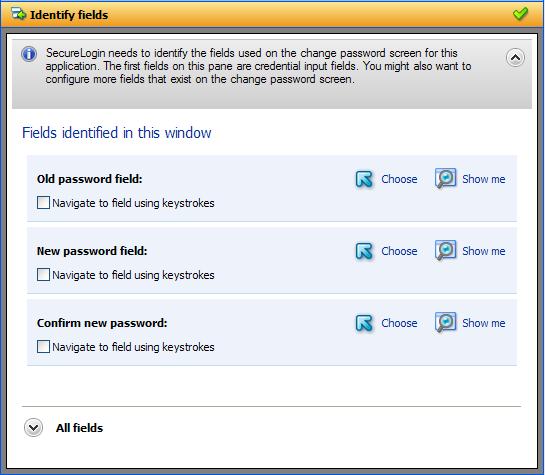
From the Fields identified in this windows, click to verify if the , , and fields are identified correctly.
-
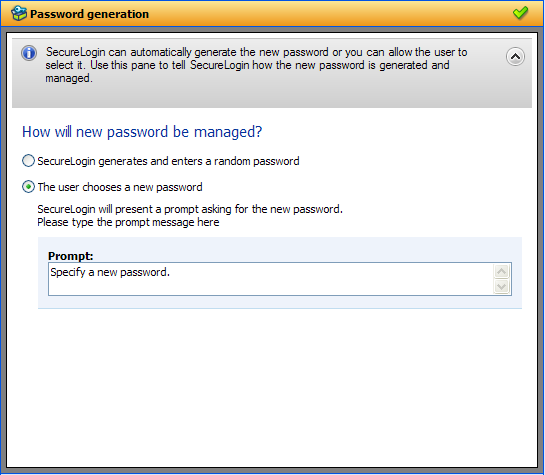
Navigate to menu. Specify how you want to generate a new password: whether the user specifies the password or allow Novell SecureLogin to generate a new password.
-
Select .
Specify how the new password is managed. By default, option is selected.
-
Specify a prompt that is displayed to the user.
-
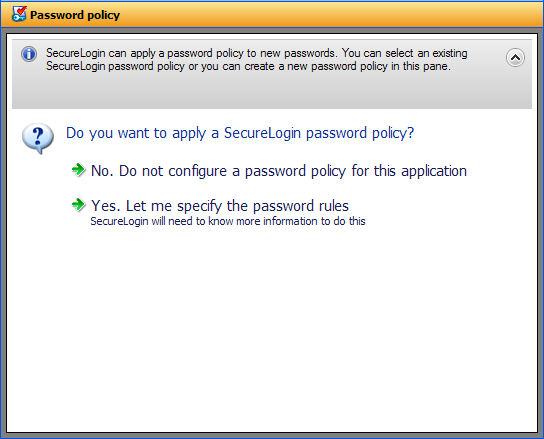
Navigate to the menu.
Specify whether you want to apply a password policy for the application.
-
Select .
-
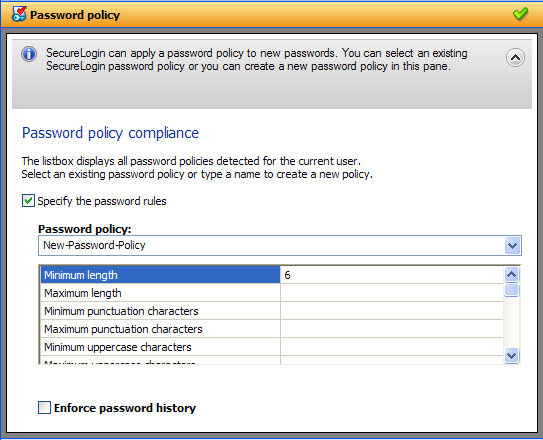
In the field, sepcify a name for the password policy.
-
From the password policy rules, specify the rules that apply to the new policy.
-
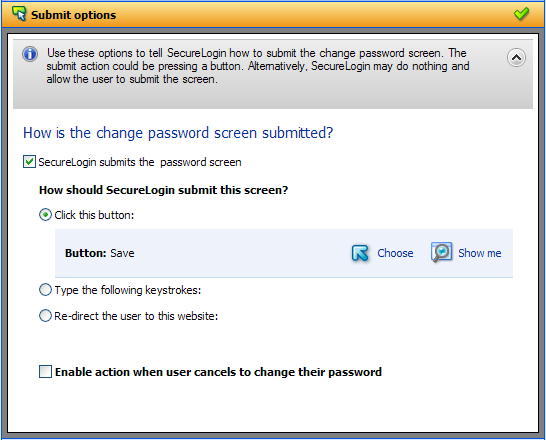
Navigate to the menu. Specify how the change password screen is submitted.
-
Select .
-
Navigate to the menu. Specify how Novell SecureLogin uniquely identifies each screen.

-
Select .
-
Click to save your settings.
-
Click to exit the wizard.
You have successfully completed creating an application definition for Gmail change password screen.
Testing the Change Password
The next time you launch Gmail and try to change the password, the application definition you created in Section 3.8.2, Creating an Application Definition for Change Password.
-
Launch Gmail.
-
Navigate to the screen. The following dialog box appears.

-
Specify the new password and confirm the new password.
IMPORTANT:Ensure that the password policy you have set in Step 13 is adhered.
-
Click OK.
3.8.3 Creating an Application Definition for Change Password Notification
A Change Password Notification is a message that the application displays after Novell SecureLogin submits the new password. This might be a confirmation or an error message.
NOTE:You cannot create an application definition for change password notification if a change password form is not defined.
This notification is important for Novell SecureLogin to know whether the password is changed successful because it needs to update the credentials for the application after they are updated.
If an application definition is created for change password but not defined for change password notifications, Novell SecureLogin displays the following prompt:
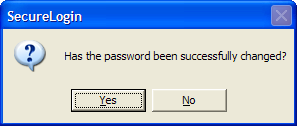
This prompt appears before updating the credential set with the new password if it is changed successfully.
In the following example, we will create an application definition for change password notification for Gmail application. In this example, we will consider a successful change password.
Prerequisite
-
An application definition is created for Gmail change password form.
Assumption
-
The change password for Gmail is successful.
-
Because you have not yet definied the change password notification, you are prompted whether the password is changed successfully. The following prompt appears:
-
Right-click the Novell SecureLogin icon on the notification area (system tray), then select .
-
Drag the
icon to the change password successful message screen. In this example the message is, Your new password has been saved - OK.
The Add an Application Definition prompt is displayed.
-
Select . You are prompted to select the type of definition.
-
Select .
-
Drag the icon to the change password notification screen.
-
(Conditional) To specify options that will be available for a user whose password change is successful, select the option. On a successful password change, the changed password is stored and the password notification can be dismissed.
-
(Conditional) To specify options that will be available for a user whose password change fails, deselect the option. On a failed password change, the entered password is removed, the password notification is dismissed, and the password change process is restarted.

-
(Optional) Select .
Continue with Step 11.
-
(Optional) Select .
-
Navigate to menu. Specify the rules to match.
-
Seelct .
-
Click Apply to save your application definition.
-
Click OK to exit the wizard.