B.1 Event Object Visualization and Management in the Development Client
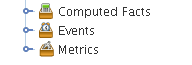
The Events folder is displayed in the Explorer tree between the Computed Facts and Metrics folders.
Figure B-1 The Events Folder in the PlateSpin Orchestrate Explorer View
Although the PlateSpin Orchestrate system includes several built-in Events (see Section B.3.2, Built-in Events), these Events are not displayed in the Explorer view. Only custom Events (defined in XML by the administrator and then deployed on the server) are displayed in the tree.
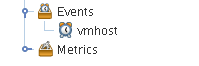
When an Event object is deployed, its icon is displayed in the tree in the Events folder.
Figure B-2 An Event Object in the Events Folder
The icon in the Explorer tree might be overlaid with a write symbol  to indicate that its XML content has changed and needs to be saved. For more information about changing the XML content, see Section B.1.4, The Event Editor.
This section includes the following information about how the Event object is managed in the Development Client:
B.1.1 Deploying a New Rule-Based Event
Use the following steps to create a new event.
-
In the Explorer view, right-click the Events folder, then select to open the Create a New Event dialog box.
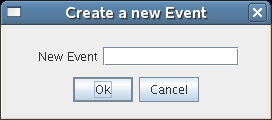
-
Enter the name for the new Event, then click to create the new Event object.
PlateSpin Orchestrate then deploys the new Event object on the server, where it can be managed. The Development Client opens the Event Editor, where you can edit the XML definition of this Event. For more information, see Section B.1.4, The Event Editor and Section B.3.3, Rule-based Events.
B.1.2 Deploying a Pre-written Rule-Based Event
Use the following steps to deploy a pre-written Event (an XML .event file).
-
Right-click the Events container, then select to open the Select the Component File to Deploy dialog box.
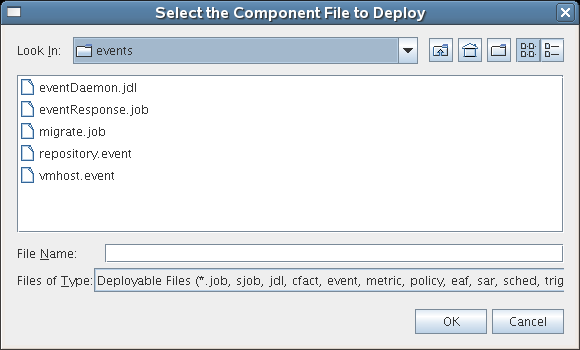
-
In the dialog box, navigate to the file system location of the Event file you previously created, or to an example .event file from /opt/novell/zenworks/zos/server/examples/events, then click to deploy the pre-written Event.
When you deploy the rule-based Event, the Development Client opens the Event Editor, where you can edit the XML definition of this Event. For more information, see Section B.1.4, The Event Editor and Section B.3.3, Rule-based Events.
B.1.3 Undeploying an Event
When an Event has been deployed, it can be undeployed. Undeploying deletes the Event object within PlateSpin Orchestrate, but it does not delete the source .event file, which still exists and can be redeployed.
To undeploy an Event, right-click on the Event object in the Explorer tree, then select . You can also simply select the object and press Delete.
B.1.4 The Event Editor
The Event Editor opens when you select a deployed Event in the Explorer tree of the Development Client.
Figure B-3 The Event Editor
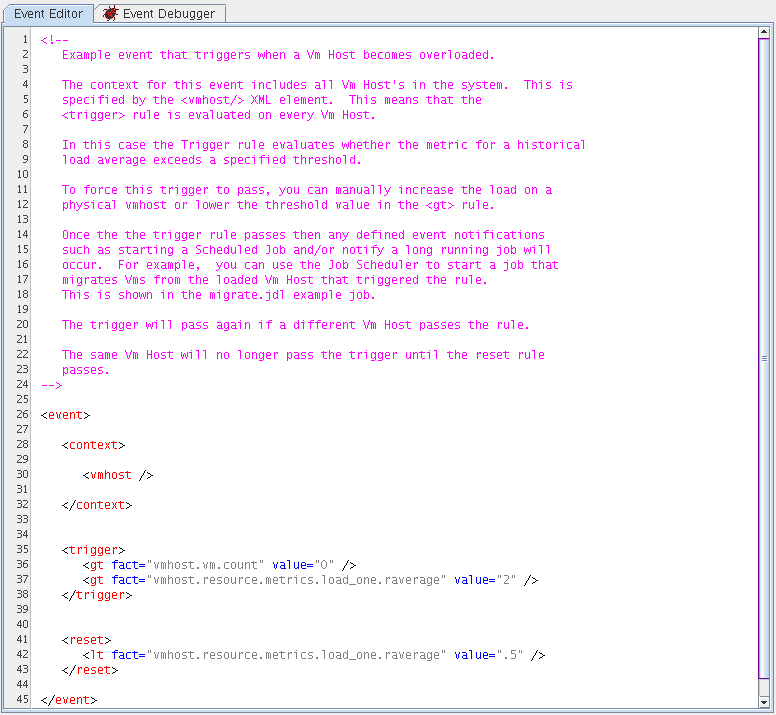
Inside this editor, you can make changes to the XML content of the Event. Example Events contain comments that explain how you can use them and the behavior you can expect to see as a result of deploying them. For the changes you make to be effective, you need to click the Save ![]() tool.
tool.
For more information about the allowed XML syntax within an Event, see Section B.3.3, Rule-based Events.