A.1 Configuring the Adapter Definition Demo
Before examining the actual demo definition setting, it is necessary to import the sample adapter definition and configure the database connection. The following sections explain this process:
A.1.1 Importing the Sample Adapter Definition
To import the sample demo and demo adapter definition:
-
Copy the /OperationsCenter_install_path/demo/NorthWind Demo.jar file to the /OperationsCenter_install_path/integrations directory.
-
Copy the /OperationsCenter_install_path/demo/NorthWind DemoHierarchy.xml file to the /OperationsCenter_install_path/integrations directory.
-
In the pane, expand the root element > .
-
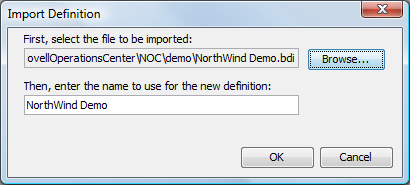
Right-click , then select to open the Import Definition dialog box.
-
Click , then select the Data Integrator definition file from the /OperationsCenter_install_path/demo.
To find the sample adapter definition, browse to find the /OperationsCenter_install_path/demo/northwind.bdi file.
-
Specify the name to use for the new definition or use the northwind default.
-
Click to import the adapter definition demo.
The imported sample definition displays in the pane hierarchy tree under the > > tree.
-
Because development database settings are stored with user preferences, redefine the database connection for the adapter definition.
For instructions, see Section A.1.2, Defining the Database Connection for the Sample Definition.