14.5 Monitoring and Managing Automation Events for an Element
Monitor the automation events associated with an element using the Properties dialog box.
14.5.2 Modifying Automations for Elements
A filter is assigned an automation definition that specifies the automated action taken when the filter triggers the action.
Modifying an Automation Definition
To update an automation:
-
In the pane, navigate to the element with the automation definition.
-
Right-click the element, then select to open the property page.
-
In the left pane, click to open its property page.
-
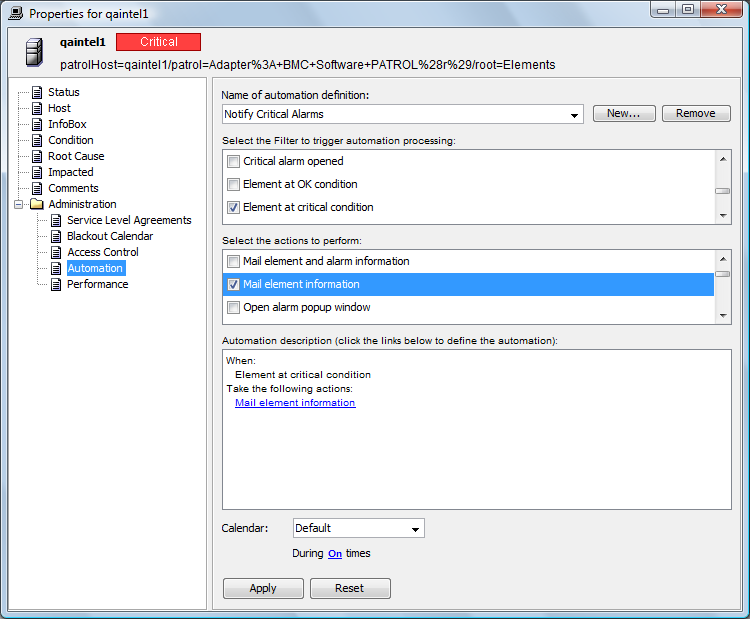
Click the drop-down list to select the automation definition.
Automation settings display:
-
Make the necessary edits.
-
Click to save changes.
Selecting a Specific Condition Level that Triggers the Automation Event
If is a filter, no condition level is defined by default, so the filter is triggered with any condition change.
To specify a condition level to trigger an automation event:
-
In the section, click the condition link to open the Define Automation dialog box for setting the condition:
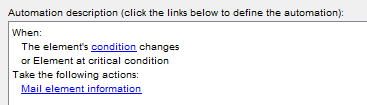
-
Click the drop-down list, then select a condition:

Select the element condition that determines when the filter is used.
For example, selecting triggers the action only when the element condition changes to Unmanaged.
-
Click to close the Define Automation dialog box.