A.2 Creating a Test Model
This example that walks you through creating a new Metamodel class and applying the class to a set of elements. It also shows you how to manually bind an element to the drawing.
A.2.1 Creating a New Metamodel Class and Elements
To create a new Metamodel class and elements that use this class:
-
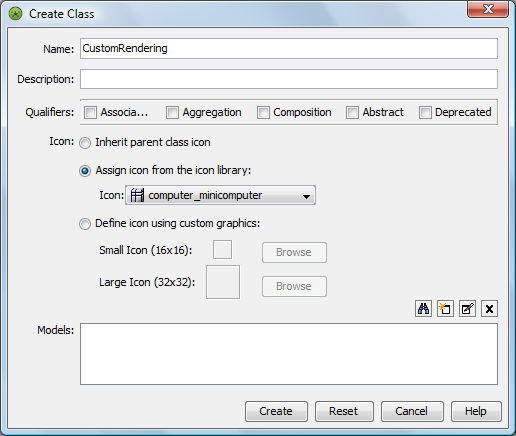
In the pane, under > > , create a new class named .
This class does not require changing any Metamodel settings.
-
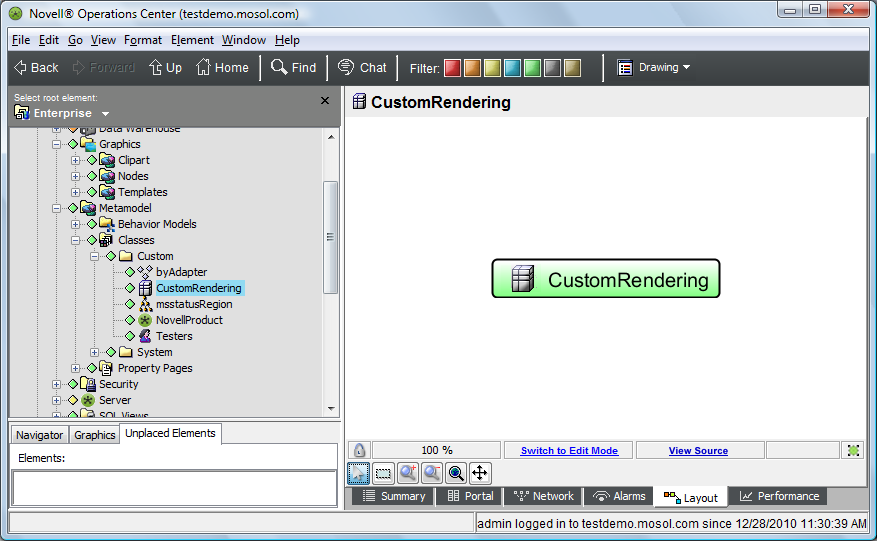
Select this new class in the pane, then switch to the Layout view.
The view should resemble the following:
-
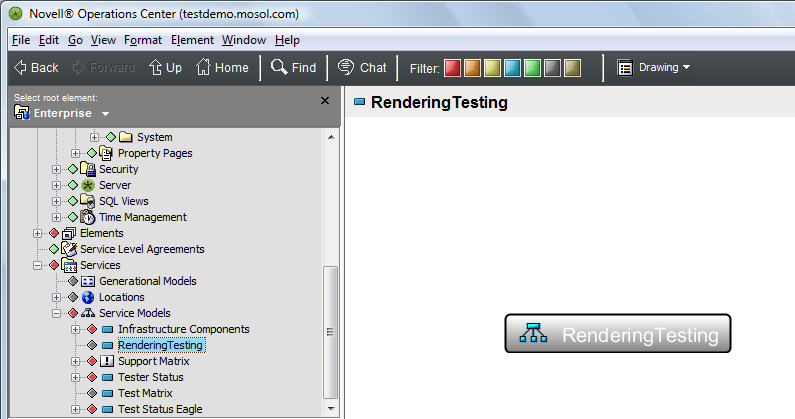
Create a new element named .
-
In the pane, select .
Notice that the default node style used to represent the element is in the Layout view:
-
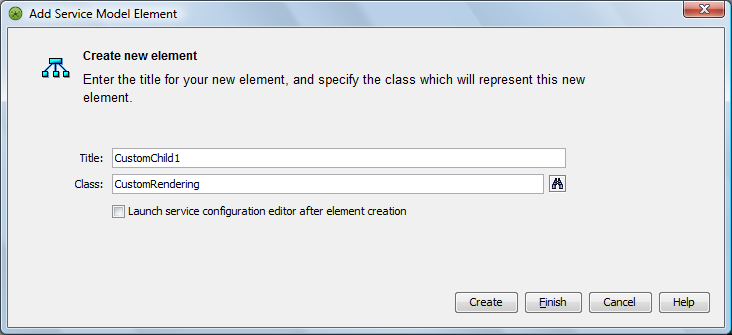
Create three child elements under named:
-
In the field, select the custom class (defined earlier in Step 1):
-
In the field, select the custom class .
-
In the field, leave the default class.
The resulting Layout view should resemble the following:
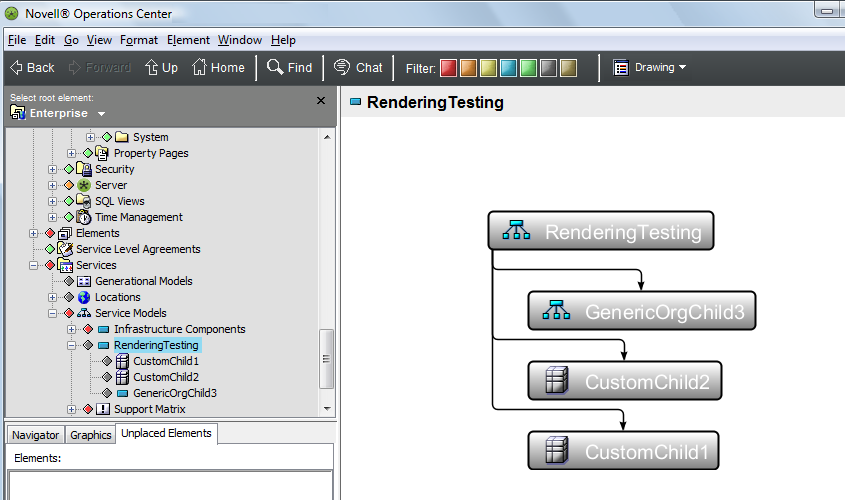
-
A.2.2 Creating a Manually Bound Element in the Drawing
To create a manually bound element inside a drawing:
-
In the Layout view, switch to Edit mode.
-
Drag and drop from the pane to the background of the drawing.
Make sure you drop the element the background and not on any of the existing elements.
-
Select from the pop‑up menu.
The resulting drawing resembles the following:
