5.5 Assign Users to a Community
Users must be assigned to a private community in order to gain access to it. After assigned, the user accesses the community via the community’s URL. Users who do not have personal pages go directly to the community pages on login.
Open communities allow users to join and leave at any time without approval from an administrator. Restricted communities force users to request membership which is approved by an administer. Private communities only receive new members who are assigned by an administrator either individually or by association.
In the portlet, under the tab, the user can join any open communities or request to join any restricted communities.
Community administrators can assign users to communities in two ways:
-
Directly: Assign users directly to a community by assigning their user account to the community.
-
Indirectly: Assign users indirectly by first assigning them to entities, such as groups, organizations, or locations, then assign these entities to a community. Users who belong to a group, organization, or location that is assigned to a community are also assigned to the community.
All community members, regardless of whether they were assigned directly or indirectly, have access to the same functionalities.
For more information about setting default communities for users, see Section 4.4.2, Default Associations for User Accounts.
HINT:If the list of available users, user groups, organizations, or locations is long, use the Search function to locate specific entities.
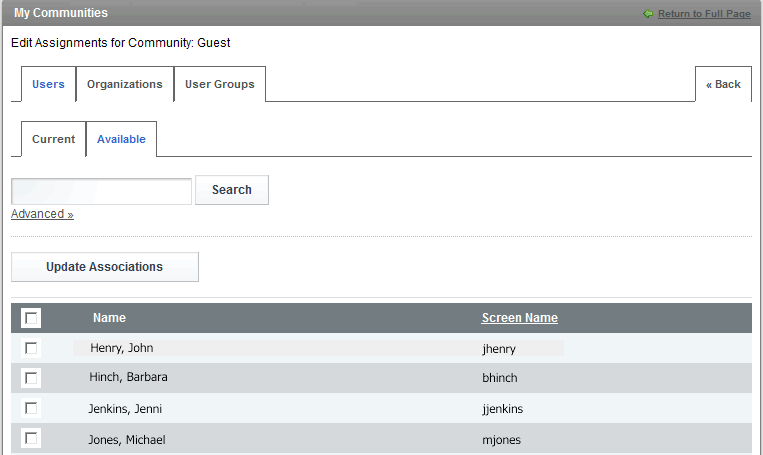
5.5.1 Assign Users Directly to a Community
To assign users directly to the community:
-
In the portlet, locate the desired community.
-
Click and select next to the community.
The tab displays the users currently directly assigned to the community.
-
Click to view a list of all users.
-
Select the check box next to the user names to add to the community.
-
Click .
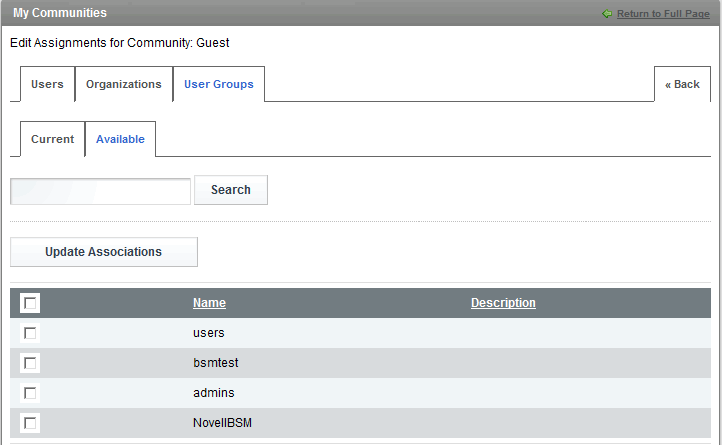
5.5.2 Assign Groups, Organizations, or Locations to a Community
To assign groups, organizations, or locations to a community:
-
In the portlet, locate the desired community.
-
Click and select next to the community.
-
Select or .
The selected tab displays the user groups or organizations currently directly assigned to the community.
-
Click to view a list of all available user groups, organizations, or locations.
-
Select the check box next to the entities to assign to the community.
-
Click .