6.4 Creating and Applying New Node Styles
You can create various types of node styles. They can be quite simple or more complex.
As an example, the following sections walk you through creating a dynamic node style that contains a small-sized circle and text that could represent a city on a map, and then applying the node style to a map.
For a different node style example using a Stack Layout Container to hide and show graphics based on state, see Section C.4, Looking at the Source Code with a Toggling Graphic Node Style Example.
When defining a new node style, specify whether to make the node style dynamic by binding an element’s name or condition color to the node style text or fill/line color.
6.4.1 Creating the Node Style
This sections shows how to create a small circle that might be used as a node style for a map.
To create a node style and add it to the drawing:
-
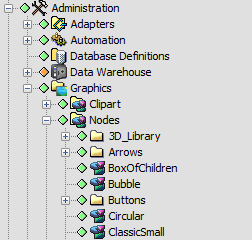
In the pane, expand > > to display a list of existing node styles.
-
Right-click , then select .
-
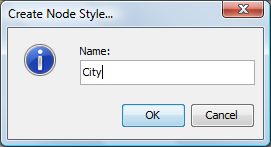
In the Create Node Style dialog box, specify a name.
In this example, it is City:
-
Click .
The node style is highlighted in the pane and the Layout view switches to Edit mode:
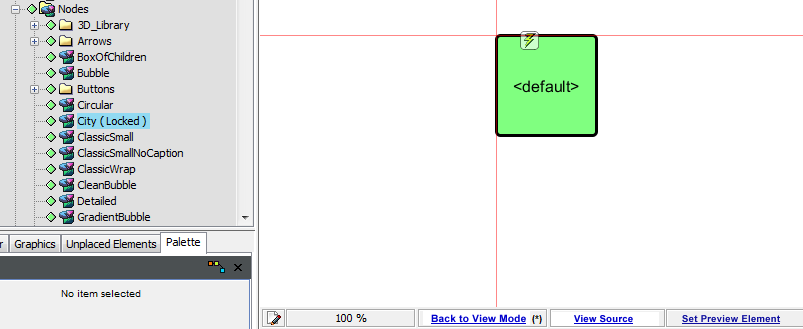
The node style uses the default template when creating a new node style. If the default template has been customized, the new node style might look different from the above illustration.
-
Click > .
-
In the confirmation dialog box, click .
The default graphics are deleted, leaving a blank drawing area.
-
Verify the Editing Channel is set to Drawing.
-
In the toolbar, click
 ().
().
-
Draw a small circle that represents a city.
-
In the , in the pane, select the thinnest line to outline the circle:
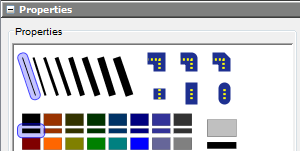
-
In the pane, select the check box next to .
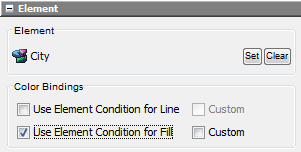
This colors each circle using a corresponding element’s current severity code color (such as CRITICAL is red).
-
In the drawing toolbar, click
 ().
().
-
Click anywhere on the drawing, then enter element name in the field.
-
Click .
-
Drag the text to place it to the right of the circle, as shown:

Optionally, you can align the text and graphics with the red axes that represent the X, Y origin (0,0) for the node style.
-
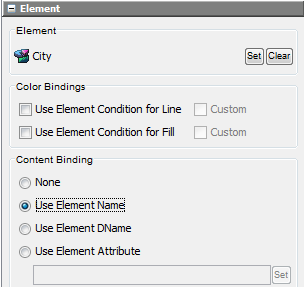
In the , in the pane, select the radio button.
The text changes to the current element name:
-
In the property pane, change the font size to 10.
-
In the pane, change the text fill color to black:
-
Click > (or use Ctrl + s).
The finished new node style is created and ready to be used.

6.4.2 Testing the Node Style Using Preview Elements
Using a preview element allows you to test the node style without having to apply it to an actual element. You can set a preview element at point while you are creating a new node style.
Preview elements are especially helpful when creating or testing node styles that have element or child containers because they allow you to test the node style’s behavior when more than one element is involved.
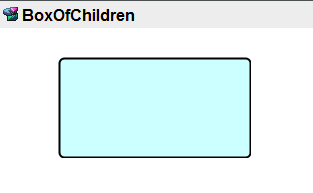
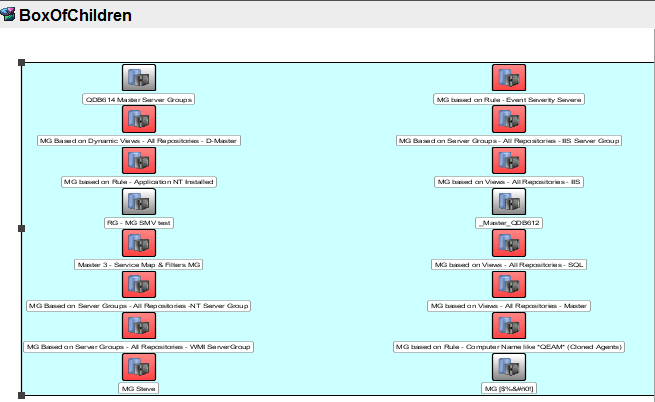
For example, in the illustration below, we have a node style that lists the elements children, but without setting a preview element, we just see an empty box.
Figure 6-5 Box of Children Node Style No Preview Element Set
After a preview element is set, as in Figure 6-6, you can see how the layout and behavior is, without having to test it by applying it to an existing element in your hierarchy.
Figure 6-6 Box of Children Node Style With Preview Element
Preview elements can be set for both node styles and drawing templates. For information on templates, see Section 7.0, Using Drawing Templates.
Setting a Preview Element
To set a preview element:
-
In the Layout view, click to edit the node style (or template).
-
Do one of the following:
-
Click .
-
Click .
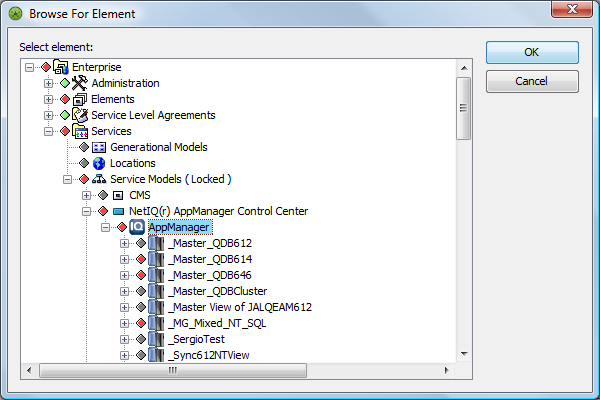
A Browse For Element dialog opens.
-
-
Locate and select the desired element to be used to preview the node style or template.
-
Click .
The node style or template updates showing element information from the preview element setting.
Disabling/Disabling the Preview Element
To remove the preview element for a node style (or template):
-
In the Layout view, click to edit the node style (or template).
-
Right-click the background of the Layout view, and select > .
The preview element settings are disabled to show the node style or template definition without a preview element.
-
To enable the preview element, right-click the background of the Layout view, and select > .
The preview element settings are re-applied to the node style or template.
Clearing the Preview Element
To clear preview element settings for a node style (or template):
-
In the Layout view, click to edit the node style (or template).
-
Right-click the background of the Layout view, and select > .
The preview element setting is deleted. The node style or template definition displays without a preview element.
6.4.3 Applying the Node Style
The next step is applying a node style to one or more elements in a Layout drawing. This example uses the node style created in Section 6.4.1, Creating the Node Style.
To apply a new node style:
-
In the pane, select the element that contains child elements whose node styles should change.
In this example, a element named is selected:

-
In the bottom of the Layout view, click .
-
Expand > > .
-
Locate the node style you want use () and drag it to an element (such as ).
A pop‑up menu displays options for changing the node style:
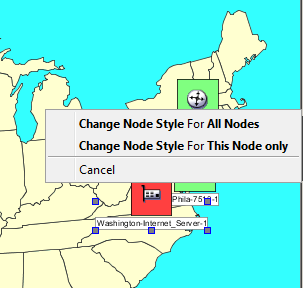
-
Select .
All elements are updated to use the new node style.
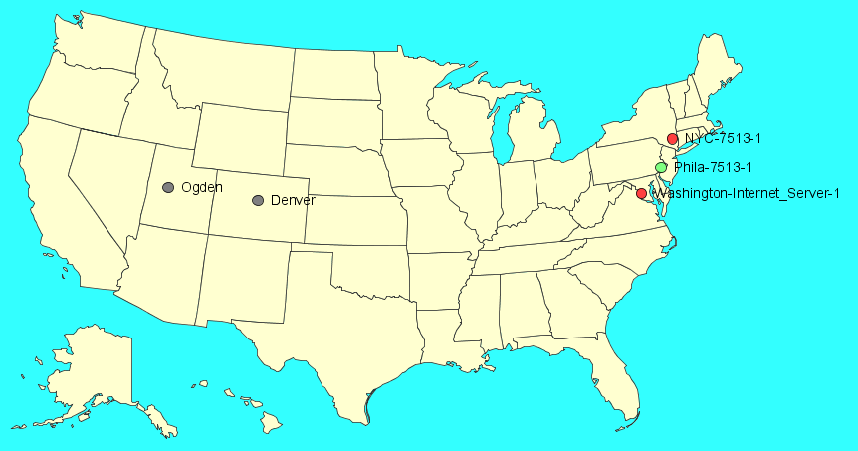
Notice that the circle fill colors automatically change to match the city elements’ current severities.
The following illustrates that the circles are bound to the element conditions and the fill colors automatically update when the element conditions change: