5.3 Adding Pages
Pages can be added to a community in a hierarchy that creates pages under an existing page. It is possible to rearrange the order of child pages. The pages in the top-level of the hierarchy are added as tabs in the community. Pages that are children of a top-level page do not display on the tab unless a Navigation portlet is added to that tab.
Web pages can be personal or associated with a community.
-
Adding: Add pages to personal or community pages using . Using this option, it is possible to add pages to the current community only. Pages can be added to other communities by using the portlet.
-
Exporting: Export the pages of a community using .
-
Importing: Import pages to a community using or the portlet. Importing a page overwrites all the pages in the community. Take caution, because importing a page overwrites the current page and thus discontinues access to the Dashboard. For more information on export and import options for a community, see Section 5.2, Creating and Maintaining Communities.
When building Web pages, particularly when adding portlets to add content, consider how the content is viewed. Users can view dashboard Web pages using a variety of devices, including mobile phones.
A user’s ability to add pages depends on the permissions assigned to the user. For more information, see Section 11.0, Portal and Community Permissions.
To make it easier to create a page, copy an existing page and save it as a new page using the option. This option is available on the tab.
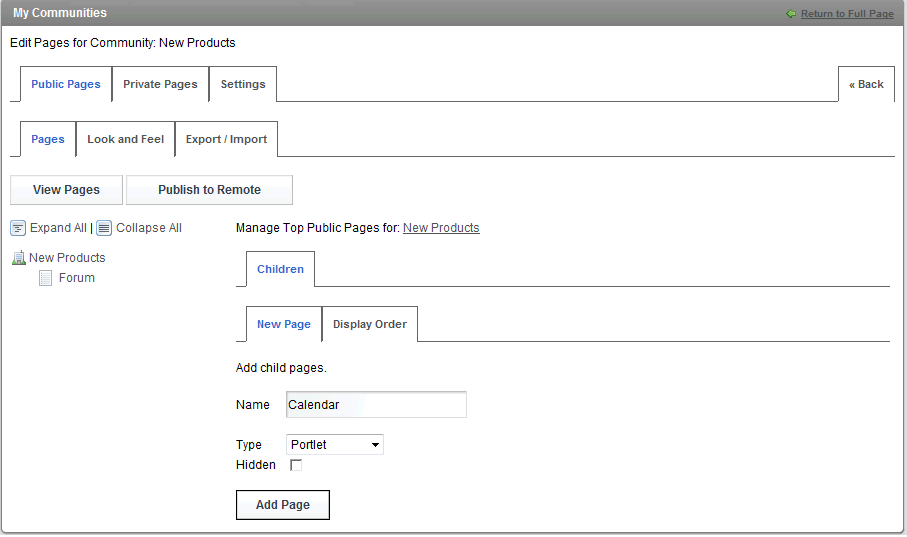
5.3.1 Adding Child Pages
To add child pages:
-
Do one of the following:
-
Go to a page that has a portlet.
-
Click and select .
Under , select .
-
-
Click next to the community and select .
-
Select either or , depending on which set of pages you want to edit.
-
In the field, specify the name of the page.
-
From the drop-down list, select the type of page, choosing from , , , , , or .
The first page must be oftype.
-
Select the check box if the page is to be hidden.
-
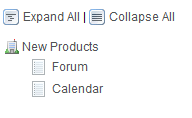
Click . The new page shows in the list of links on the left side.
-
Define additional pages as required.
Pages added when the name of the community is selected are top-level pages that appear as tabs.
Select a page link to add child pages underneath. Select the check box to copy settings from the parent page.
-
Select each page and click the tab to specify various settings for the page including friendly URL, meta tags, custom JavaScript, and meta robot settings.
-
To change the order of the top-level page tabs, do the following:
-
Click the community name and select the tab.
-
Move the page names up and down as required.
-
Click to save your changes.
-
-
Click at any level to set the default theme and colors for all private or public pages or the specific page.
-
Click to open the community in a new browser window.
-
Click to publish pages remotely.
5.3.2 Editing an Existing Page
To edit an existing page:
-
Click and select .
-
Select the page to edit, then click .
-
Edit the settings as necessary:
-
To copy the contents of another page to the selected page, select an existing page name from the drop-down list.
For example, to copy the contents of to the page, click the option. Note that any existing content on the page is overwritten.
-
To delete a page, edit it, then click .
-
-
Click .