4.1 Configuring Lists
The Identity Vault and the managed systems might contain more roles than can be displayed in the list and the list. Rather than paging through the lists to find the roles and authorizations you want to map, you can filter the lists to show the desired items.
4.1.1 Filtering the Identity Vault Roles List
-
In the Identity Vault panel, click the icon
 to display the Roles Filter dialog box.
-
Use the , , and fields to define the filter criteria.
The filter can utilize criteria in one, two, or all three fields. You can also use * and ? as wildcards. The field is case sensitive. The following are examples of possible filters:
Desired Result
Name Field
Category Field
Level Field
All roles that start with M
M*
Blank
Blank
All IT roles that start with M
M*
Blank
IT Role
All roles that start with M and are in the Systems Access category
M*
Systems Access
Blank
-
Click to apply the filter.
4.1.2 Filtering the Authorizations List
-
In the Authorizations panel, click the icon
to display the Authorizations Filter dialog box.
-
Use the , , and fields to define the filter criteria.
The filter can utilize criteria in one, two, or all three fields. You can also use * and ? as wildcards. The following are examples of possible filters:
Desired Result
ID Field
Description Field
Type Field
All authorizations that start with S
S*
Blank
Blank
All authorizations that start with S and whose type is Role
S*
Blank
Role
-
Click to apply the filter.
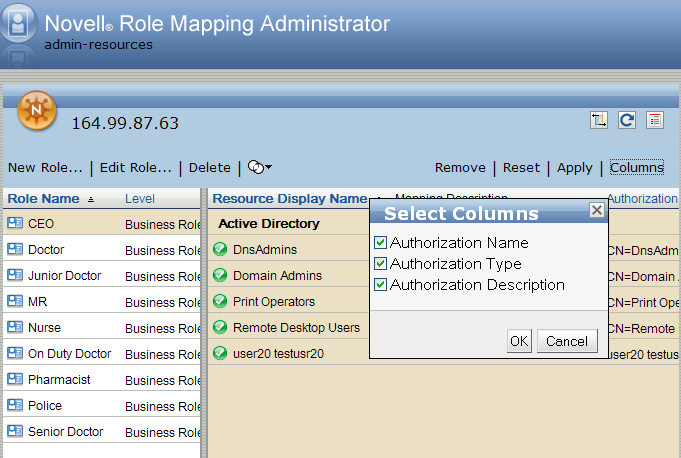
4.1.3 Customizing the Mapping List
The Role Mapping Administrator displays all the columns, including , and by default. You can hide the columns.
-
Click to open the Select Columns dialog box.
-
Select or deselect the columns that you want to display, then click . The Role Mapping Administrator stores the column setting for subsequent sessions.
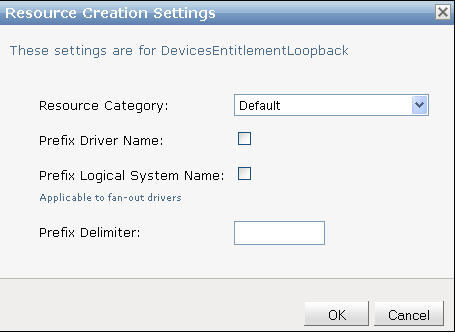
4.1.4 Customizing the Resource Names
You can change the resource creation settings to differentiate resources created for authorizations from different drivers or managed systems.
-
In the list, select the driver/logical system for which you want to customize the resource creation settings, then click icon
 in the toolbar.
-
Specify the category for creating the resource. For example, default or system.
-
Select the check box if you want to prefix the resource name with the driver name. For example, ldapdriver_<resource name>.
-
Select the check box if you want to prefix the logical system name for the resource. This is useful for fan-out drivers. For example, IDCL3000_<resource name>.
-
Specify the delimiter to use between the prefix and the resource name in the text box. You cannot include the following characters in the delimiter: < > , ; \ ʺ + # = / | & *.
-
Click to save the changes.