6.1 Managing XSLT Style Sheets in Designer
XSLT policy style sheets can be added, modified, and deleted using Designer’s XML Editor. The following sections provide details:
6.1.1 Adding an XSLT Style Sheet in Designer
-
Open a project in Designer and select the tab.
-
Select the driver and location where you want the style sheet.
-
Right-click and select .
-
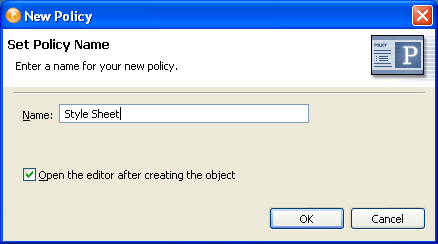
Specify the name of the style sheet.
-
Select , then click .

-
Select to save the project before editing the new style sheet.

-
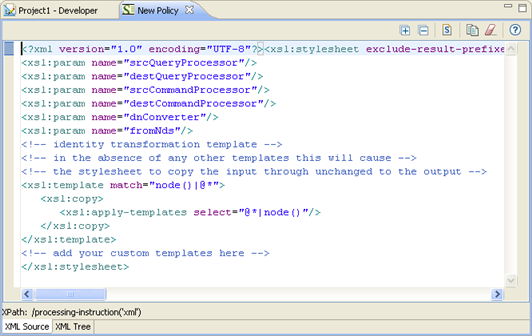
Add the style sheet information below the line .

-
Click , to save the style sheet.
6.1.2 Modifying an XSLT Style Sheet in Designer
-
Open a project in Designer and select the tab.
-
Select the XSLT style sheet you want to modify.
-
Right-click, then select .
Modify the style sheet as desired. To clear the existing style sheet content, click
 in the XML editor toolbar.
6.1.3 Deleting an XSLT Style Sheet in Designer
-
Open a project in Designer and select the tab.
-
Select the XSLT style sheet that you want to delete, right-click, then select .
Alternatively, you can clear the XSLT policy without deleting the object. To do this, right-click the XSLT policy, then select .