3.2 Editing a Template in Designer
-
Open your project.
-
In the Outline view, locate and expand the to display the default templates.
-
(Conditional) If no templates are displayed under the , right-click , then click .
-
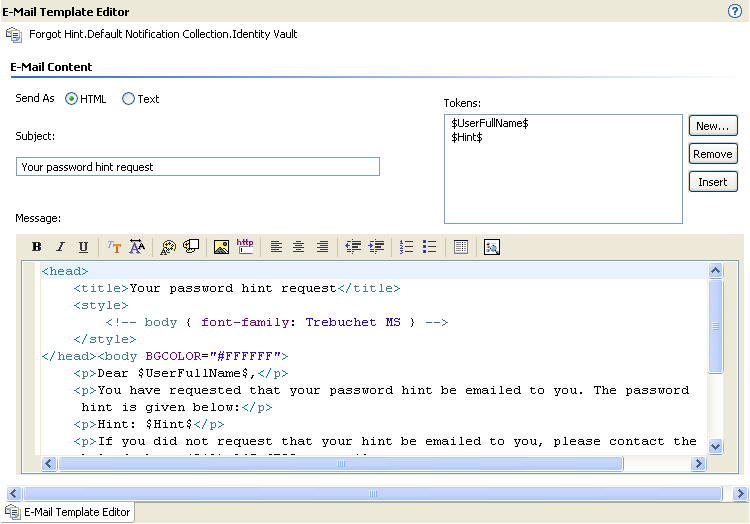
Double-click the template you want to edit.

-
In the field, select whether to send the e-mail in HTML format or in text format.
-
In the field, type the text that you want users to see in the e-mail’s Subject line.
You can use tokens in the Subject field. To do so, click where you want to insert the token, select the token from the list, then click . For information about adding new tokens, see Section A.0, Tokens and Replacement Tags.
-
In the box, type the message you want.
-
To format text, use the toolbar.

-
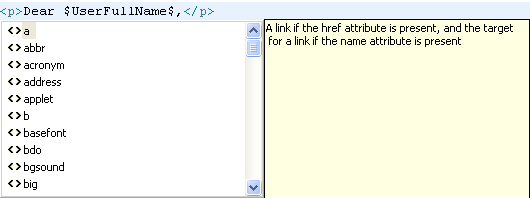
To insert HTML tags, place your cursor in the Message box at the location where you want to insert a tag, then press Ctrl+Spacebar or type < to display a list of HTML tags to choose from.

-
To insert a token, place your cursor in the Message box at the location where you want to insert the token, select the token in the Tokens list, then click . For information about adding new tokens, see Section A.0, Tokens and Replacement Tags.
-
To preview the message, click the icon
 .
.
-
-
To attach an image to an e-mail, ensure that you place the image files in the correct directory depending on your platform:
-
UNIX/Linux: Place the images in the /opt/novell/eDirectory/lib/dirxml/rules/manualtask/mt_files directory.
-
Windows: Place the images in the <eDirectory installation folder>\NDS\mt_files directory.
-
In your e-mail template, use the following syntax to attach images:
<p> <img ALT="your image" SRC="cid:orchid.gif" height="29
width="80/> </p>
where orchid is the name of the image.
Because the file name is case sensitive, the name of the file (image) must exactly match with the file name in the directory.
-
Restart the system after placing the image files in the correct directory for your platform.
For example, if an e-mail has already been sent, you need to restart ndsd/eDirectory for it to use the new image.
-
UNIX/Linux: Restart ndsd.
-
Windows: Restart eDirectory.
-
-
-
Right-click the template and click .
-
To deploy the template into your live system, right-click the template, click > .