2.3 Running the Identity Reporting Module Install Program
To run the installation program for the reporting module:
-
Launch the installer for your platform:
Linux
./IDMReport.bin
Windows
IDMReport.exe
When the installation program launches, you are prompted for the language:
-
Choose the language for your installation and click .
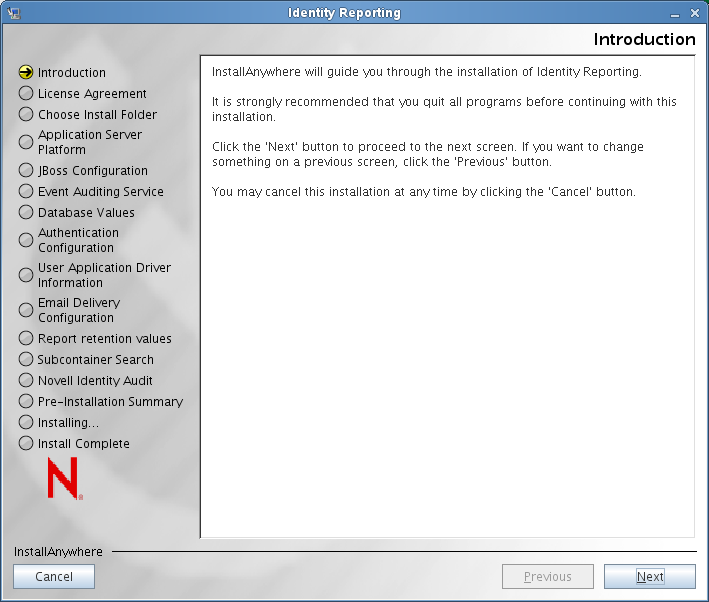
The installer displays the Introduction screen:
-
Click .
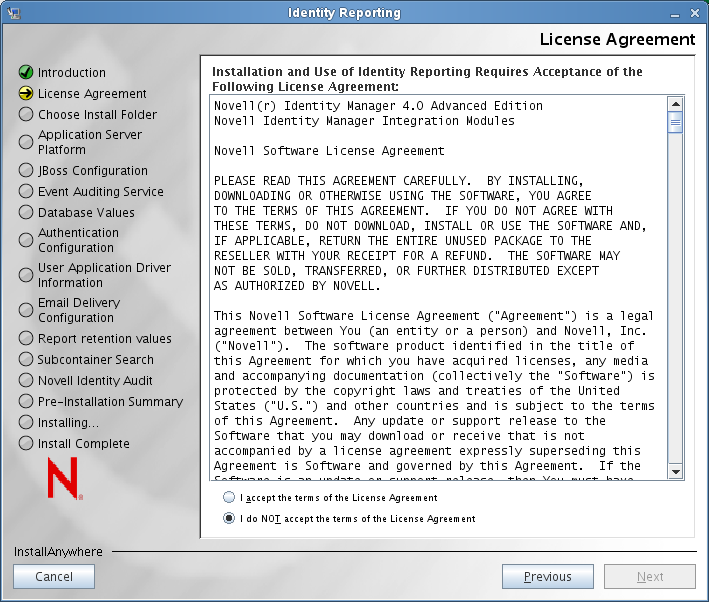
The installer displays the License Agreement screen:
-
Confirm the license agreement and click .
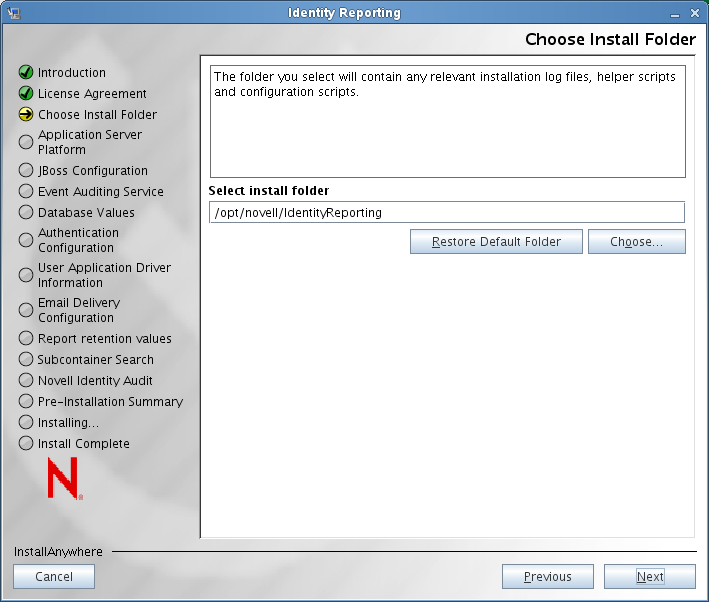
The installer displays the Choose Install Folder screen:
-
Specify the target location on disk where you want the installation files to be stored and click .
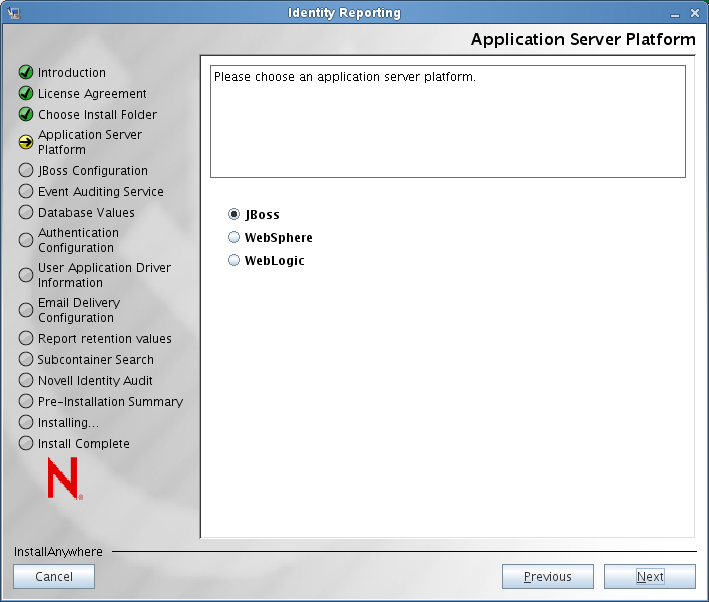
The installer displays the Application Server Platform screen:
-
Select the application server platform where you will be running the core WAR (IDMRPT-Core.war) and the authentication WAR (IDMRPT-Auth.war) for the reporting module. Click .
IMPORTANT:The names of these WAR files must not be changed. If you change either of the WAR file names, the deployment process fails.
The installer displays the configuration screen that applies to your application server platform.
WebLogic and WebLogic Configuration: If you are deploying the reporting module on WebSphere or WebLogic, be sure to read Section 2.3.5, Configuration Notes for WebLogic and WebSphere.
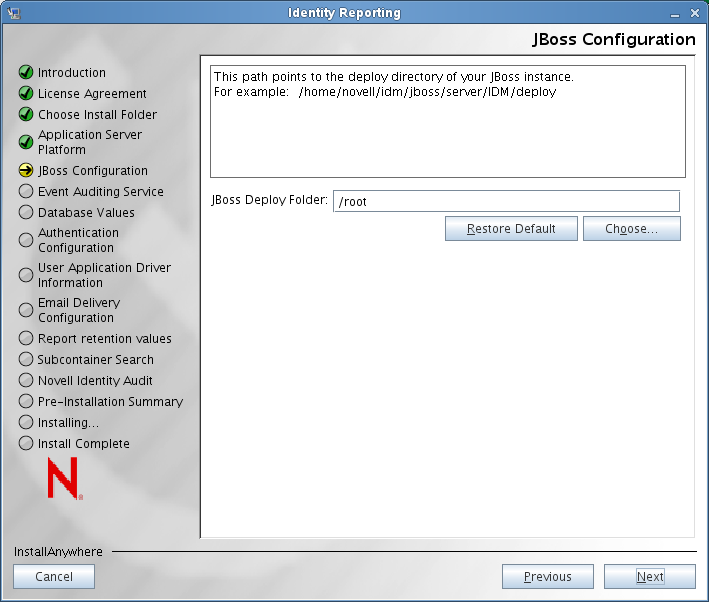
JBoss Configuration: For JBoss, the install program displays this screen:
-
Specify the target location on disk of the deploy directory for your JBoss server:

-
Click .
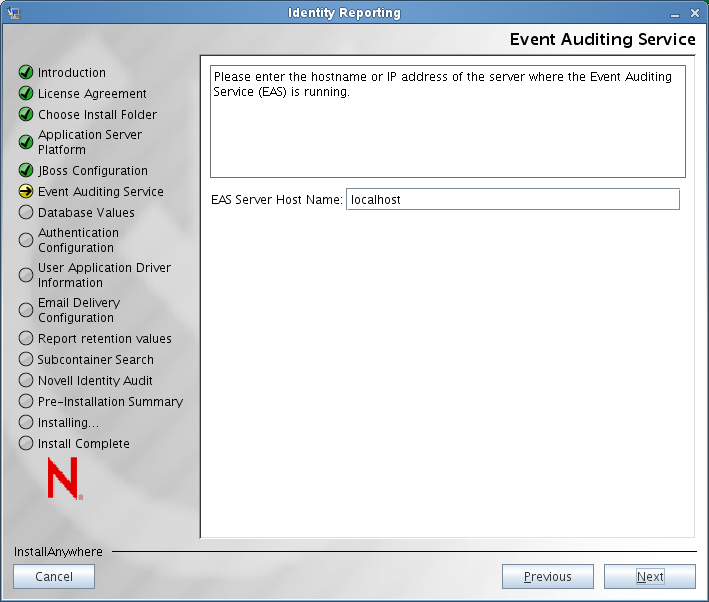
The installer displays the Event Auditing Service (EAS) screen:
-
Specify the server name or IP address of the EAS server in the field.
If your EAS server is installed on a remote machine, the installer displays an additional screen for EAS configuration that allows you to specify a password for the server. Copy the system password from the system property in the activemqusers.properties file on the machine where EAS is installed, and paste it into the field.
-
Click .
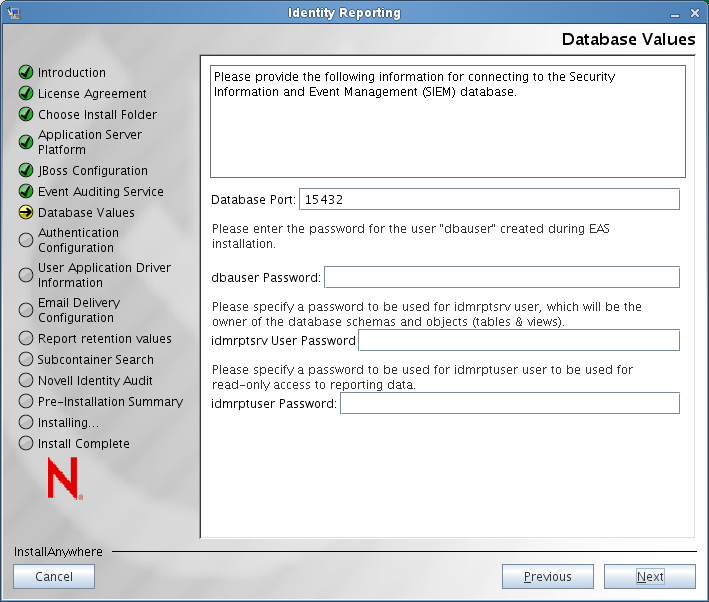
The installer displays the Database Values screen:
-
Specify the port number for the database server where the Security Information and Event Management (SIEM) database is stored. Also specify passwords for the following users:
-
Database administrator (user named dbauser)
-
Owner of the database schemas and objects for reporting (user named idmrptsrv)
-
User with read-only access to the reporting data (user named idmrptuser)
-
-
Click .
The reporting module installs a JAR file for the PostgreSQL JDBC driver, and automatically uses this file for database connectivity. Therefore, you do not need to select the JAR file for the JDBC driver.
The installer updates the Database Values screen to include a check box that allows you to test the connection to the database:
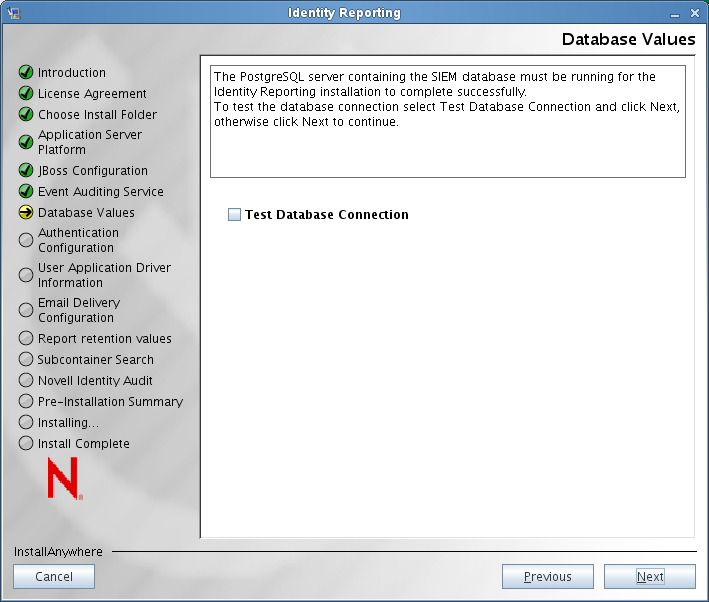
NOTE:The installer requires that the database be running. If it is not running, the installation process does not finish successfully.
-
Select and click .
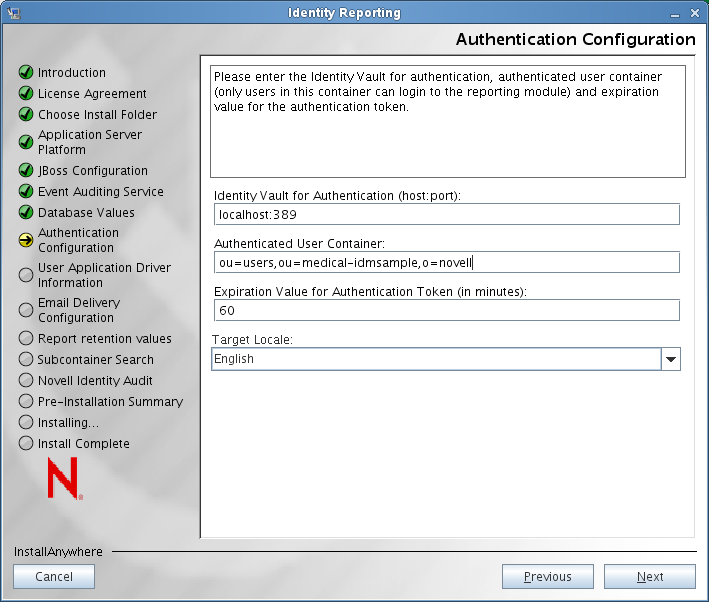
The installer displays the Authentication Configuration screen:
-
Provide the following information about the configuration:
Configuration Value
Description
Identity Vault for Authentication
Specifies the name and port number for the Identity Vault that will be used for authentication.
Authenticated User Container
Specifies the LDAP distinguished name (DN) of the container for users that authenticate. Only users in this container can log in to the reporting module.
NOTE:If the DN contains any special characters as defined in RFC 2253/4514 section 2.4, those characters have to be provided as already escaped according to RFC 2253/4514.
Expiration Value for Authentication Token
Specifies the number of minutes to retain the token for authentication.
Target Locale
Lets you select a language for the configuration.
-
Click .
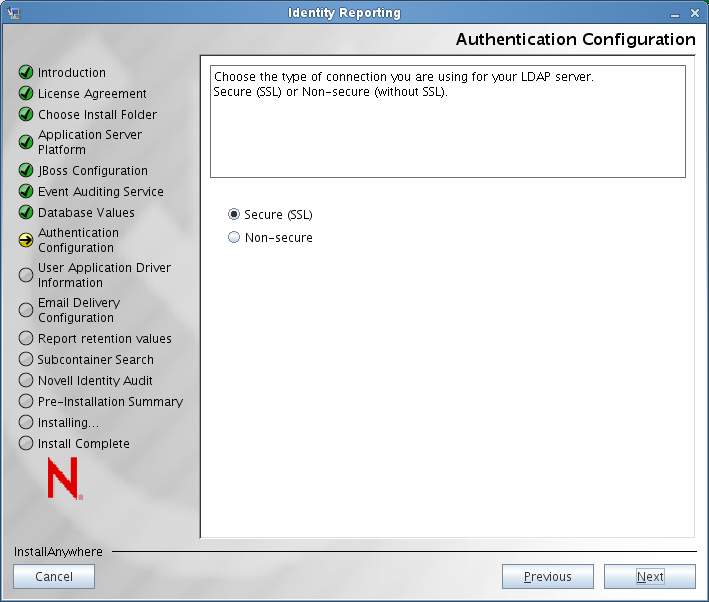
The installer updates the Authentication Configuration screen to show radio buttons that allow you to specify the type of connection you are using:
-
Select one of these options to specify the type of connection you want to use with your LDAP Server:
Option
Description
Secure (SSL)
Select this option to require that all communication be done using a secure socket. (This option can have adverse performance implications). This setting allows other operations that don't require SSL to operate without SSL.
Non-secure
Select this option to allow communication without SSL.
-
Click .
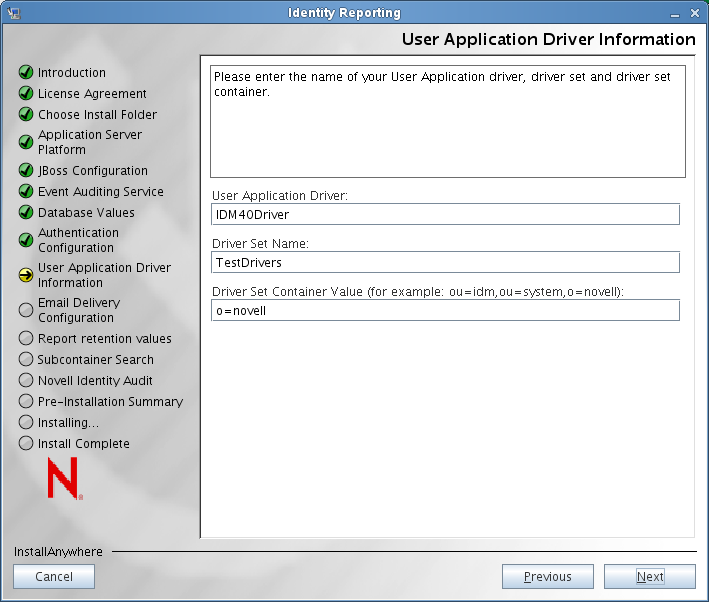
The installer displays the User Application Driver Information screen:
-
Specify the name of the User Application Driver, driver set, and driver set container you plan to use for the reporting module, then click .
NOTE:The values for all three fields on this screen must be escaped according to the rules defined in RFC 2253/4514.
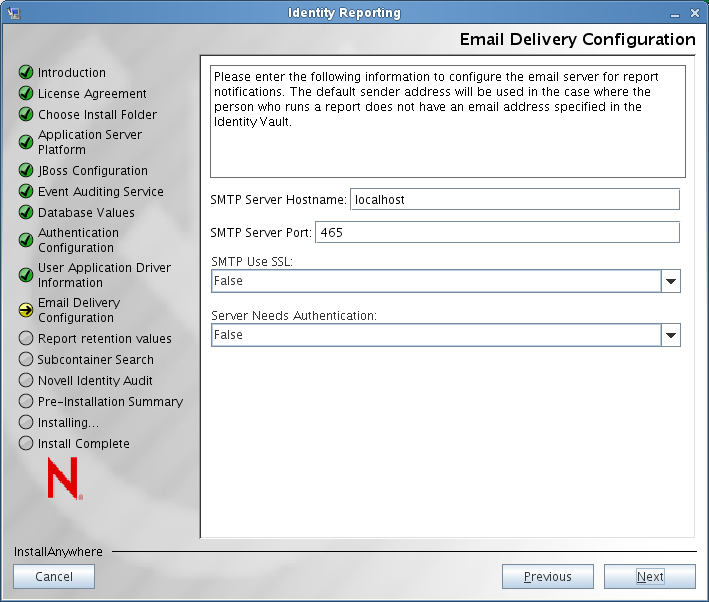
The installer displays the Email Delivery Configuration screen:
-
Provide the following information about your Simple Mail Transfer Protocol (SMTP) server configuration:
Setting
Description
SMTP Server Hostname
Specifies the host address for the e-mail server that will be used for e-mail notifications sent by the reporting module
SMTP Server Port
Specifies the port number for the e-mail server.
SMTP Use SSL
Enables or disables SSL for communications with the e-mail server. Select to enable SSL, or to disable SSL.
Server Need Authentication
Enables or disables authentication for communications with the e-mail server. Select to enable SSL, or to disable authentication.
-
Click .
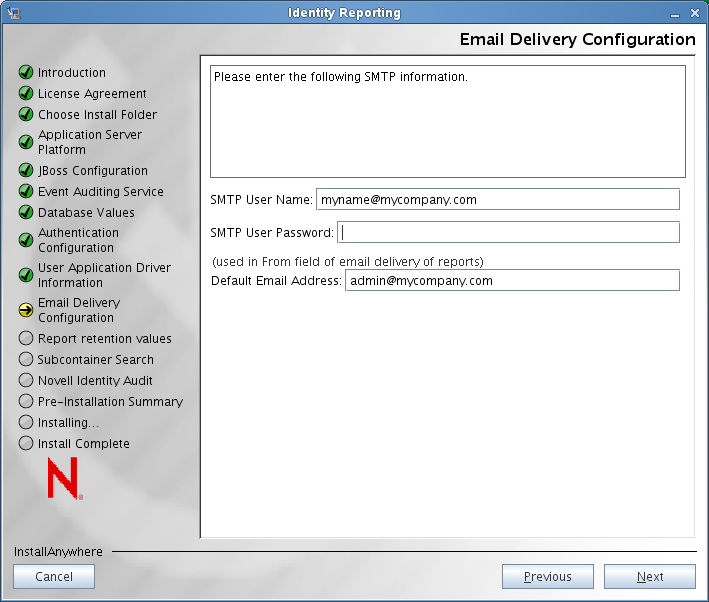
The Email Delivery Configuration screen is updated to include several additional fields required for the e-mail configuration:
-
Provide these additional SMTP settings:
SMTP Setting
Description
SMTP User Name
Specifies the e-mail address to use for authentication, when authentication is enabled.
SMTP User Password
Specifies the password associated with the e-mail address used for authentication.
Default Email Address
Provides the default e-mail address to use in the From field for e-mail notifications from the reporting module.
-
Click .
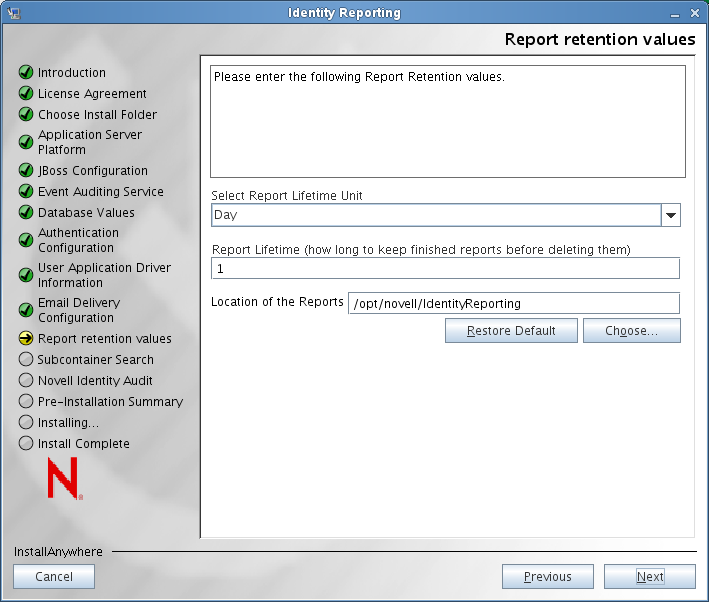
The installer displays the Report Retention Values screen:
-
Provide these additional report settings:
SMTP Setting
Description
Select the Report Unit
Before specifying a report lifetime value, you need to specify the unit for the report lifetime value. Select one of the following units:
-
Day
-
Week
-
Month
Report Lifetime
Specifies how long the reporting module should retain completed reports before deleting them.
Location of the Reports
Specifies the disk location where report definitions will be stored.
-
-
Click .
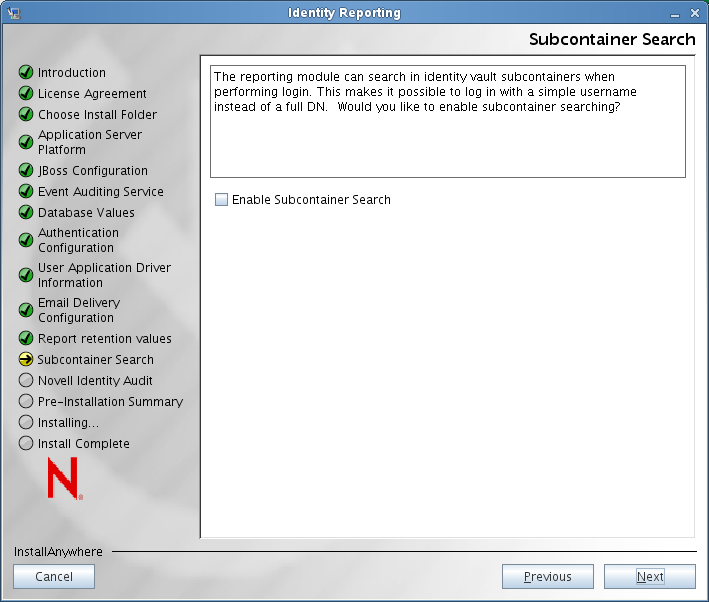
The installer displays the Subcontainer Search screen:
-
Indicate whether you want to enable subcontainer searches at login time by selecting or deselecting the check box on the Sub Container Search screen.
If you enable subcontainer searches, you need to provide an LDAP administrator username and password and also specify which login attribute will be used for searching the subtree of the user container. If there are any special characters in the LDAP administrator username, you need to escape these characters:

If you disable subcontainer searches, no searches are performed within the subtree of the user container, and the simple name that the user types during login is always treated as a CN.
-
Click .
The installer displays the Novell Identity Audit screen:
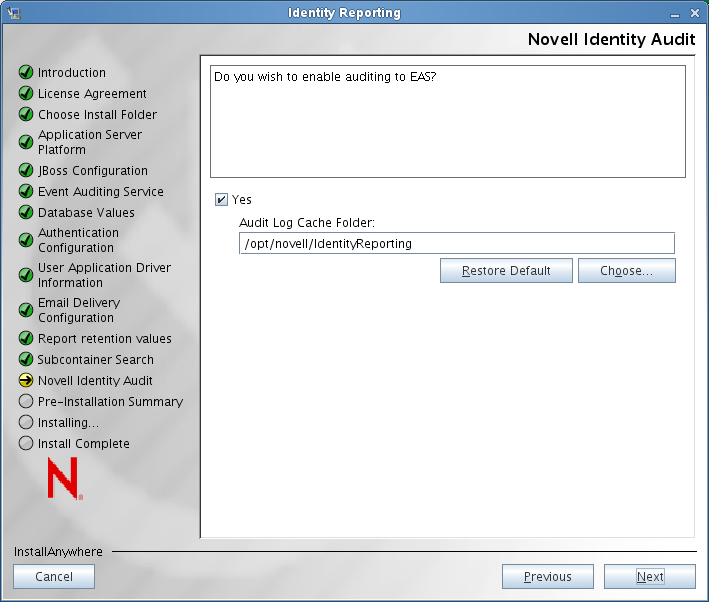
-
If you want to enable auditing to EAS, select , specify the location of the cache folder for auditing, then click .
If you do not want to enable auditing, simply click .
The installer displays the Pre-Installation Summary screen:
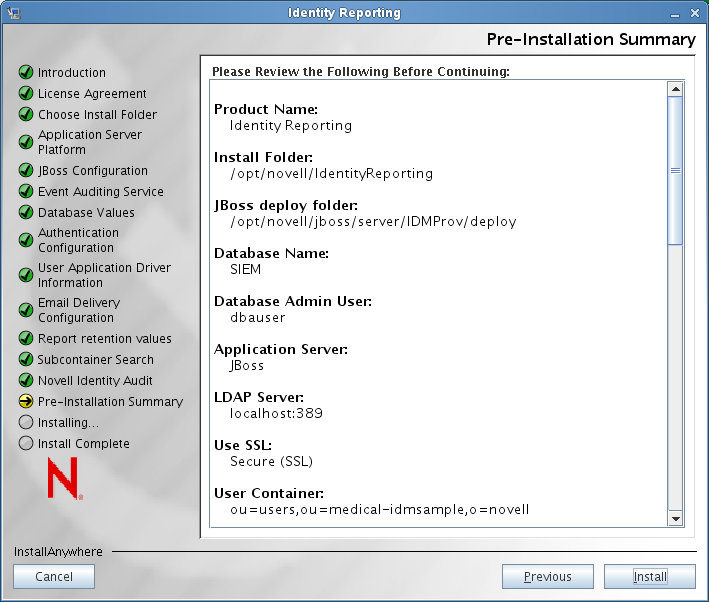
-
Click to begin copying files.
If you need to change any of your installation settings, click .
2.3.1 Running the Installer in Silent Mode
You can run the reporting installer in silent mode. Before running the installer, you need to edit the properties file for the installer. Once you’ve edited the properties file, launch it with this command:
./IDMReport.bin -i silent -f <path to the properties file>
For example:
./IDMReport.bin -i silent -f /root/Software/silent.properties
2.3.2 Setting Passwords in the Environment for a Silent Install
If you do not want to specify the passwords in the properties file, you can set the passwords in the environment instead. In this case, the silent installer will read the passwords from the environment, rather than from the properties file. This can provide some additional security.
The following passwords need to be set for the reporting installer:
-
NOVL_ADMIN_PWD
-
NOVL_DB_RPT_USER_PASSWORD
-
NOVL_SMTP_PASSWORD
-
NOVL_EAS_SYSTEM_PASSWORD
-
NOVL_IDM_SRV_PWD
-
NOVL_IDM_USER_PWD
To set a password on Linux, use the export command, as shown in the following example:
export NOVL_ADMIN_PWD=myPassWord
To set a password on Windows, use the set command, as shown in the following example:
set NOVL_ADMIN_PWD=myPassWord
2.3.3 Making Configuration Changes After the Installation
After the installation process is complete, you can still make changes to many of the installation properties for the Identity Reporting Module by running the post-install configuration tool. To launch this tool, execute this file:
./ReportConfig.bin
The user interface for this tool is very similar to the interface for the Identity Reporting Module installer, so you can simply make changes within this tool just as you would within the installer.
If you change any setting for the reporting module by using the post-install configuration tool, you need to restart the application server for the changes to take effect. Any changes made in the Web user interface for the Identity Reporting Module don't require restarting the server.
2.3.4 Defining User Preferences After the Installation
The preferences defined with the post-install configuration tool (ReportConfig.bin) apply to the user that started the tool. Suppose the root
user installed the reporting module and configured the settings for reporting during the installation. In this case, the configuration applies to the system preferences, which define the default settings for the application. When another user such as Allison Blake later launches the reporting module, the module runtime uses the system preferences by default. However, Allison can run the post-install configuration tool to modify the configuration. In this case, the new configuration does not overwrite the system preferences, but instead saves these preferences separately for Allison. This behavior applies to all users. In addition, the REST API can be used to configure user preferences for reporting module users. Whenever a particular user launches the reporting module, the application uses the preferences for the logged in user.
Now suppose that the root
user decides to uninstall the reporting module. This user runs the uninstaller, which removes the binaries as well as the system preferences and user preferences for the root
user. However it doesn't remove the user preferences for any other users. Later, if the root
user installs the reporting module again, and Allison tries to launch the reporting module, Allison will still be using the user preferences configured for her during the previous installation. Therefore, in some situations, you might to suggest that the individual users of the reporting module clean up their user preferences before an uninstall and reinstall of the product.
2.3.5 Configuration Notes for WebLogic and WebSphere
The install program for the reporting module creates the users idmrptsrv and idmrptuser in the PostgreSQL database. These users are needed in order to test the data sources required by the reporting module. Furthermore, the data sources need to exist before you deploy the application.
Preparing a WebLogic or WebSphere Environment to Run the Reporting Module
To ensure that your environment is set up correctly, you must perform these steps in the order shown below.
-
Install the reporting module, as described under Section 2.3, Running the Identity Reporting Module Install Program.
This step creates the idmrptsrv and idmrptuser users in the PostgreSQL database, as well as writes the WARs to /opt/novell/IdentityReporting.
-
Create two data sources for PostgreSQL that connect to the SIEM database. These data sources are bound to the users idmrptsrv and idmrptuser.
For WebSphere, you need to create data sources with the names IDMRPTCfgDataSource and IDMRPTDataSource.
On WebLogic, the names for the datasources must be jdbc/IDMRPTCfgDataSource and jdbc/IDMRPTDataSource.
IDMRPTCfgDataSource is bound to the user called idmrptuser and IDMRPTDataSource is bound to the user called idmrptsrv.
The installation for JBoss creates both data sources automatically, so you do not need to create the data sources for JBoss.
-
Deploy the reporting module using the application server deployment tools.
Additional Configuration Notes For WebLogic
This section provides additional configuration notes for WebLogic.
Disabling the enforce-valid-basic-auth-credentials Flag
On WebLogic, the reporting module does not find your Identity Vaults unless you disable the enforce-valid-basic-auth-credentials flag.
-
Open the config.xml file in the <WLHome>\user_projects\domains\idm\config\ folder.
-
Add the following line in the <security-configuration> section right before the closing of this section:
<enforce-valid-basic-auth-credentials>false</enforce-valid-basic-auth-credentials>
</security-configuration>
-
Save the file and restart the server.
After making this change, you should see your Identity Vaults in the reporting module.
SSL Configuration
If you are using SSL connections, you need to persist the eDirectory certificate. This is not necessary for JBoss, because the User Application installer (via configupdate) should have persisted the certificate already.
For WebLogic, you can use keytool:
keytool -importcert -trustcacerts -file MyCACert.der -keystore cacerts
Adding JAR Files to the PRE_CLASSPATH
If you have installed the Roles Based Provisioning Module and the reporting module on separate servers, you need to add the antlr-2.7.6.jar to the EXT_PRE_CLASSPATH environment variable for the reporting module configuration on WebLogic.
Additional Configuration Notes for WebSphere
This section outlines additional configuration steps required for WebSphere.
Configuring the Spring Framework
WebSphere 7 has the Spring framework 2.5.5 in its system classpath, whereas the EAS REST API war contains (and uses) the Spring framework 3.0.1. Therefore, you need to remove the Spring framework 2.5.5 jars from the WebSphere system classpath. The WebSphere server should be dedicated to Novell applications because other applications deployed on the same server that rely on WebSphere's bundled Spring framework do not work. The location for the Spring framework jar files is <websphere>/AppServer/lib. This applies to all supported operating systems. On Windows, the path should use backslashes instead of forward slashes.
The files that need to be removed are as follows:
spring-beans-2.5.5.jar
spring-core-2.5.5.jar
Configuring the Reporting Module to Run Within a Windows Service
When the Identity Reporting Module is deployed to a Web container that runs as a Windows Service, the property of that service needs to be configured properly so that it can read or write the same configuration data that is set by the installer or post-install configuration tool.
If you do not make this change, you might see problems when WebSphere 7.0 is installed as a Windows service. In this case, the property is set by default to local system,
which doesn't map to any user defined in the users and groups for the system. The reporting module uses Java Preferences to store application configuration data, which are associated with the OS user who executes the process (in other words, the application server).
The solution is to set the property to the user account that you expect the application server to run as. For example, if you want it to run as administrator,
then set to administrator. The post-install configuration tool must run as the same user. For more information, see Section 2.3.4, Defining User Preferences After the Installation.
SSL Configuration
If you are using SSL connections, you need to persist the eDirectory certificate. This is not necessary for JBoss, because the User Application installer (via configupdate) should have persisted the certificate already.
For WebSphere, you can uploaded the CA to the Trusted Store via the console utility.