C.2 Adding to the Palette
The need to extend the default palette usually arises when additional driver configuration files need to be hooked up to existing applications or to new applications or drivers.
Adding to the palette is a very delicate process and only successful if followed exactly step by step. Each step needs to be adapted to your situation.
C.2.1 Copying Configuration Files
-
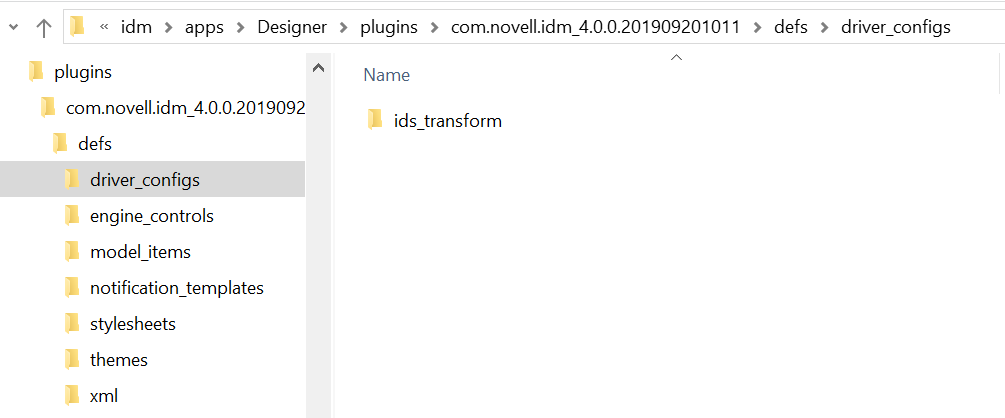
Copy the new driver configuration file into the driver_configs folder so that the configuration file is accessible (but not yet hooked up) from Designer.
In this example, the new driver configuration file is CustomDriver-IDM3_5_0-V1.xml.
Figure C-13 An Example New Driver Configuration File
-
Copy into the driver_configs folder all corresponding .xlf files that belong to CustomDriver-IDM3_5_0-V1.xml.
-
Continue with Creating the Group to connect the driver configuration file with the palette.
C.2.2 Creating the Group
Before you place the new application Custom Application into the new Custom Applications group, you must first create the group.
-
Decide on the name of the new application that you want to create and the group that you want the new application to go into.
For this example, the following names are used:
-
New application: Custom Application
-
New group: Custom Applications
-
-
Add a group element to the defs/model_items/Palettes/Main.xml file.
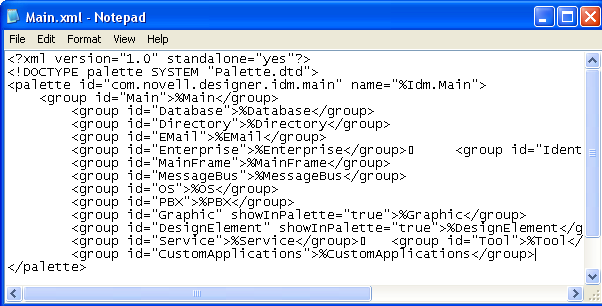
Give the group element an ID attribute with an intuitive and unique value (for example, CustomApplications). Set the value of the element to %CustomApplications to make it localizable.
-
Save the file.
-
Continue to Adding a Key_Value Pair.
C.2.3 Adding a Key_Value Pair
-
Open defs/model_items/Palettes/props/Main.properties.
This is the properties file for the Main.xml file that you edited in Step 2.
-
Add a key/value pair (for example, CustomApplications = Custom Applications).

-
Save the file.
-
If you want to localize the group name into other languages, copy the properties file and rename it to Main_language_code.properties.
For an example of supported languages and their codes, view the .xlf files in the defs/driver_configs folder.
-
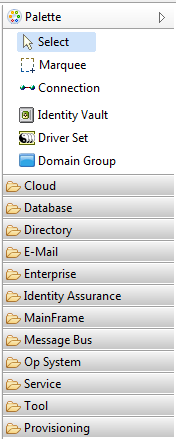
View the new group as an empty group in the palette by starting the copy of Designer that you are manipulating.
-
Continue with Creating a Driver Definition.
C.2.4 Creating a Driver Definition
-
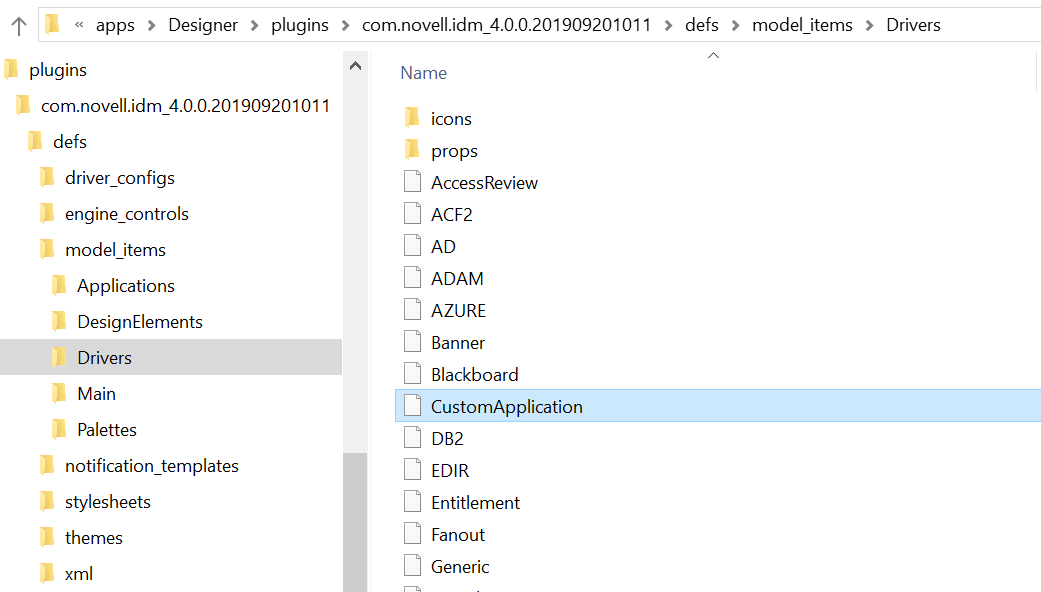
Create a driver configuration file CustomApplication.xml in the defs/model_items/Drivers folder.
The new configuration file must follow the Driver.dtd specifications in the folder that you just created. The easiest way to do this is to copy an existing driver definition file, rename the file, then modify it.
-
Edit the configuration file.

-
Provide an intuitive and unique type (for example, CustomApplication-Driver).
-
Set the primaryApp value to CustomApplication.
-
Set secondaryApp value to GenericApp.
-
Specify the app-dn-format that your application supports.
-
Leave the icons as they are. They are not driver-specific.
-
Specify the shims that your application supports.
-
Specify the driver configuration file to use for this driver.
Specify only the filename, without the versioning information.For example, if your driver configuration file is named CustomDriver-IDM3_5_0-v1.xml, you refer to it as Custom.xml).
Because Designer hides or displays the user interface and features based on the version of the engine that you are working on, driver configuration filenames are important. You need to store the version information in the configuration filename, according to a well-defined format:
base name[-type]-idm engine version-configuration file version.xml
Examples:
-
ActiveDirectory-Mirror-IDM3_0_1-V9.xml
-
ActiveDirectory-Flat-IDM3_5-V3.xml
-
SAP-HR-IDM2_0_2-V2.xml
-
SAP-User-IDM3_0_1-V1.xml
-
SAP-User-IDM3_0_1-V2.xml
In the example filenames, the IDM element identifies the engine version. The IDM elements to date are the following:
-
IDM2_0
-
IDM2_0_1
-
IDM2_0_2
-
IDM3_0
-
IDM3_0_1
-
IDM3_5
-
IDM3_6
-
IDM4_0
The V element in the example filenames specifies the version of this particular configuration file. It is a number that is incremented with each release of a new configuration file version. The following are examples:
-
V1
-
V9
-
V11
No requirement exists for a more complex numbering schema.
-
-
-
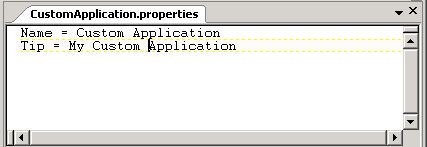
Modify the props/CustomApplication.properties localization file.

You might need to create this file. If so, the quickest way is to copy, rename, and edit the file.
-
Continue with Creating the Application.
C.2.5 Creating the Application
The next step is to create the Custom Application application and place it in the new Custom Applications group.
-
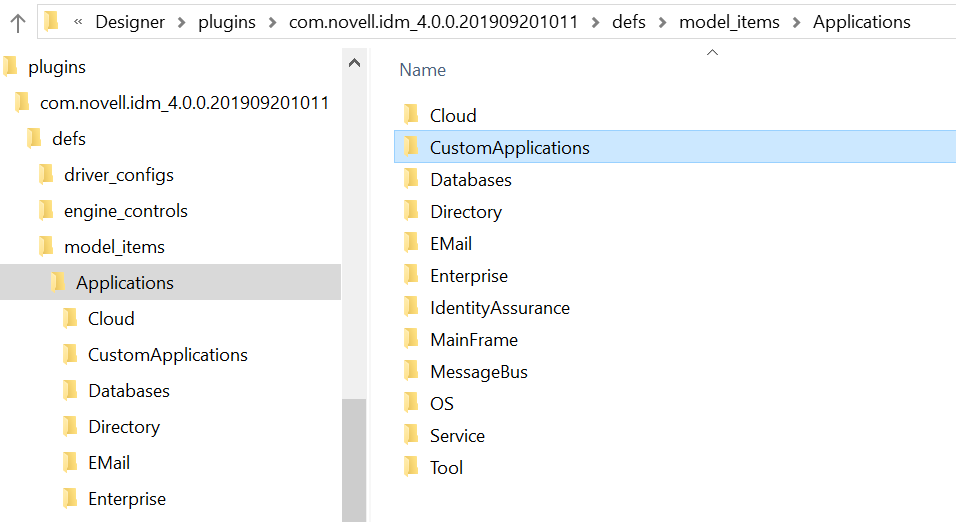
Create a folder in the defs/model_items/Applications directory.
Name the folder the same name as the group ID. In this example, the name is CustomApplications, as specified in Step 2.
-
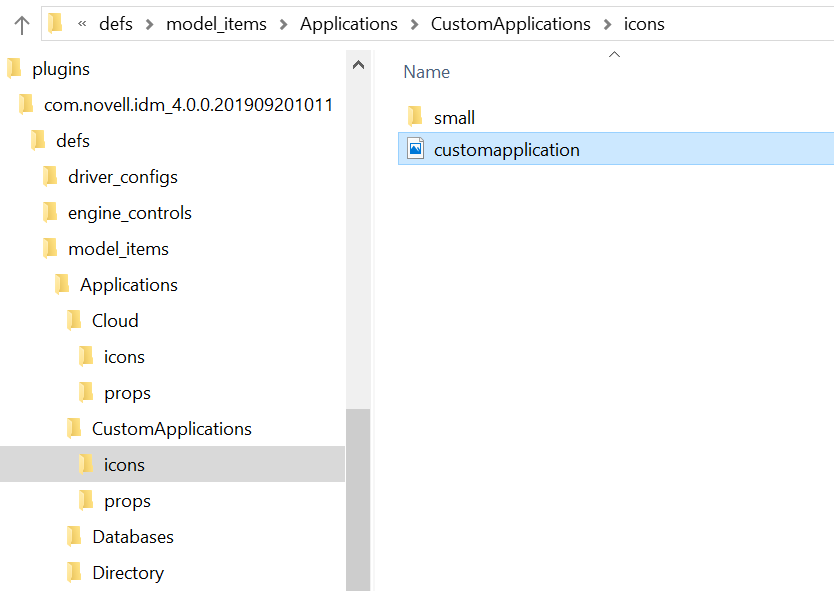
Create icons, icons/small, and props folders in the CustomApplications folder.
-
Create icons for the application.
You can copy existing icons and modify them so the transparency is correct. In this example, modify the existing Generic Application icons.
-
Copy defs/model_items/Applications/Tool/icons/generic_app.png to defs/model_items/Applications/CustomApplications/icons. Rename the file as customapplication.png.
-
Copy defs/model_items/Applications/Tool/icons/small/generic_app.gif to defs/model_items/Applications/CustomApplications/icons/small. Rename the file as customapplication.gif.
-
-
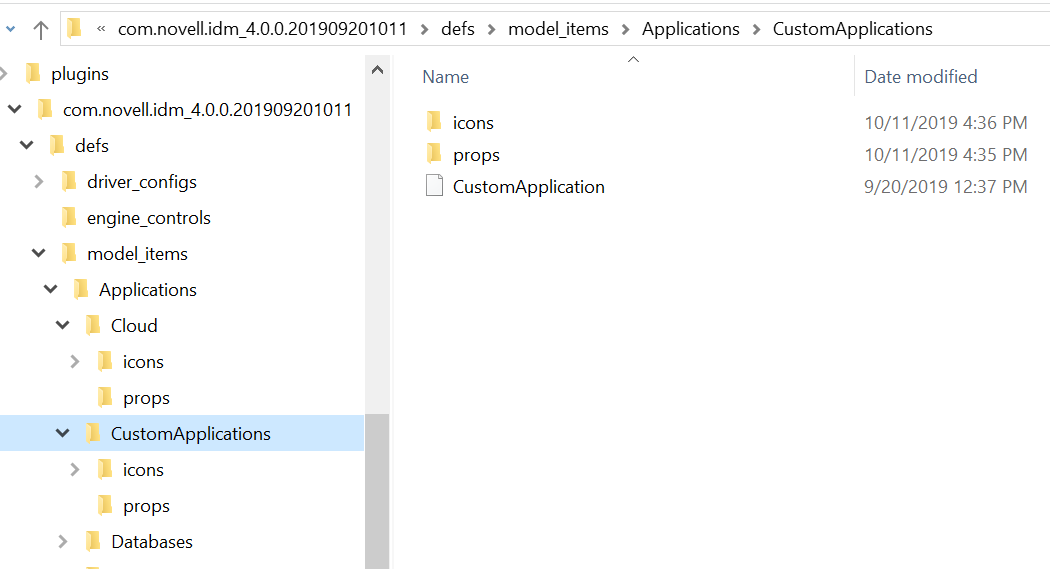
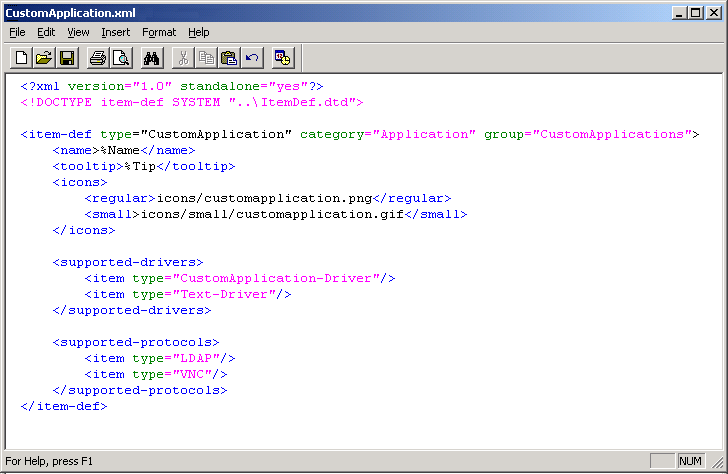
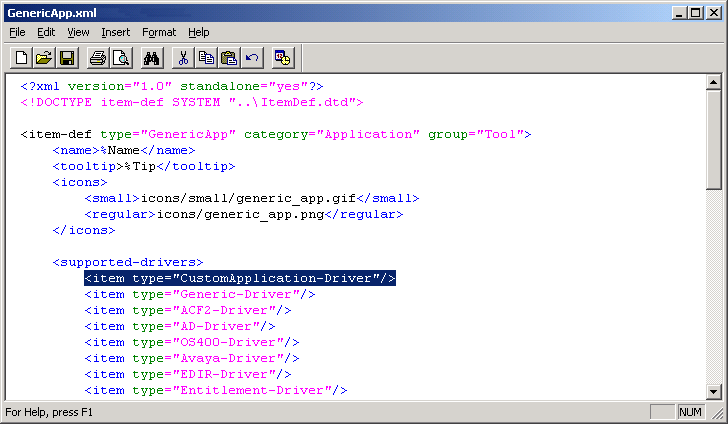
Create an application definition file (.xml) in the defs/model_items/Applications/CustomApplications folder.
The definition file follows the ItemDef.dtd specifications. (See Table C-1.)
The easiest way to create the file is to copy an existing application definition file (for example, GenericApp.xml), rename the file, then modify it.
The application definition file and the .properties file created in Step 5 need to have the same name as the type. In this example, the files are named CustomApplication.xml and CustomApplication.properties.
-
Make sure that the type attribute of the item-def element is set to an intuitive and unique name (for example, CustomApplication).
-
Leave the category attribute as and set the group attribute to the group ID, which is .
Reference the icons as you named them and do the same for the supported drivers. In this example, the Delimited Text Driver (Text-Driver) is added as an alternative to the Custom Application Driver (CustomApplication-Driver).
If the application can be connected to by using LDAP or VNC, leave these supported protocols in. Otherwise, remove them. Usually, every application runs on a host OS that supports either one or both of the protocols. Having these protocols registered enables certain functionality in Designer for that application.
-
-
Modify the props/CustomApplication.properties localization file in the same way you modified the group.
An easy way is to copy defs/model_items/Applications/Tool/props/GenericApp.properties to defs/model_items/Applications/CustomApplications/props. Rename the file to CustomApplication.properties, then modify and save the file.
-
Copy the .gif icon file into the com.novell.designer.core/icons/iManager directory.
This icon is used in iManager after the driver is deployed into the Identity Vault.
-
Continue with Hooking Up the Custom Application.
C.2.6 Hooking Up the Custom Application
-
Run Designer.
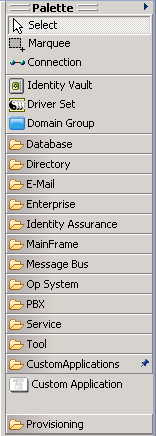
The new Custom Application appears in the new Custom Applications group in the palette.
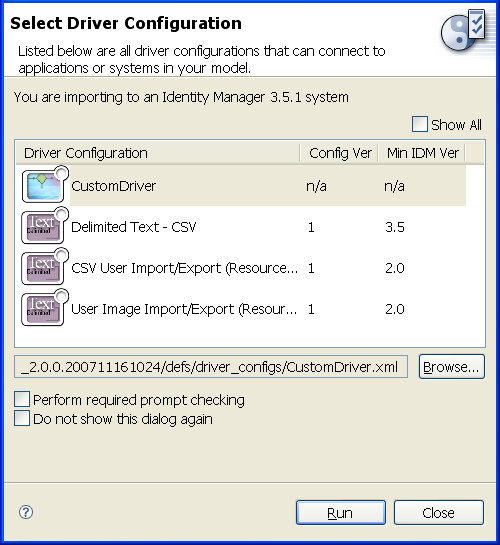
If you drag and drop the application to the Modeler workspace, the Driver Configuration Wizard prompts you to import the following:
-
The new Custom Driver configuration file
-
All the Delimited Text driver configurations as specified in the application definition file
-
-
For full functionality in Designer, hook up your custom application to the Generic Application (GenericApp):
-
Open the application definition file defs/model_items/Applications/Tool/GenericApp.xml.
-
Add the new driver CustomApplication-Driver to the list of supported drivers.
If you now drag and drop a Generic Application from the Tools group, your new custom driver appears as a selectable option in the Driver Configuration Wizard.
-