2.1 Preparing for Installation
This section provides the prerequisites, considerations, and system setup needed to install the driver:
2.1.3 Prerequisites for OAuth 2.0
The driver uses OAuth 2.0 protocol to authenticate to Azure AD. To support this protocol for authentication, you need to have a proxy application for the Azure AD driver on Azure AD. The Client ID and Client Secret allotted to the application will be later used in the Azure AD driver configuration. For more information about Azure Active Directory Application Proxy, see Microsoft Azure documentation.
Creating a Proxy Application on Azure AD
-
Log in to the Azure portal.
For example, https://manage.windowsazure.com or https://portal.azure.com. In this section, we have used https://manage.windowsazure.com as an example.
-
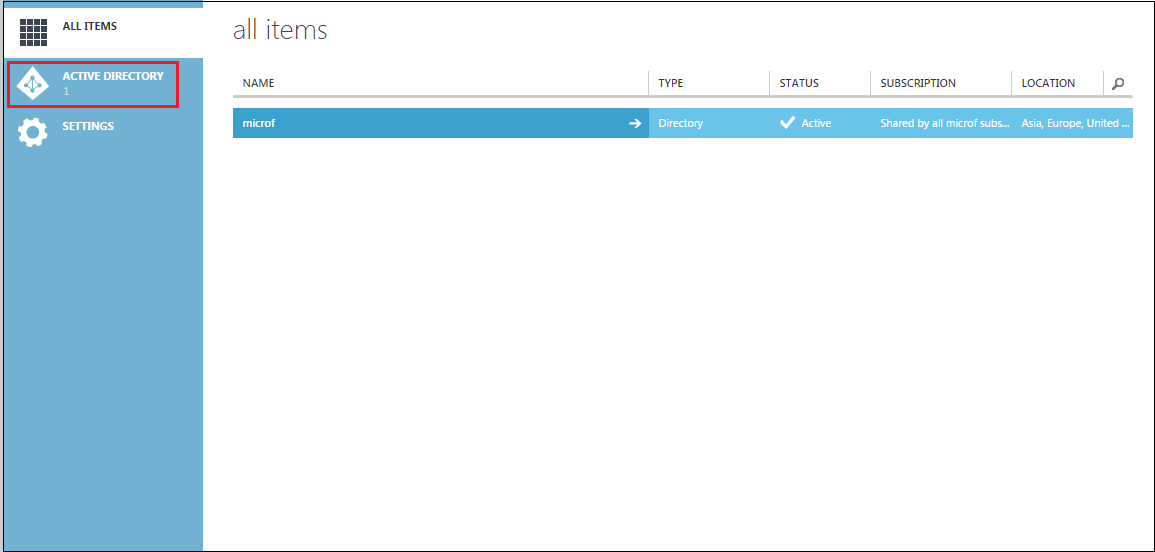
Select from the left pane of the portal.
-
Select the default Active Directory from the right pane of the portal.
-
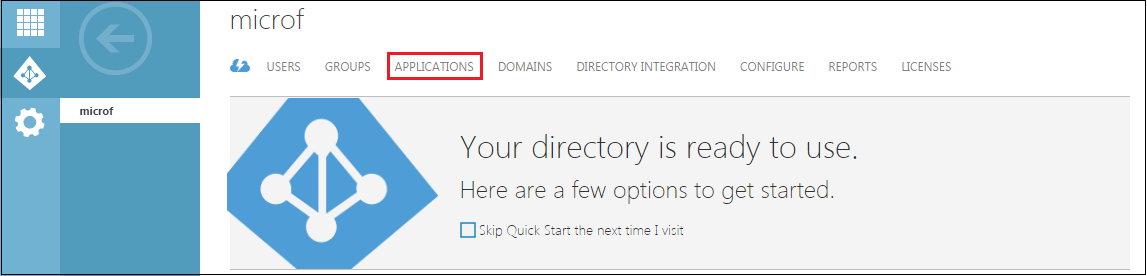
Click .
-
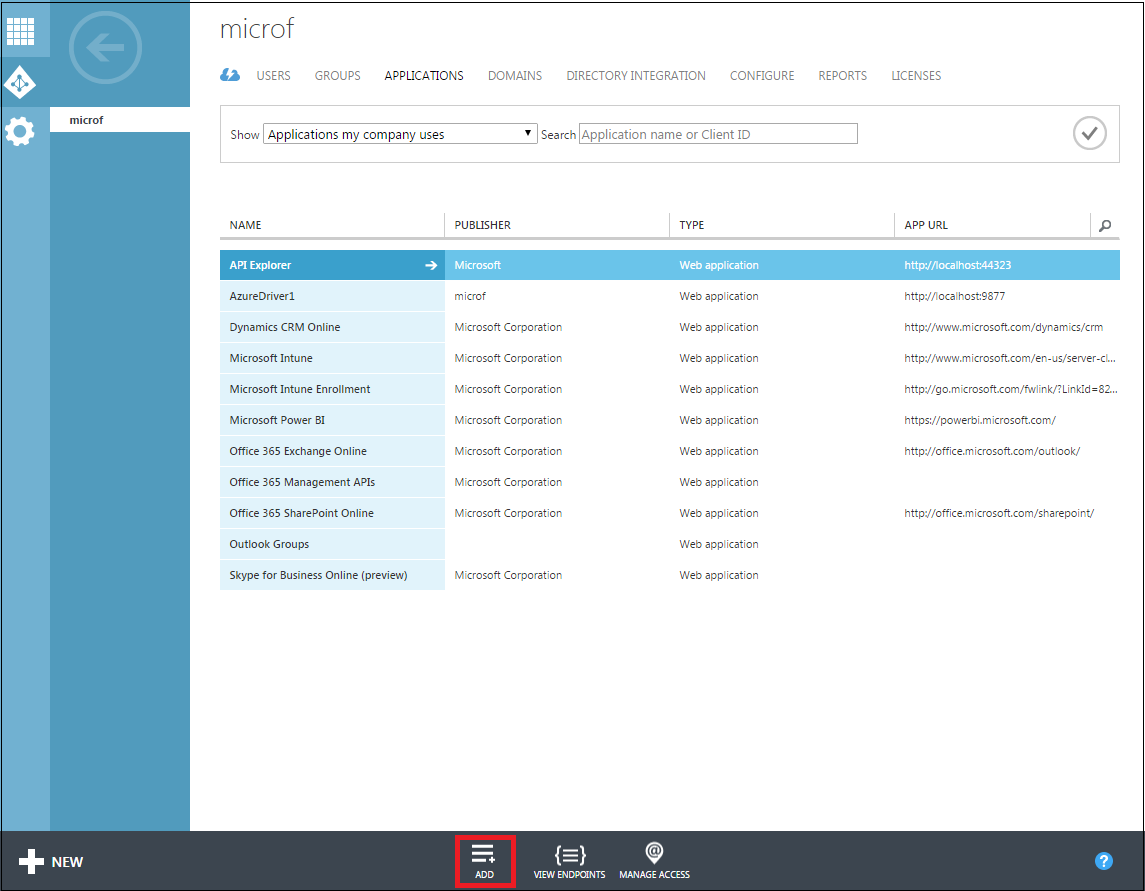
Click .
-
On the page, click .
-
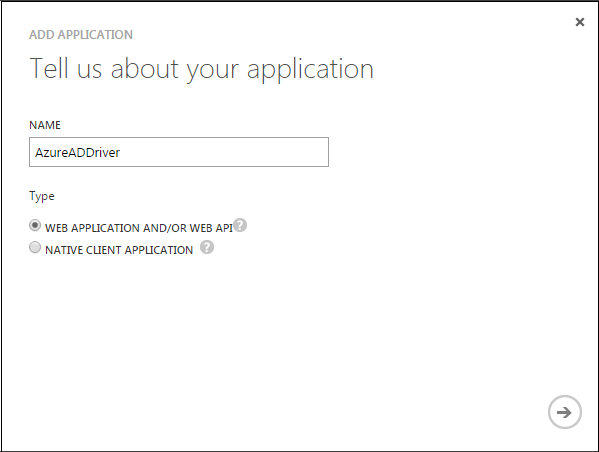
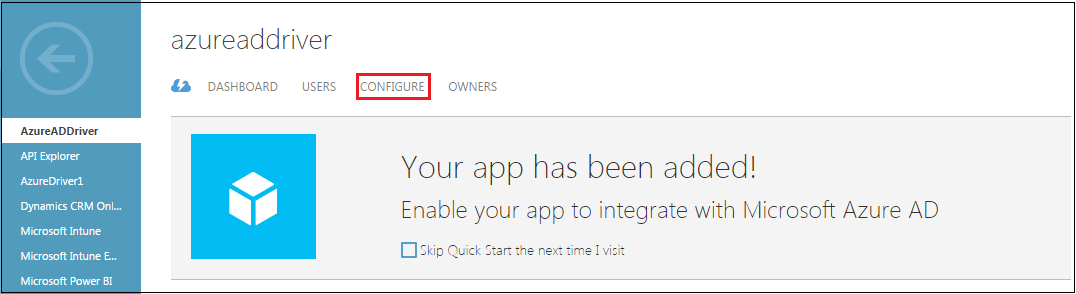
On the page, specify a name for your application and select . For example, AzureADDriver
-
Specify the following in the page:
-
Sign-on URL: Specify a URL for the users to sign in and use the application. For example, http://localhost.
-
App ID URI: Specify a URI that Azure AD can use for the application you created. For example, http://localhost.
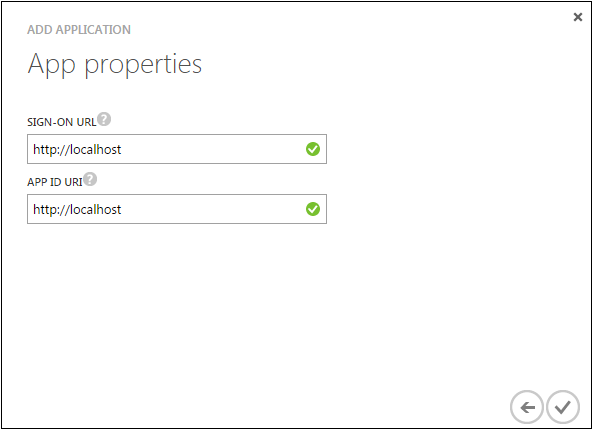
Now your application is created.
-
-
Click .
-
Copy and take a note of the for your application. You will need this value later for configuring the driver.
For information about configuring the , see Step 9 of Installing the Driver Packages section.

-
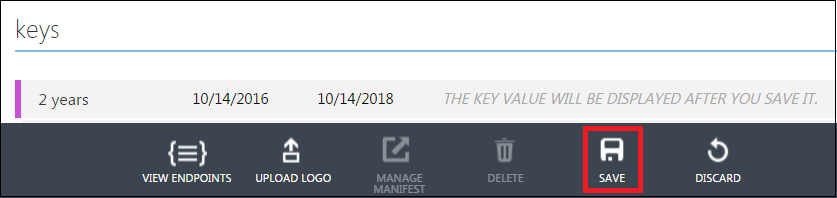
Under the section, select a duration for the validity of your password.

-
Click to create the key for your application.
The key is for your application. For information about configuring the , see Step 9 of Installing the Driver Packages section.
IMPORTANT:Copy and take a note of the . You cannot retrieve the at a later point.
Assigning the Rights to the Application
-
Log in to PowerShell and connect to the Office 365 Exchange Online service by using the following command:
Connect-MSolService
-
To obtain the Client ID for your application, replace <AppPrincipalId> with the Client ID that you obtained in Step 10 from Creating a Proxy Application on Azure AD and run the following commands in PowerShell.
Get-MsolServicePrincipal | ft DisplayName, <AppPrincipalId> -AutoSize

$ClientIdWebApp = ’<AppPrincipalId>’

$webApp = Get-MsolServicePrincipal –AppPrincipalId $ClientIdWebApp
-
Assign the Company Administrator rights to your application using the Client ID obtained in Step 2 by running the following command:
Add-MsolRoleMember -RoleName "Company Administrator" -RoleMemberType ServicePrincipal -RoleMemberObjectId $webApp.ObjectID
The Company Administrator role will give you rights to delete the directory objects.