24.3 Data Transformation and Synchronization
This section is divided into the following categories:
24.3.1 Data Synchronization View
The driver’s overview page is divided into the following categories:
Filter
Filters exist on the driver and enable you to specify which classes and attributes an application can send to and receive from the Identity Vault. If you want a specific class to pass through for the Metadirectory engine to process, you should add the class to the filter on the appropriate channel. You also can filter objects by a specific attribute value you define.
To add classes and attributes you want included for synchronization and modify the driver filter, click on the Publisher or Subscriber channel.
NOTE:The graphical depiction of the Overview shows two separate objects for the driver filter on the Publisher and Subscriber channels. Although there are two objects shown, the same filter is used for both channels.
All Policies
By default, the All Policies page appears. You can import an existing policy in the container by clicking the  icon. You can also remove any policy which is not required. To select a trace level for your driver, click
  icon. You can move the policies up and down in the list by using the
  and
and  icons.
NOTE:Adding and deploying new policies for drivers are not supported with Identity Console. We recommend you to use iManager and Identity Designer for adding and deploying new policies.
Migrate Data Into the Identity Vault
Using this task, you can define the criteria Identity Manager uses to migrate objects from an application into the Identity Vault. When you migrate an object, the Metadirectory engine applies all of the Matching, Placement, and Create policies, as well as the Publisher filter, to the object. Objects are migrated into the Identity Vault using the order you specify in the Class list. You can perform the following tasks using this option:
-
Add Class and Attributes: To add or remove classes and attributes you want to migrate, click the
 icon. Then select the class and its respective attributes you want to add. After you select the class and attributes, click to save your changes.
 -
Edit Attribute Value: To change the migration attribute value you specified when editing the list, click the Edit Attribute
 icon.
icon. -
Re-order the Class List: Use the
and buttons to change the order of the classes in the list. Objects are migrated into the Identity Vault using the order you specify in the Class list. -
Refresh: Click the
 icon to refresh the list.
Migrate Data from the Identity Vault
Using the tab, you can select containers or objects you want to migrate from the Identity Vault to an application. When you migrate an object, the Metadirectory engine applies all Matching, Create, and Placement policies, as well as the Subscriber filter, to the object.
To migrate objects or containers from the Identity Vault to another application, click the  icon. Browse to and select the object you want to migrate, then click to add the object to the migration list. To remove objects from the migration list, click the
  icon.
icon.
After you have finished selecting the objects you want to migrate, click  to begin migration. The migration progress will be displayed on your screen. If you want to stop the migration, click on the
  button.
Synchronize Objects
The synchronize operation looks for objects that have been modified and synchronizes them. Either you can select to start the synchronization immediately. Alternatively, you can set a date/time to start the synchronization.
Tracing DirXML Script
The Tracing DirXML Scripts option allows you to select a trace level for a driver. It also applies trace settings to all Publisher and Subscriber Channels. The following DirXML script tracing options are available to select:
-
All DirXML Script Tracing On
-
All DirXML Script Tracing Off
-
DirXML Script Rule Tracing On
-
DirXML Script Rule Tracing Off
Click  to save your changes.
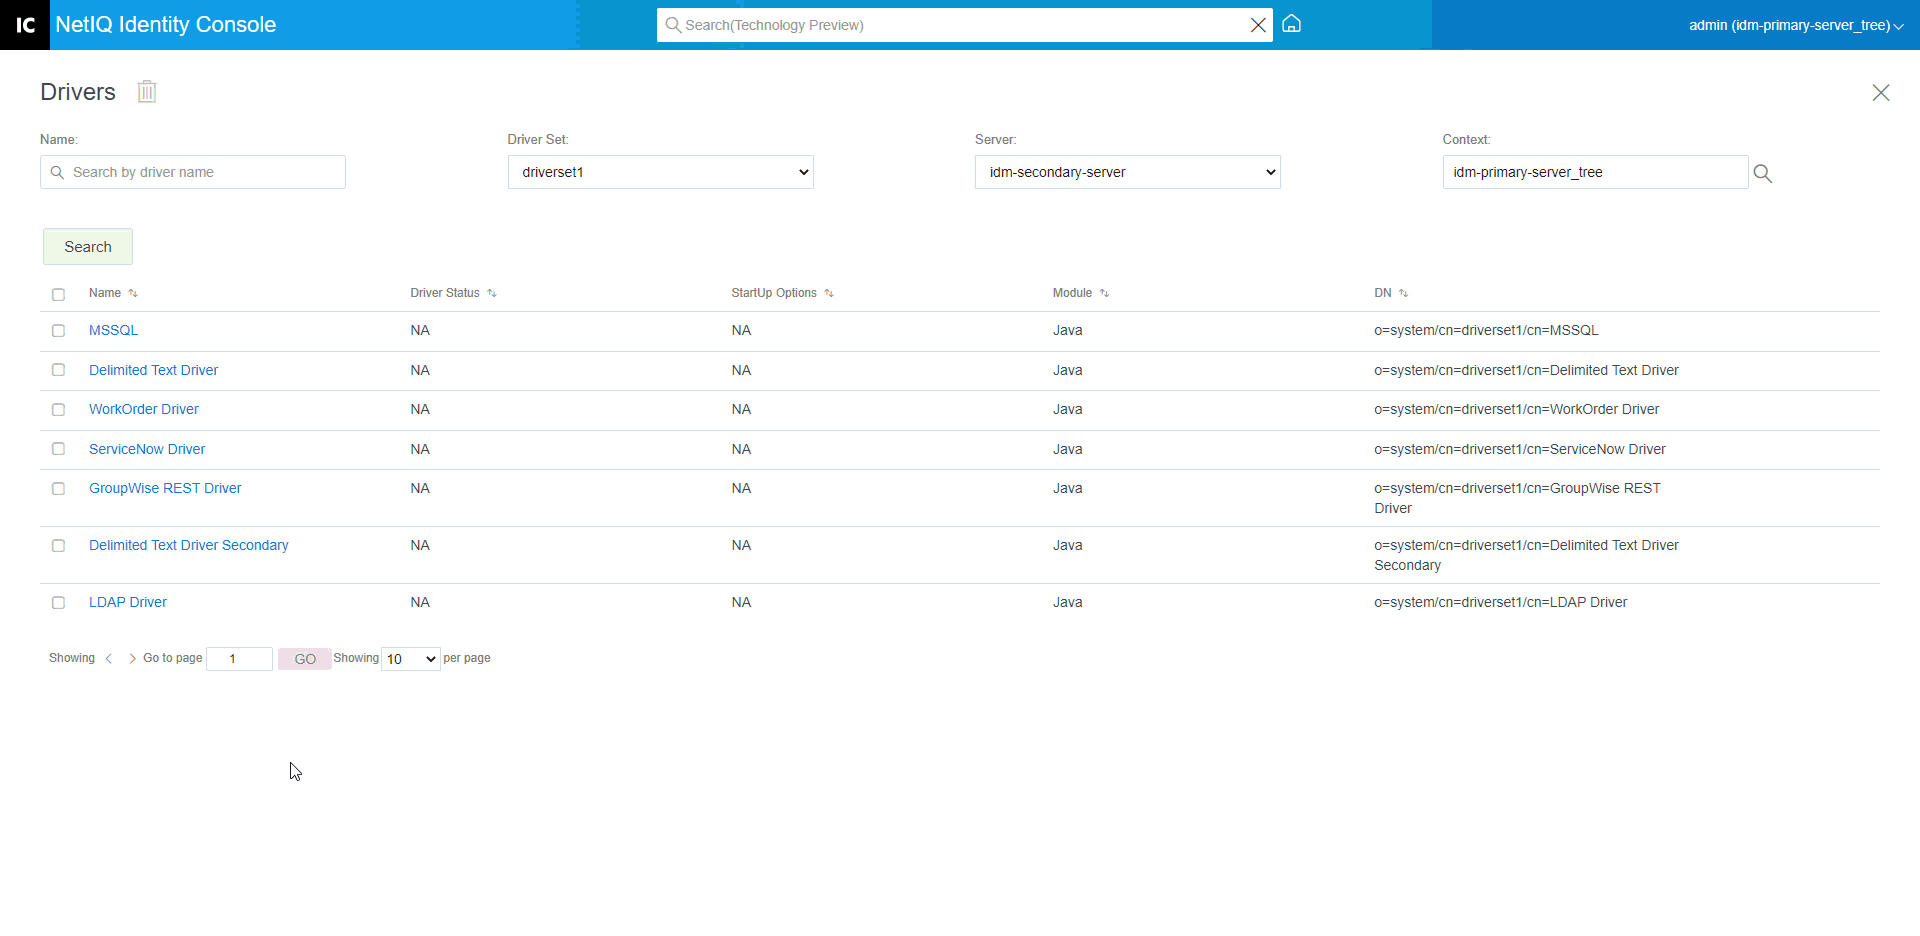
Figure 24-3 Managing Data Synchronization of Drivers
24.3.2 Class Attribute Filters
The class attribute filters enable you to specify which classes and attributes an application can send to and receive from the Identity Vault. If you want a specific class to pass through for the Metadirectory engine to process, you should add the class to the filter on the appropriate channel. You also have the ability to filter objects by a specific attribute value you define. Using this option, you can perform the following actions:
-
Set Template: Use this option to set the default options for all attributes that are added to the filter. Click the
 icon next to the Class Attribute Filter label.
 -
Add a New Class: Add a new class by clicking the
 icon.
icon. -
Add a New Attribute: Add a new attribute by clicking the
 icon.
icon. -
Copy Filter From: This option allows you to copy a filter from another driver. Click the
 icon to copy filter.
 -
Edit XML: Edit the class and attribute filter settings using the Edit XML file
 icon.
icon. -
Delete Class or Attributes: Delete any class or attribute by clicking on the
icon next to the respective class or attribute.
You can set the following options for a class and attribute value on both Publisher and Subscriber channels:
-
Synchronize
-
Ignore
-
Notify
-
Reset
Merge Authority
If an attribute is not being synchronized in either channel, no merging occurs.
If an attribute is being synchronized in one channel and not the other, then all existing values on the destination for that channel are removed and replaced with the values from the source for that channel. If the source has multiple values and the destination can only accommodate a single value, then only one of the values is used on the destination side.
If an attribute is being synchronized in both channels and both sides can accommodate only a single value, the connected application acquires the values stored in the Identity Vault unless there will be no value in the Identity Vault. In this scenario, the Identity Vault acquires the values from the connected application.
If an attribute is being synchronized in both channels and only one side can accommodate multiple values, the value from the single-valued channel is added to the multi-valued channel if it is not already there. If there is no value on the single side, you can choose the value to add to the single side. You can set the following options for Merge Authority:
-
Default
-
Identity Vault
-
Application
-
None
Click to save your changes.
24.3.3 ECMA Script
Displays an ordered list of ECMAScript resource files. The files contain the extension functions for the driver that Identity Manager loads at the time of driver starts. You can import additional files by clicking , remove existing files by clicking , or change the order the files that are executed. You can also move the scripts up and down in the list. You can save the ECMA Script list by clicking the icon.
24.3.4 Reciprocal Attribute Mapping
Reciprocal attribute mappings let you create and manage the backlinks, or references, between objects. For example, the Group object includes a Members attribute that references all User objects that belong to that group. Similarly, each User object includes a Group Membership attribute that references the Group objects of which that user is a member. In order for the Metadirectory engine to keep the Group object > Members attribute synchronized with the User object > Group Membership attribute for all Group objects and User objects in the Identity Vault, these attributes must be linked. The links between object attributes are known as reciprocal attribute mappings.
Using this module, you can perform the following actions:
Creating Custom Reciprocal Attribute Mappings
This section applies only if the Reciprocal Attribute Mapping page displays prompt.
-
Click the
icon to create a new custom reciprocal attribute mapping list. -
The driver's default attribute mappings are displayed. You can now add mappings, modify the existing mappings, or delete mappings.
Adding a New Reciprocal Attribute Mapping
When you create a reciprocal attribute mapping, you must first add one of the attributes to the reciprocal mapping list.
-
Click the
icon next to the Actions drop-down menu. -
In the new attribute entry, select the desired attribute from the drop-down list.
-
Specify the details of the reciprocal mapping:
-
Source Class: Specifies the class name to which the attribute in the mapping list is associated. For example, if you placed the Group Membership attribute in the reciprocal mapping list, the associated Source Class is User.
-
Destination Class: Specifies the class name associated with the attribute to which you want to create a reciprocal mapping. For example, if you placed the Group Membership attribute in the reciprocal mapping list, the associated Destination Class is Group.
-
Reciprocal Attribute: Specifies the attribute name to which you want to create a reciprocal mapping.
-
-
If you want to map the attribute to another reciprocal attribute, click the
icon to the right of the attribute name.A new section for the attribute is added at the end of the attribute's list. Select the source class, destination class, and reciprocal attribute.
Removing a Reciprocal Attribute Mapping
To remove a reciprocal attribute mapping:
-
Select the check box for the reciprocal attribute mapping that you want to delete in front of the .
-
Click the
icon next to the attribute drop-down list.
Removing an Attribute from the Reciprocal Mapping List
To remove an attribute from the reciprocal mapping list:
-
Select the attribute you want to remove by selecting check box in front of the attribute.
-
Click the
icon next to the drop-down list.
Reordering Mapped Attributes
The attribute mappings are resolved in the order listed, from top to bottom. You can move the mapped attributes up or down in the list to ensure that they are resolved in the correct order. In general, you should list specific mappings first followed by more general mappings. For example, a mapping for the Member attribute on a Group object should be listed before a mapping for the Member attribute on any objects (the <Any Class> option).
Select the check box in front of the mapped attribute you want to move, then click to move the attribute up or click to move it down.
Removing the Custom Reciprocal Attribute Mapping
You can delete the custom attribute mappings you've created. This results in the Metadirectory engine using the default attribute mappings for the driver.
To remove a custom reciprocal attribute mapping, click the icon at the top of the screen.
Editing Reciprocal Attribute XML
If desired, you can directly edit the XML for a reciprocal attribute. To do so, click Edit XML icon on the Custom Reciprocal Attribute Mapping page. This opens a basic XML editor that lets you modify the XML. When you finish, click OK or Cancel to close the XML editor.