1.2 Installing the Orchestration Agent in a SLES 11 SP1 HAE Xen Cluster
The Orchestration Agent installation pattern can be installed by using the SLES 11 Cloud Manager 2.x installation ISO. Before you install the agent, make sure that the SLES 11 SP2 HAE server machine fills the prerequisites for agent installation. Use the following steps to install a single Orchestration Agent on a single node in a SLES 11 SP2 HAE cluster. You need to repeat these steps on every node in the cluster.
-
Download the appropriate NetIQ Cloud Manager ISO to the SLES server.
or
Load the NetIQ Cloud Manager DVD on the SLES server.
-
Define the NetIQ Cloud Manager ISO or DVD as an add-on product:
-
In the YaST Control Center, click > then click .
-
Click , select or , then follow the prompts to add the product.
-
-
Read and accept the license agreement, then click to display the Software Selection and System Tasks dialog box.
-
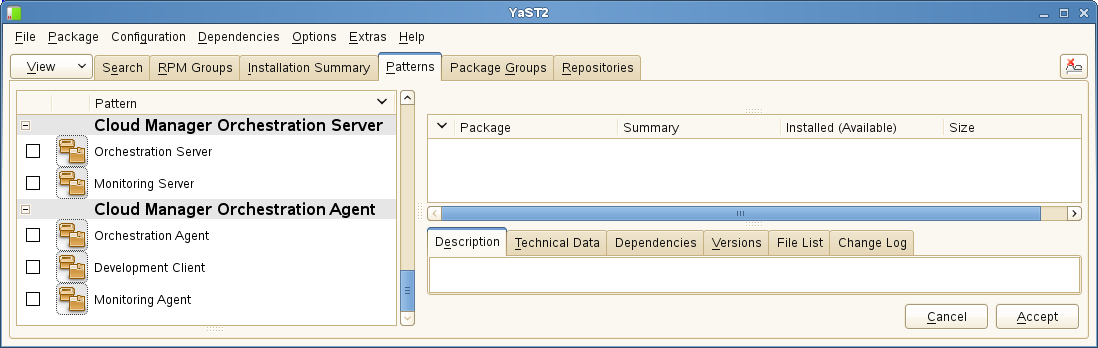
Select the Orchestration Agent installation pattern for installation.
-
Click to install the packages.
-
When package installation is complete, click to close the Installed Add-On Products dialog box.
-
Install the agent on each node of the SLES 11 SP2 HAE cluster, repeating Step 1 through Step 6 above.
When you complete the pattern installation, use the information in Section 1.3, Configuring the Orchestration Agent in a SLES 11 SP2 HAE Xen Cluster to configure the Orchestration Agent.