2.1 Starting and Logging In to the VM Client Interface
You can run the VM Client on both Windows and Linux workstations:
2.1.1 Starting the Interface on a Windows Workstation
-
On your Windows workstation, double-click the PlateSpin Orchestrate VM Client icon (
 ) on your desktop to open the interface.
If you do not have the icon, the executable’s location is determined by where you installed the VM Client software. The default is C:\Program Files\PlateSpin Orchestrate VM Client 2.6\bin\vmclient.bat.
For information on multiple VM operators logging in to the VM Client, see Section 3.2.1, Multiple VM Operator Logins.
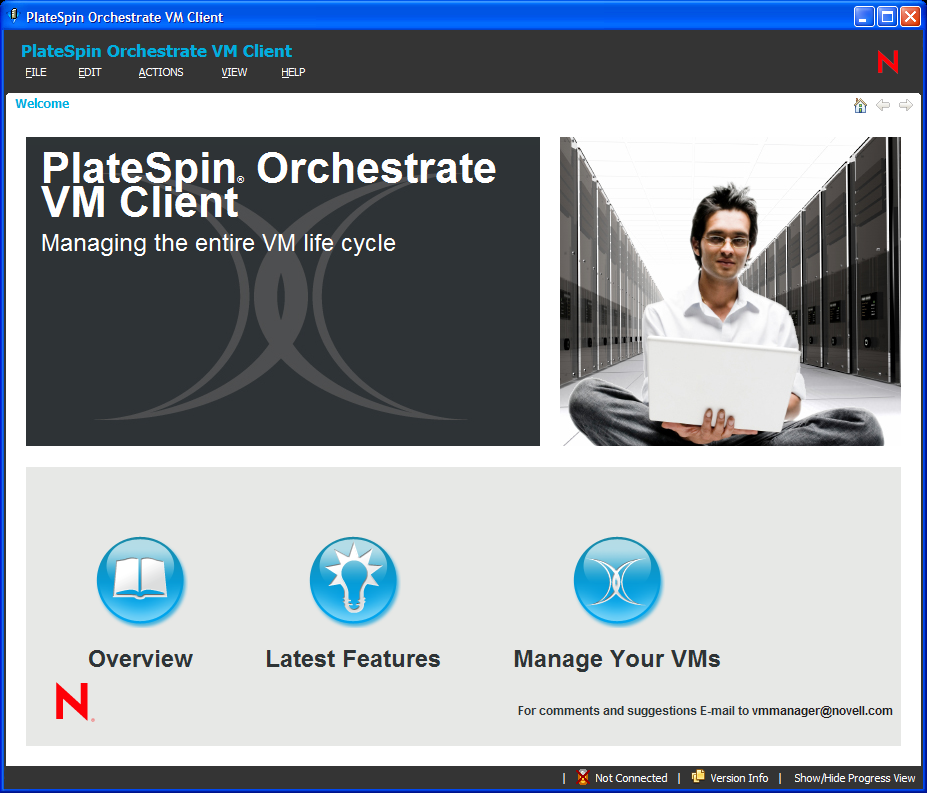
The first time you start the VM Client, the following Welcome page is displayed:

The Welcome page does not display the next time you log in to the VM Client.
The Welcome page can be accessed at any time by clicking > .
For more information, see Section 3.1, Understanding and Navigating the Welcome Page.
-
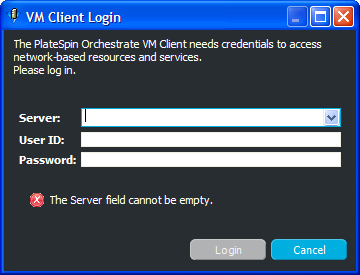
To close the Welcome page, click to display the following login dialog box:

-
Specify the IP address or DNS name of a PlateSpin Orchestrate Server.
The PlateSpin Orchestrate Server is associated with a virtualization grid, which can be associated with registered VM host servers. Therefore, logging in to one of the Orchestrate Servers allows you to manage all VMs in the datagrid.
-
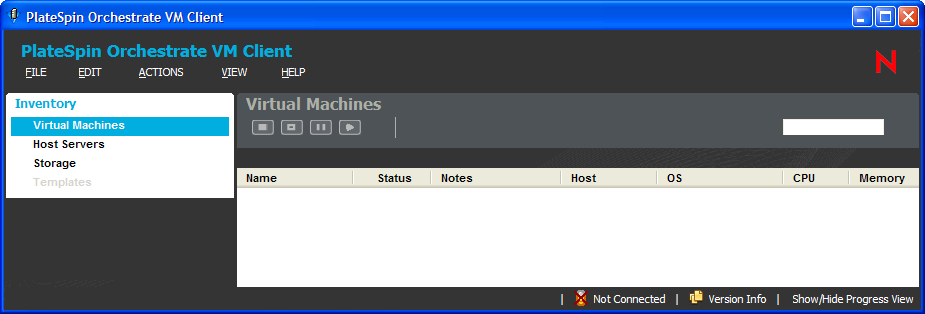
Enter a username and password to authenticate you as the administrator of the Orchestrate Server, then click to view the VM Client interface:

This example shows how the interface looks the first time anyone logs in to the VM Client.
-
(Conditional) If this is the first time that anyone has logged in to the VM Client, continue with Section 2.3, Registering VM Hosts to set up the virtualization environment.
2.1.2 Starting the Interface on a Linux Workstation
-
On your Linux workstation, open a command terminal, change to the /opt/novell/zenworks/vmmanagement/bin/ directory (the default installation location), or to wherever you installed the client, then enter the following command:
./vmclient.sh
For information on multiple VM operators logging in to the VM Client, see Section 3.2.1, Multiple VM Operator Logins.
The first time you start the VM Client, the following Welcome page is displayed:

The Welcome page does not display the next time you log in to the VM Client.
The Welcome page can be accessed at any time by clicking > .
For more information, see Section 3.1, Understanding and Navigating the Welcome Page.
-
To close the Welcome page, click to display the login dialog box:

-
Specify the IP address or DNS name of a PlateSpin Orchestrate Server.
The PlateSpin Orchestrate Server is associated with a virtualization grid, which can be associated with registered VM host servers. Therefore, logging in to an Orchestrate Server allows you to manage all VMs in the grid.
-
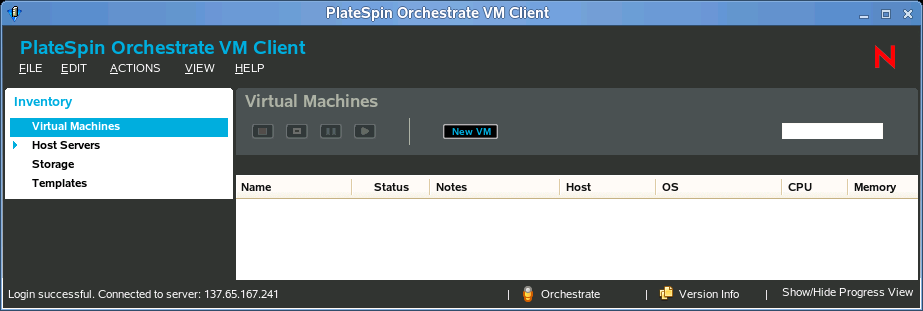
Enter a username and password to authenticate you as the administrator of the Orchestrate Server, then click to view the VM Client interface:

-
(Conditional) If this is the first time that anyone has logged in to the VM Client, continue with Section 2.3, Registering VM Hosts to set up the virtualization environment.