2.7 Creating Incidents
NOTE:To perform this function you must have user permission to create Incident(s).
This is useful in grouping a set of events together as a whole representing something of interest (group of similar events or set of different events that indicate a pattern of interest such an attack).
NOTE:If events are not initially displayed in a newly created Incident, it is most likely because of a lag in the time between display in the Real Time Events window and insertion into the database. If this occurs, it will take a few minutes for the original events to finally be inserted into the database and display in the incident.
To create an incident:
-
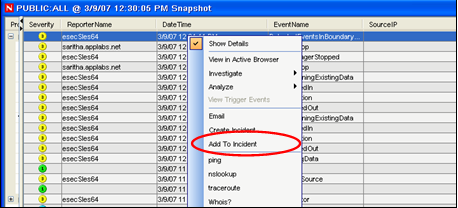
In a Real Time Event Table of the Navigator or a Snapshot Real Time Event Table, select an event or a group of events and right-click and select Create Incident.
-
In the New Incident window, you will find the following tabs:
-
Events: Shows which events make up the incident
-
Assets: Show affected assets
-
Vulnerability: Show related asset vulnerabilities
-
Advisor: Asset attack and alert information
-
iTRAC: Under this tab, you can assign a WorkFlow (iTRAC)
-
History: Incident history
-
Attachments: You can attach any document or text file with pertinent information to this incident
-
Notes: You can specify any general notes you want to refer regarding this incident.
-
-
In the Create Incident dialog box, specify:
-
Title
-
State
-
Severity
-
Priority
-
Category
-
Responsible
-
Description
-
Resolution
-
-
Click Create. The incident is added under the Incidents tab of the Sentinel Control Center.