24.5 Installing by Using the Modify Option
-
Launch Novell SecureLogin after you have successfully upgraded to or installed version 7.0. The Program Maintenance page appears.

-
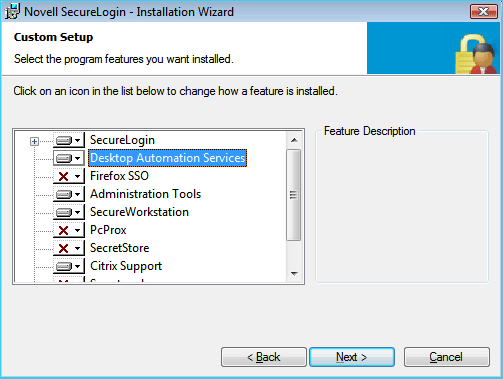
Select then click . The Custom Setup page appears.
-
Select then click .
-
Click . DAS is installed.
DAS is installed in the same folder as Novell SecureLogin 7.0. It is typically installed at C:\Program Files\Novell\SecureLogin\Desktop Automation Services unless you choose a different destination folder for the installation.
After you have successfully installed DAS through the option, DAS initializes the ConfigObject and ConfigTree registry keys, which are related to DAS network configuration.
To use the DAS XML script from the network, you must modify these registry keys.
-
For information on modifying the ConfigObject registry key, see ConfigObject.
-
For information on modifying the ConfigTree registry key, see ConfigTree.