16.3 Creating an ADAM Instance
-
Browse to the ADAM set up file that you downloaded from the Microsoft Web site.
-
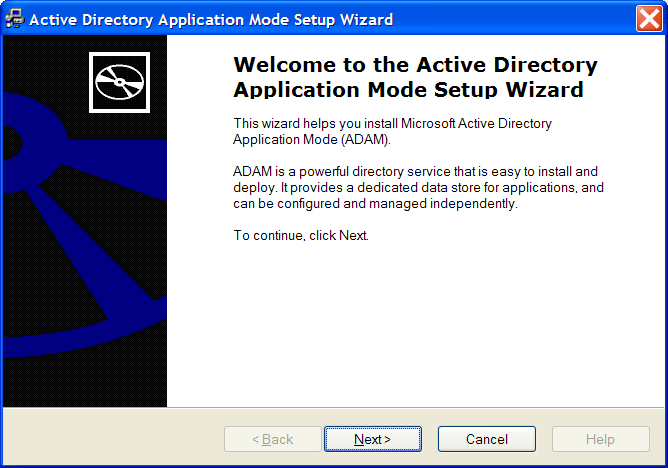
Double-click to run the ADAMredistX86.exe file. The Active Directory Application Environment Setup Wizard is displayed.
-
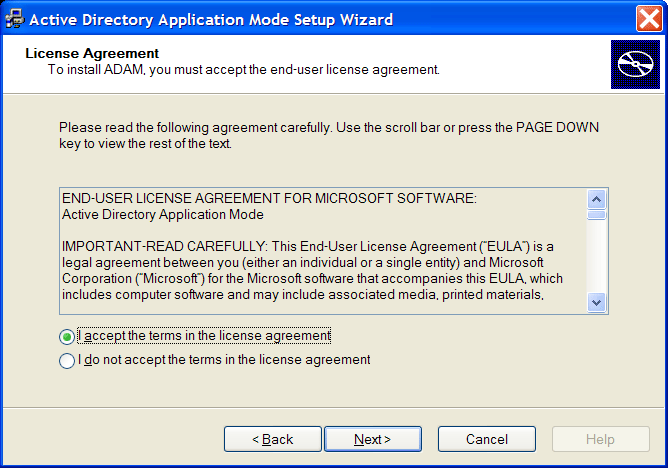
Click the button. The License Agreement dialog box is displayed.
-
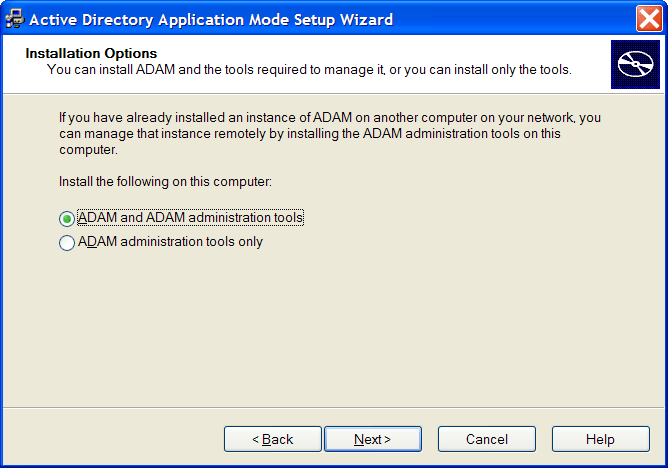
Accept the license agreement, then click . The Installation Options dialog box is displayed.
-
Select the option.
-
Click . The Setup Options dialog is displayed.

-
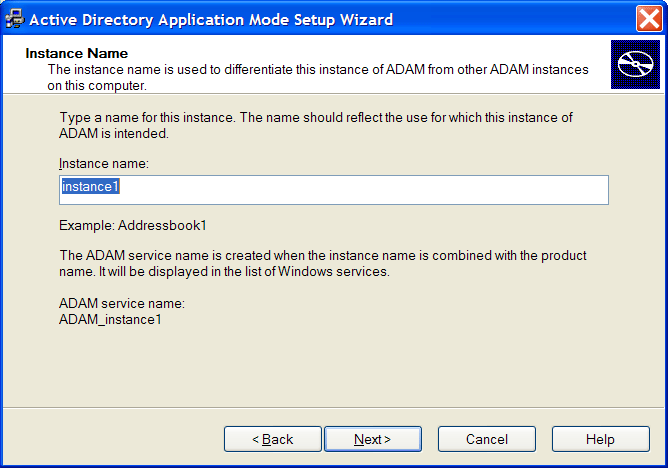
Select . The Instance Name page is displayed.
-
In the field, specify a name for the ADAM instance.
-
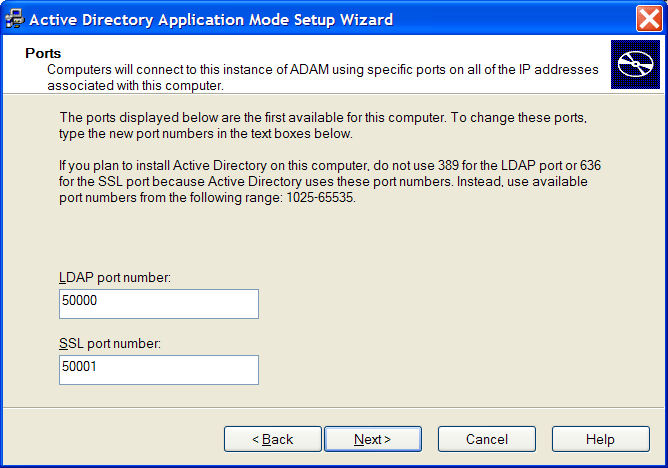
Click . The Ports page is displayed.
-
In the field, specify the ADAM instance port number.
In the SSL port number, specify the ADAM instance SSL port number.
NOTE:The default LDAP port number is 50000 and the SLL port number is 50001. However if Active Directory is not installed on your workstation, the default LDAP port number is 389. The default SSL port number is, 636.
We recommend the default values. However if required, the values can be manually changed.
IMPORTANT:Ensure to make a note of the LDAP port number and the SSL port number because this information is required for further configuration.
-
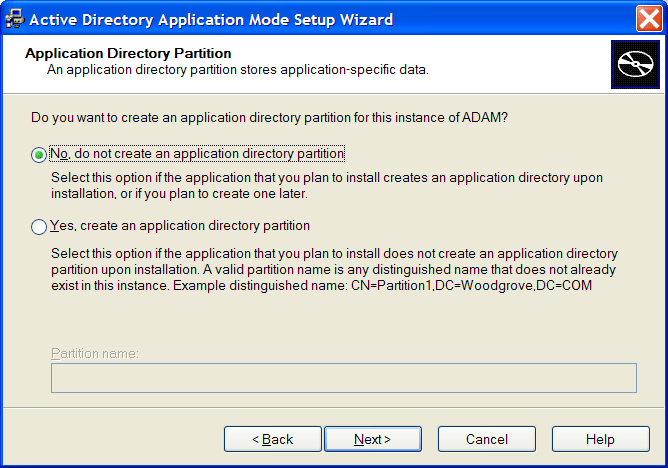
Click .The Application Partition Directory page is displayed.
-
Select .
-
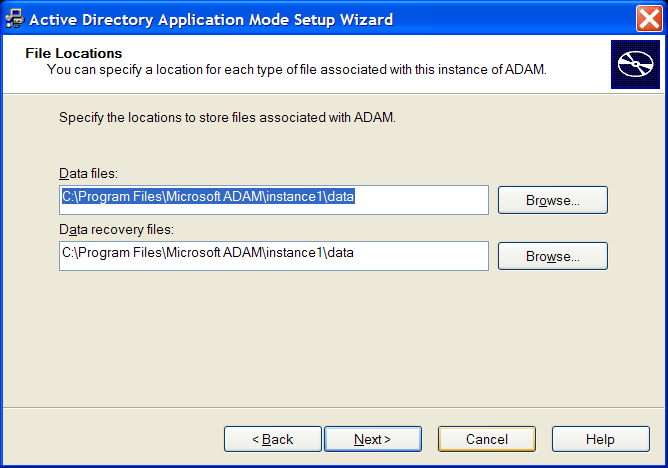
Click . The File Locations page is displayed.
-
Accept the default locations for ADAM files in the and fields or click to select an alternate location.
-
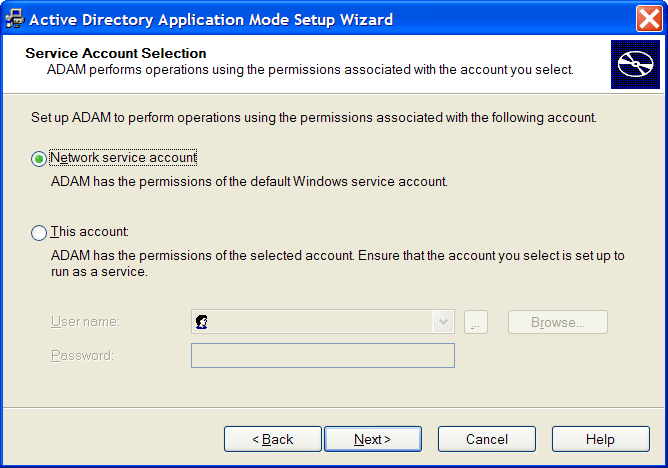
Click . The Service Account Selection page is displayed.
-
Select the .
or
Select and provide the credentials for the selected service account.
We recommend you to select . Nevertheless, you can specify an account with a static password.
NOTE:The selected service account must have permissions to register a Service Connection Point (SCP) and permission to install Novell SecureLogin.
-
Click . The ADAM Administrators page is displayed.
-
Select the option.

NOTE:The selected account must have administrator level permissions. In this example, the default is selected as the current user. So, the administrator administers this ADAM instance.
or
If an alternative account or group is preferred, select and specify the account or group name and credentials.
-
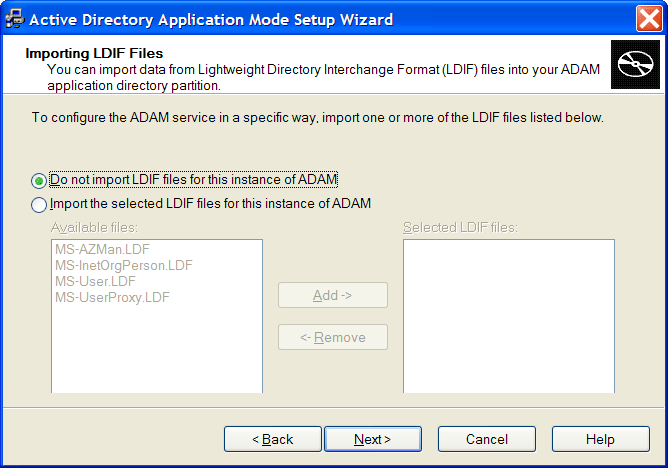
Click . The Importing LDIF Files page is displayed.
-
Select .
-
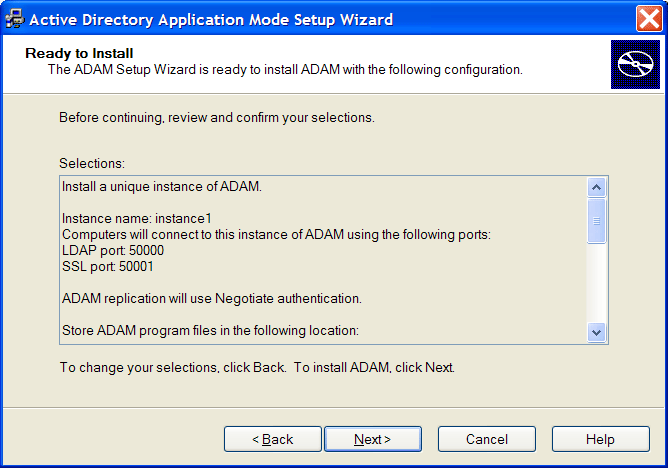
Click . The Ready to Install page is displayed.
-
Review the setup options in the Selections window to confirm that the required options are selected.
-
Click to continue with the installation.
or
Click to change selected options and continue the installation.
-
Click after confirming the ADAM instance creation settings.
-
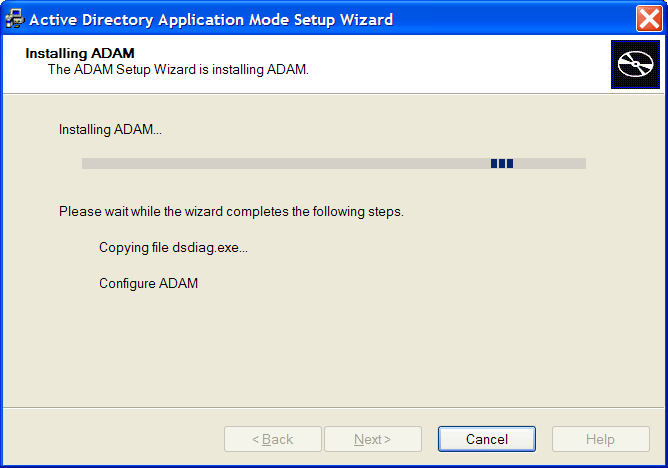
Click to create the ADAM instance. The Completing the Active Directory Application Environment Setup Wizard page is displayed after the ADAM instance is created.
If required, you can review the Windows Event log to ensure the ADAM instance is created without errors.
16.3.1 Reviewing the Windows Event Log
-
From the Windows menu, select > > . The Windows Event Viewer displays with the ADAM (Instance#) displayed in the Event Viewer hierarchy.
-
Double-click to view the Event log.
If an error icon is displayed, double-click to view the error details.
After the ADAM instance is successfully created, execute the instructions provided Section 16.4, Extending the Schema by Using ADAM Configuration Wizard to automatically extend the ADAM instance schema and assign Read and Write Rights to directory user objects.