14.6 Creating a Signing Key for Secure Distribution
After you have configured and tested Novell SecureLogin in an user environment, you can create a digital signing key that is embedded in the distribution file (.msi file). You can distribute the file through a Web download or e-mail to the users. When users receive the file, they need to double-click the file to load to the local workstation. This updates the following:
-
Preferences
-
Application definitions
-
Password rules
-
Credentials
This is collectively known as the SecureLogin configured user environment and, is particularly designed for users who use Novell SecureLogin in standalone mode (such as mobile users) and those who do not frequently connect to the corporate network.
When a digital signing key is created, the key pair is randomly generated by the Novell SecureLogin to increase security.
To create a digital signing key:
IMPORTANT:This feature is available only through SecureLogin Manager.
-
Launch SecureLogin Manager.
-
In the object field, specify your object name, then click .
-
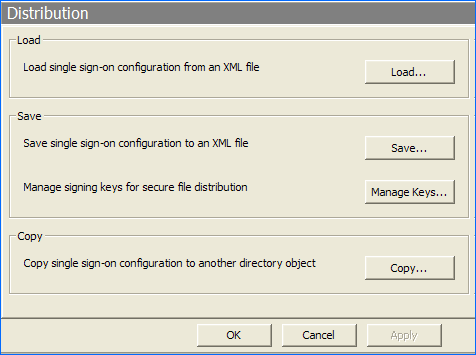
Click . The Distribution details are displayed.
-
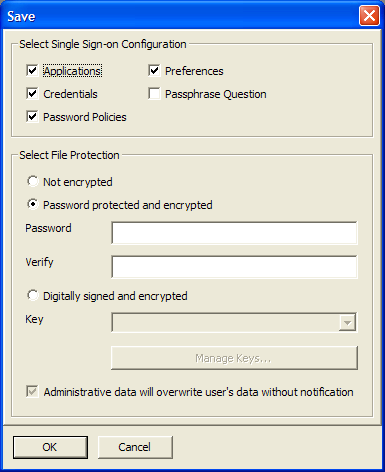
Click . The save dialog box is displayed.
-
Select the required options.
-
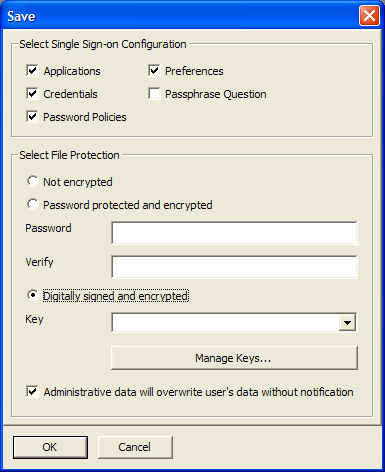
Under , select .
-
(Optional) Select Administrative data will overwrite user’s data without notification.
If this option is selected, the users are prompted before overwriting any data with the configuration settings saved in the .msi file.
IMPORTANT:Selecting this option results in the user data being overwritten with the configuration setting in the .msi file for any items that are present in both the user’s local configuration and the administrative configuration (.msi file).
For example, if a user have an application definition configured locally, and a predefined application definition is supplied in the .msi file, the .msi file application definition overwrites the user’s application definition without notification.
However, for example, if a user has configured a Hotmail application definition locally, and a predefined application is not supplied in the .msi file, the user’s Hotmail application definition is not changed.
-
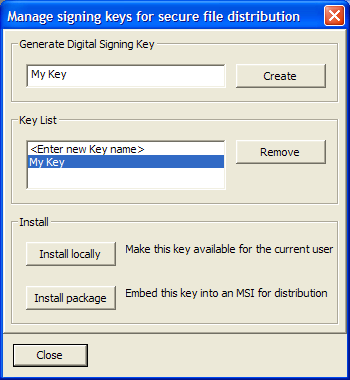
Click . The Manage signing keys for secure file distribution dialog box is displayed.
-
Specify a name for the key in the field.
-
Click .
-
From the , select the newly created key.
-
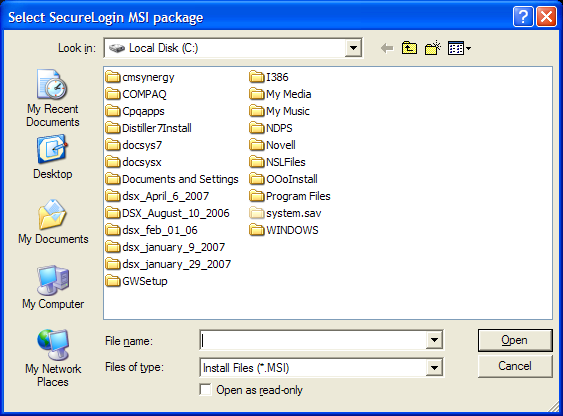
Under , click . The Load Settings dialog box is displayed.
-
Browse to locate the distribution file (.msi file) in which you want to embed the key.
-
Click . A confirmation message that the key is embedded in the .msi file is displayed.
-
Click .
You can now distribute and install the .msi file on the user’s machine. This allows them to import signs that are signed and encrypted.
After the keys are created, they must not be deleted because they are randomly generated. They key used must correspond to the key that is been previously packaged and with the distributed installer.