5.11 Deleting VMs
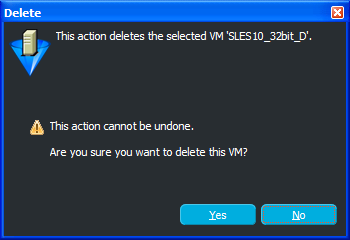
Deleting a VM in the VM Client causes an Orchestrate job to run that deletes all of the VM’s files in the /etc/xen/vm and /etc/xen/images (or /var/lib/xen/images) directories.
WARNING:Deleted VMs cannot be recovered.
-
In the VM Client, click the view, then select one or more VMs.
-
Do one of the following to delete the selected VMs:
-
Click the
 button.
-
Click > .
-
In the view, right-click a selected VM, then select .
If a VM is running or is suspended, the deletion options are not displayed or enabled.
-
-
Click either or to delete the VM:

This completely removes the selected VMs from the view, as well as all files in the repository associated with it.