9.3 Capturing a Workload to a PlateSpin Image
Use this procedure to capture a physical or virtual workload as a PlateSpin Image.
-
Discover, or refresh the details of, your source workload and your PlateSpin Image Server.
-
Start a new Capture Image job by using one of the following methods:
-
In the Servers view, right-click the source workload, then select . In the Action window, select the source workload and the target image server.
-
In the Tasks pane, click . In the Action window, select the source workload and the target image server.
-
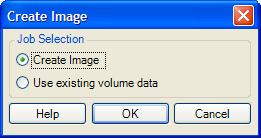
In the Servers view, drag the source workload and drop it on the image server. If you configured PlateSpin Migrate to bypass the Action window on drag-and-drop, the Create Image dialog box prompts you to specify whether you want to create a new image or use existing volume data.
-
-
Select , then click .
-
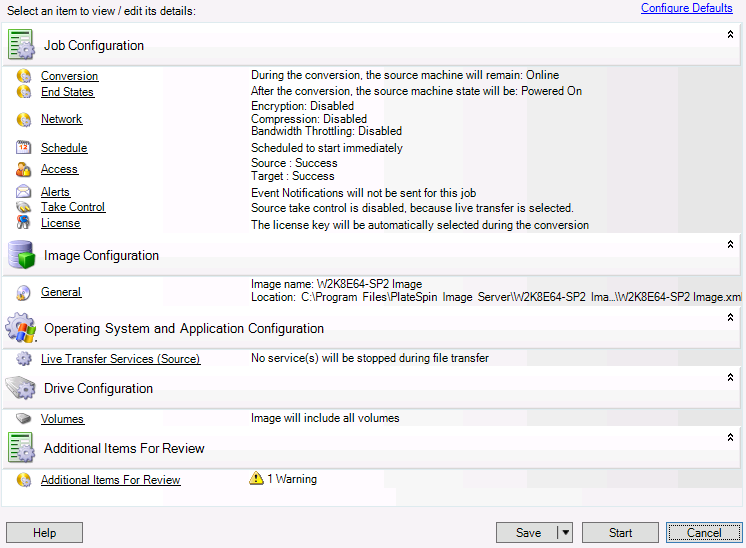
Specify the required settings for the migration job by clicking the links in each category:
-
Job Configuration: Specify the required transfer method and operational continuity settings for your source and target (), scheduling options (), source and target credentials (), job status and progress notification options, temporary network settings (), and the required license key to use ().
-
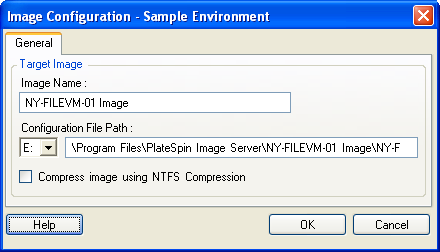
Image Configuration: Specify the image name, the path to the location where the you want the image to be stored, and whether or not to use NTFS compression (under Image Configuration, click ).
-
Operating System and Application Configuration: If you selected the Live Transfer method, specify how you want PlateSpin Migrate to handle operating system and application services on your source ().
-
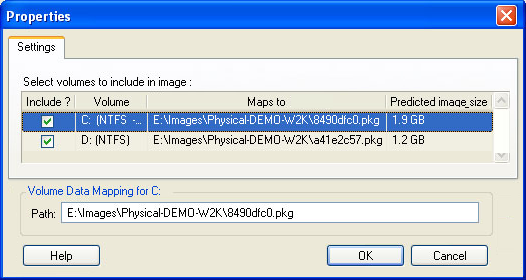
Drive Configuration: Select the volumes that you want PlateSpin Migrate to include in the image and specify the path for the package file (under Drive Configuration, click ).
-