A.7 Applying a Node Style to a Class
The following section of the example applies a node style to a class and tests the element class | node style switch.
To apply a node style to a class:
-
In the pane, under the hierarchy, select the custom class.
-
On the console toolbar, switch to the drawing channel.
-
In the pane, under > > , drag and drop the node style to the Layout view.
This sets the node style to for the element class.
-
Change the view back to the channel.
-
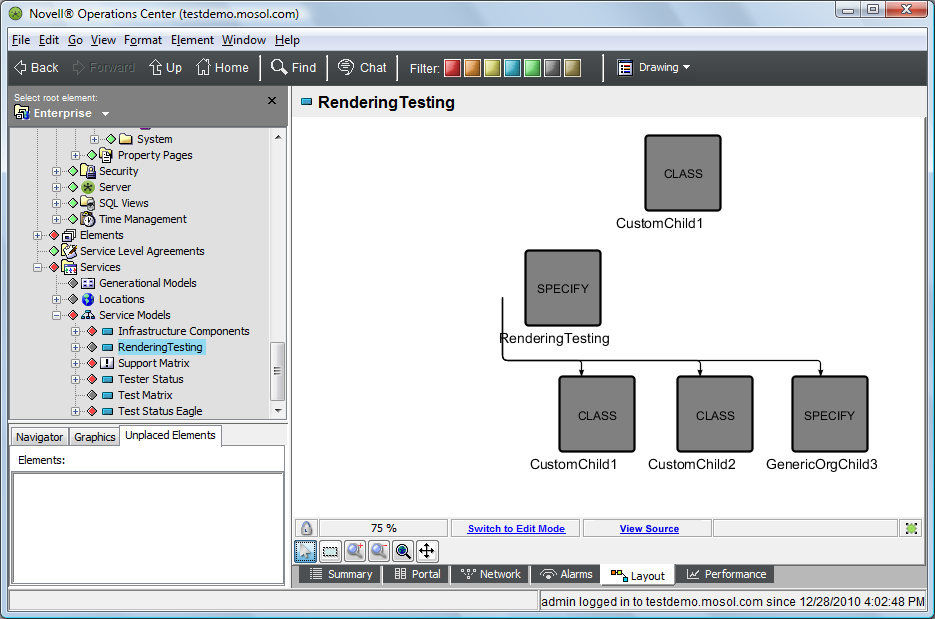
In the pane, click > and verify that all element instances of the custom class now use the node style.
This feature allows you to control node styles from the class level.
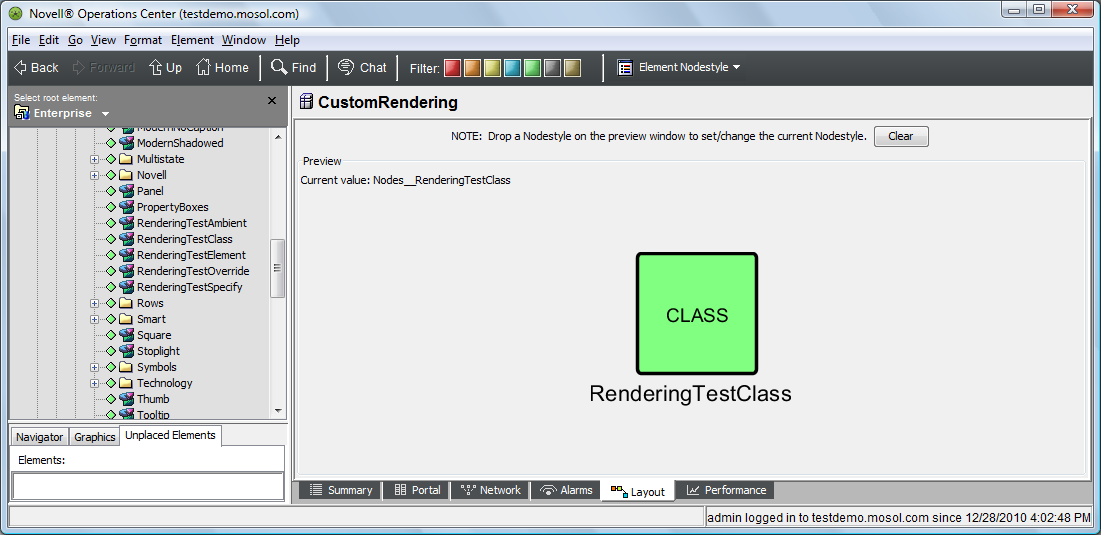
The view should resemble the following:
The elements whose class is are easily identified by having CustomClass in their names. Only these elements should use the node style that shows CLASS inside the node.
-
Refresh the Operations Center dashboard page and verify the same view displays.