6.3 Creating Test Groups
Test groups consist of multiple tests included in a single definition.
To create a test group:
-
In the Explorer pane, expand the root element > Experience Manager Adapter > > .
-
Right-click the element, then click > to open the Group|Create dialog box:
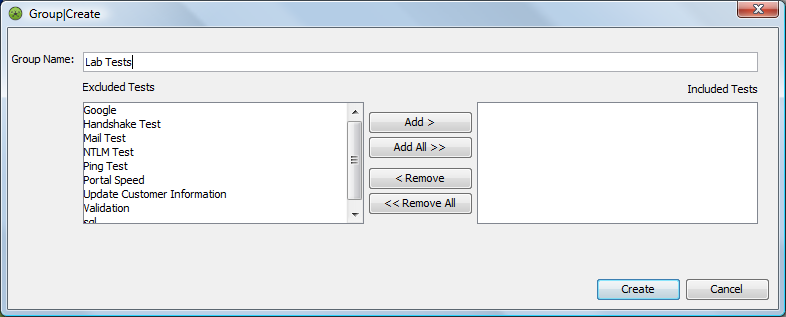
-
Type a group name in the text box.
-
To add one or all tests to the group perform one of the following steps:
-
To add a single test to the group, select a test name in the list, then click the button. The test displays in the list.
-
To add all tests to the group, click the button. The tests display in the list.
-
-
To remove one or more tests from the group, perform one of the following steps:
-
Select a test name in the list, then click the button. The test moves from the list to the list.
-
To remove all selected tests from the group, click the button. The tests move from the list to the list.
-
-
Click the button to save the test group. The new group displays under the element.
-
Click the button to close the Create Group dialog box.
A separate step is required to deploy tests and test groups for a Experience Manager Monitor. See Section 6.9, Deploying and Managing Tests for more information.