5.4 Community Provisioning
Communities are ideal workspaces for teams to collaborate on common projects. They provide an isolated area where a group of people can place all of their data pertaining to a particular topic, and many organizations have used them for this purpose. It is a far better way to share data than using e-mail and a shared folder on a network. Instead,
-
The portlet (under ) empowers users to access and update documents simultaneously, and all versions of the documents are preserved.
-
A portlet (under ) can be used to keep track of the team's appointments and meetings, and can send notifications out to the team.
-
A portlet (under ) can be used to document the project as it progresses.
-
A portlet (under ) can be used to keep all team discussions in one place.
The ad-hoc creation of communities for this purpose allows portal administrators to create communities based on templates. What this means is that you can create a template community that has a pre-defined set of pages and portlets, and then use that template to very quickly create multiple communities that are pre-populated with those pages and portlets. Defining community templates streamlines the community creation process for administrators, making it very easy to quickly create communities for teams.
Templates can be created for open, restricted, and private communities. Additionally, create a default template that applies to all kinds of communities.
To setup a community template:
-
Do one of the following:
-
Go to a page that has a portlet.
Click .
-
Click and select .
Under , select .
Click .
-
-
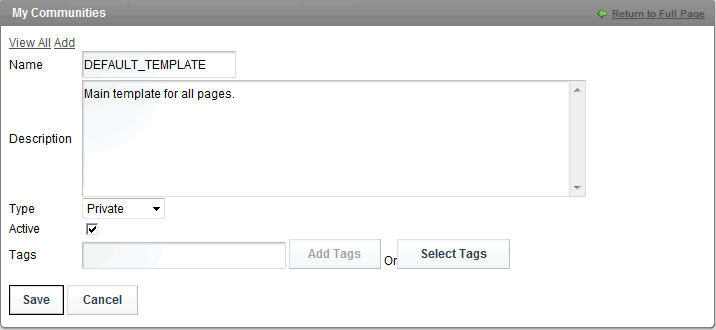
Name the community one of the following:
-
DEFAULT_TEMPLATE: to create a default template used by all types of communities.
-
OPEN_TEMPLATE: to create a template used by all open communities.
-
RESTRICTED_TEMPLATE: to create a template used by all restricted communities.
-
PRIVATE_TEMPLATE: to create the template used by all private communities.
-
-
Select for the community type.
-
Click .
-
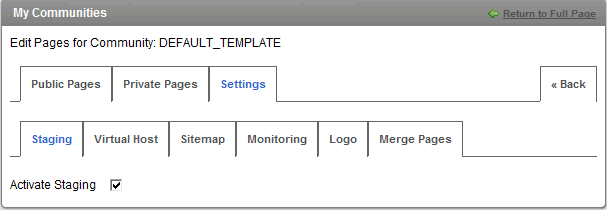
Click for the community template and select .
-
Click . The tab opens.
-
Select the check box.
-
Use the or tabs to create pages in the template and populate them with portlets.
Use to view the pages you are creating, to add portlets, and to change layouts. These pages will be surrounded by a red border. This indicates that you are working in a staging environment.
For more information about adding pages and portlets to a community, see Section 5.3, Adding Pages.
-
Any future communities that you create will have the same layouts and portlets as what you have defined based on the default template and any templates defined for that community type.
IMPORTANT:Never publish changes to a template; leave it always in staging mode.