2.6 Configuring Certificate Settings
Access Manager components and agents can access the keystore to retrieve certificates, keys, and trusted roots as needed.
When SSL VPN server is installed, it creates a test-connector certificate with the default DNS name of the SSL VPN server. However, if you have changed the default DNS name of the SSL VPN server, then you must create a new certificate and replace the test-connector.
The following instructions assume that you have already created a certificate. For more information on creating certificates, see Security and Certificate Management
in the Novell Access Manager 3.1 SP5 Administration Console Guide.
Before you proceed with the configuration, log in to the Administration Console, select , click the down arrow for the trusted root that you are interested in. Make sure that two SSL VPN trust stores are displayed. If they do not exist, you must manually push the certificates to the trust store.
NOTE:Make sure that SSL VPN certificate names contain only alphanumeric characters, space, underscore (_), hyphen (-), the at symbol @, and the dot (.).
-
In the Administration Console, select > > .
-
Select from the section.

-
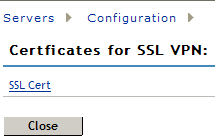
Click .

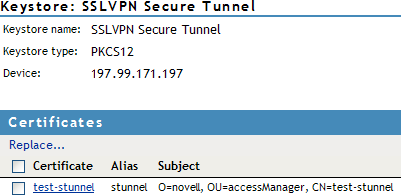
Certificates in the SSL VPN STunnel are used by SSL VPN services for encryption. This page contains the following information:
Keystore name: Displays the name of the keystore to which the certificate belongs.
Keystore type: Displays the type of keystore. It can be Java, PEM, or PKCS12.
Device: Displays the IP address of the SSL VPN device.
-
To replace the default certificate, click .

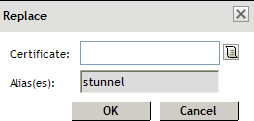
Fill in the following fields:
Certificates: Click the icon to browse and select the certificate that you want to associate with SSL VPN.
Alias(es): You can provide an alternate name for the certificate you are importing.
-
Click to save changes.
-
To save your modifications, click then click on the Configuration page