7.2 Creating a Community
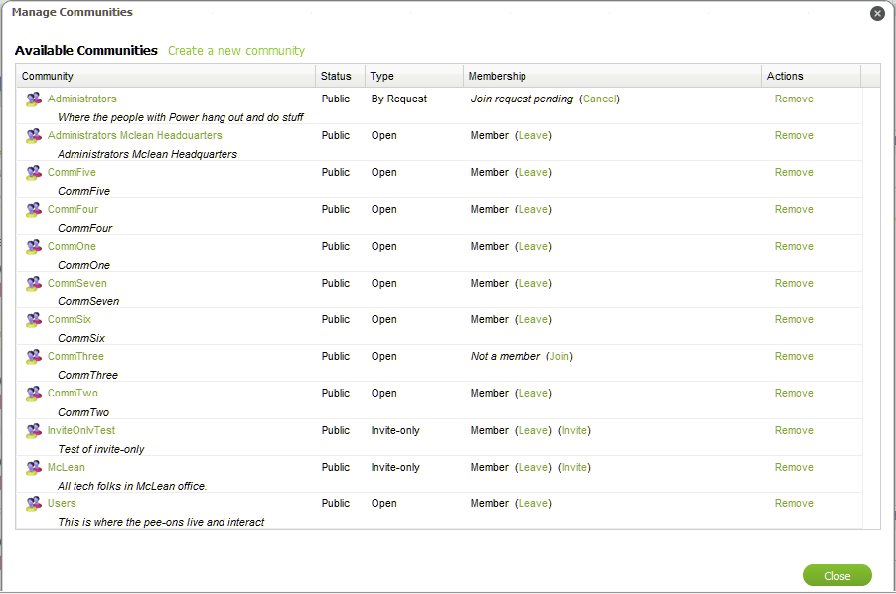
In Manage Communities, you’ll see a list of all public communities with information about membership status. You can also create a new community.
Figure 7-1 View all communities and manage your memberships
To create a community:
-
Click , then select to open the Manage Communities dialog box.
-
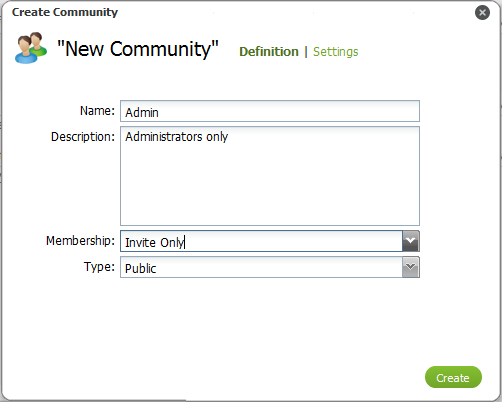
Click to open the Create Community dialog box:
-
Specify the name of the new community in the field.
-
Enter a description for the community in the field.
-
Select the rule for users to join from the drop-down list:
Open: The community is open and users can join at anytime. Open communities are always public.
By Request: The community only allows users to join by request. By Request communities are always public.
Invite Only: The community only allows users to join if they have received an invitation. Invite Only communities can be private or public.
-
Select the community type from the drop-down list.
Public: Users can see the community listed on the Communities page and in searches.
Private: The community is not visible to users and only applies to Invite Only communities. When a community is set to Private, it cannot be made Public later.
-
Click to set permission for the community, then select or deselect any of the following options:
-
Allow producers to move CIs into this community.
-
Allow producers to copy CIs into this community.
-
Allow producers to link CIs into this community.
-
-
Click to create the new community.