3.2 Configuring OAuth2 authentication for Google APIs
NOTE:The Google Developer Console and Administrative Console change frequently as Google implements new features or rolls out updates to various services. Your view may differ from the screen shots in this section.
3.2.1 Creating a Google Service Account
-
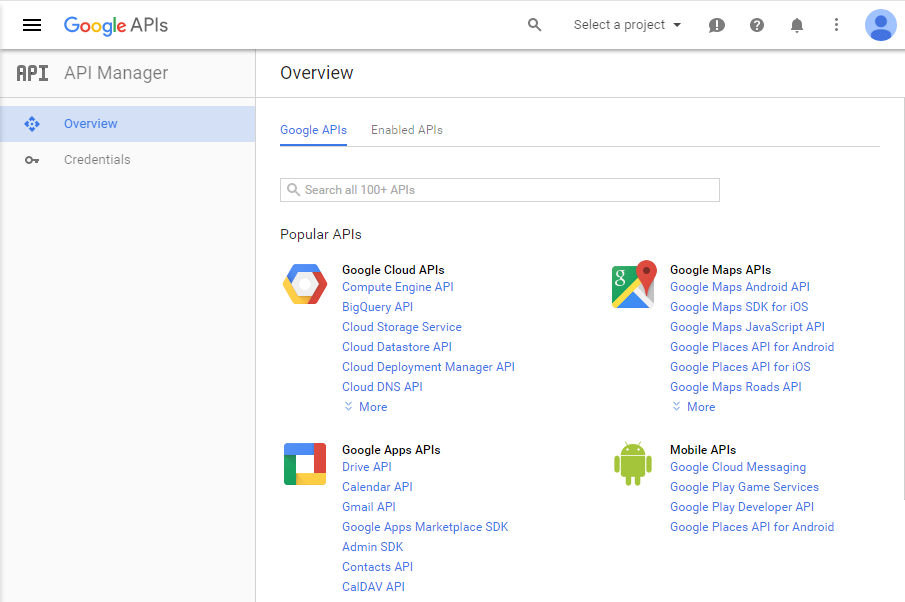
Go to Google Developer Console at http://console.developers.google.com/project
-
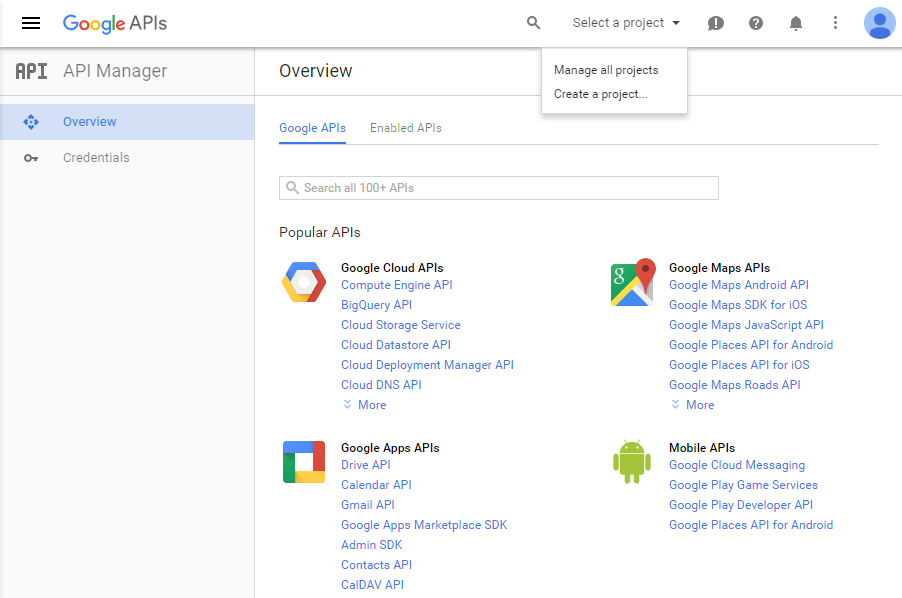
To create a new project, click on on the upper right side of the page.
NOTE:If you have already created projects, they will also be displayed in this drop-down list. You may pick an existing project to manage here.
-
Click on
-
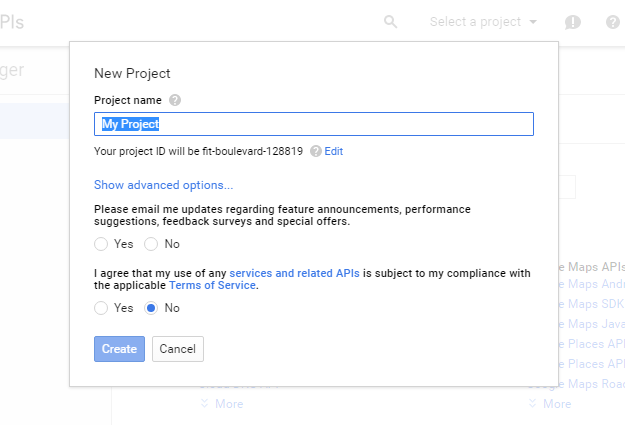
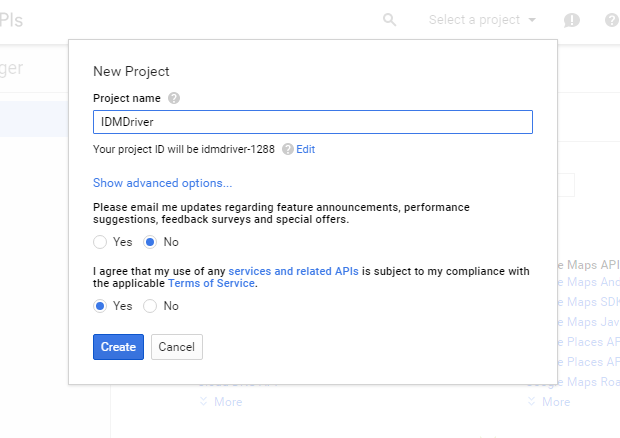
Fill in the field. The field will be generated by Google.
Clicking on will allow you to select a geographic App Engine location.
NOTE:The first time a project is created on a domain Google may display additional prompts, such as opting into API email lists or accepting API terms of service.
-
Click The new project may take 1 to 2 minutes to be created.
-
Once the new project has been created. The Developer Console will display options for the new project.
-
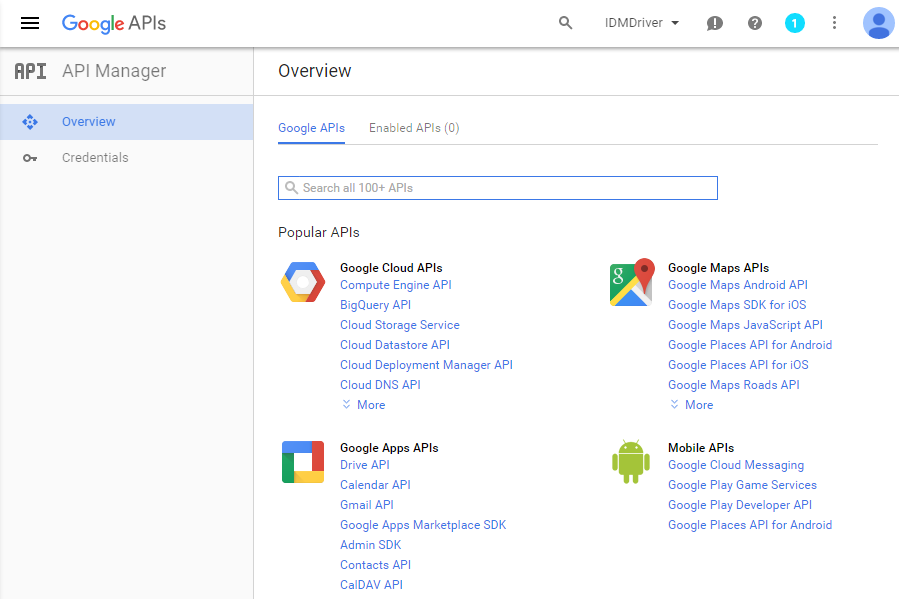
Click on under
-
Click on

-
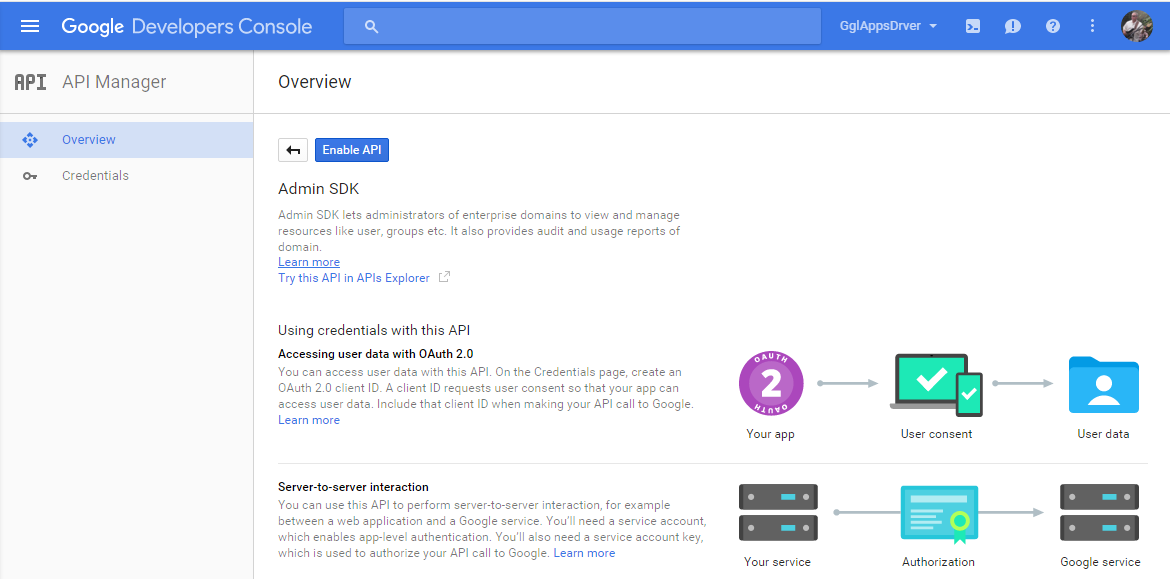
Click on to create credentials now.
-
The Google Apps driver accesses the Google Admin SDK via a Service Account Credential. Click on thelink under
-
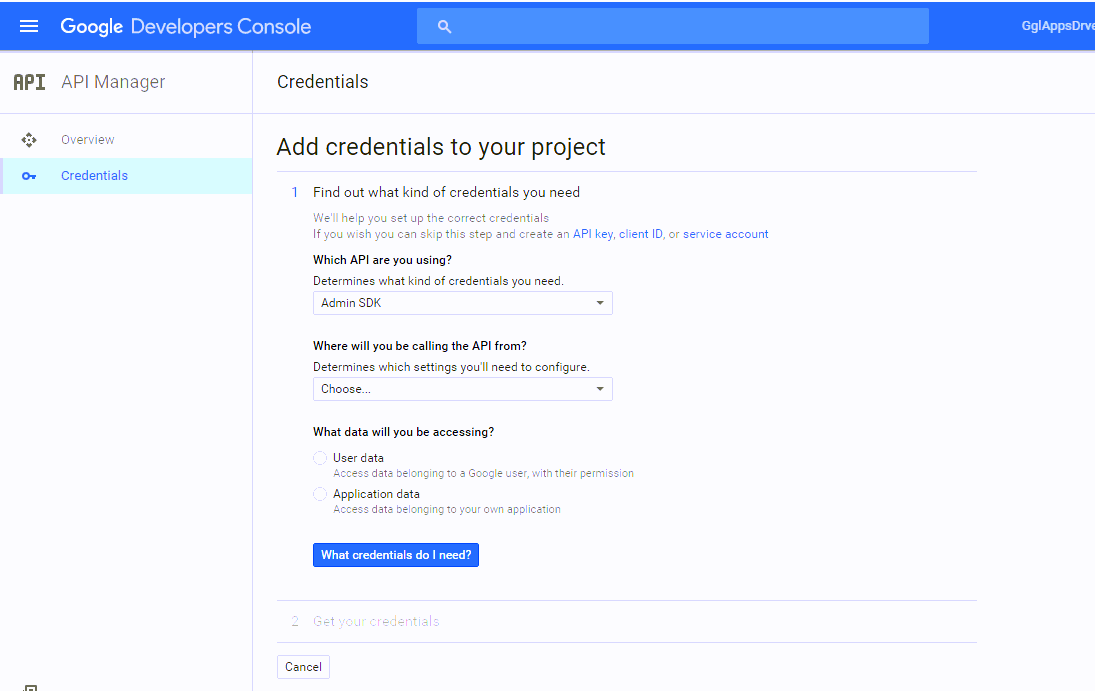
Click on
-
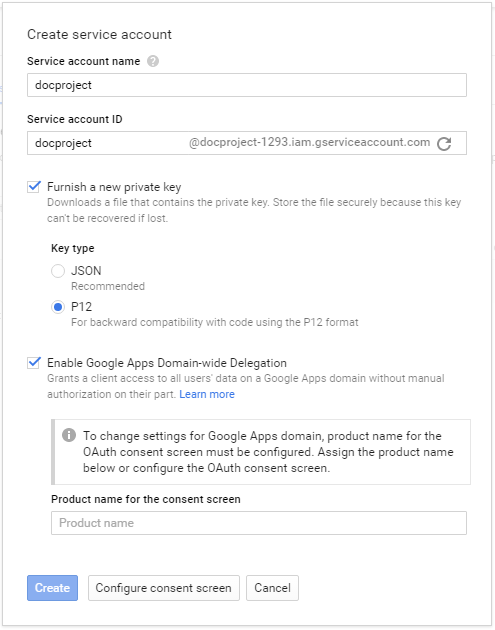
Enter the name you want to use for the service account.
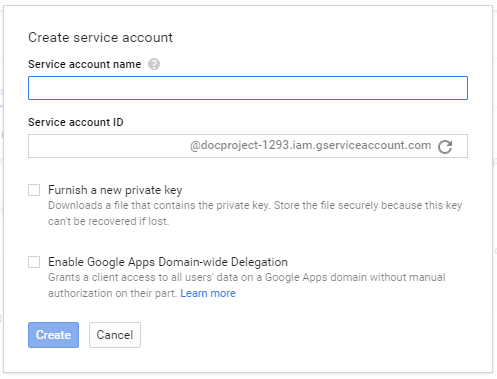
NOTE:Google automatically populates the value of the Service Account ID. You will need to save the value of the Service Account ID for use in configuring the driver.
-
Check the box for and select as the key type.
-
Check the box for
-
Enter a value for
-
Click
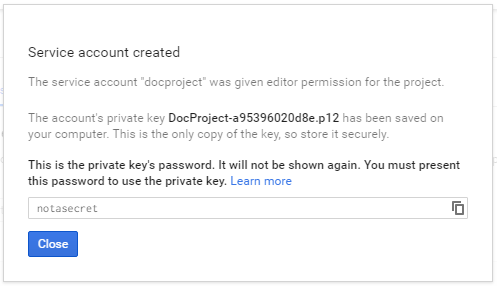
NOTE:As part of the service account creation process Google creates and downloads the P12 file for your service account to your computer. Please verify that a file with the name shown in the confirmation screen exists in your browser’s download folder.
-
Press
-
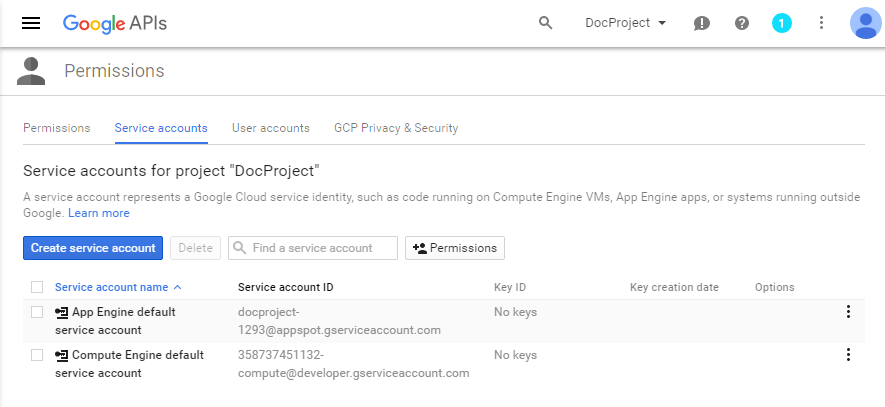
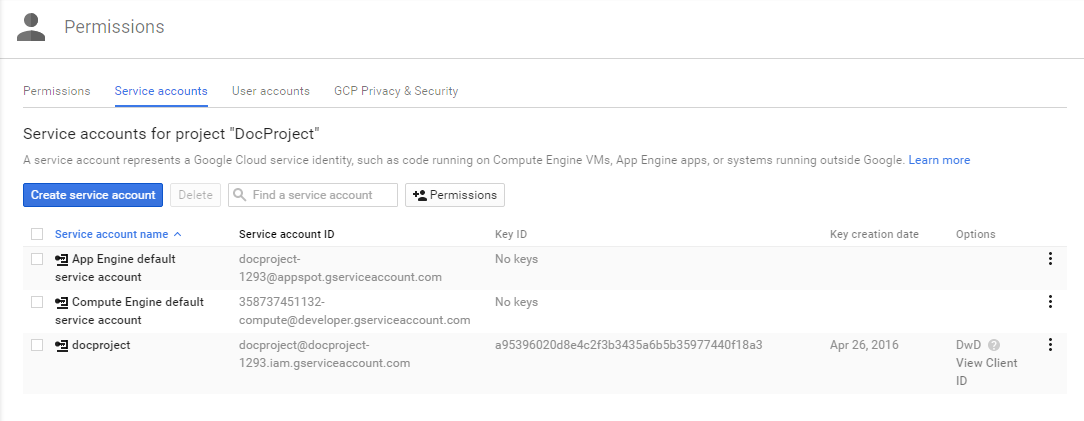
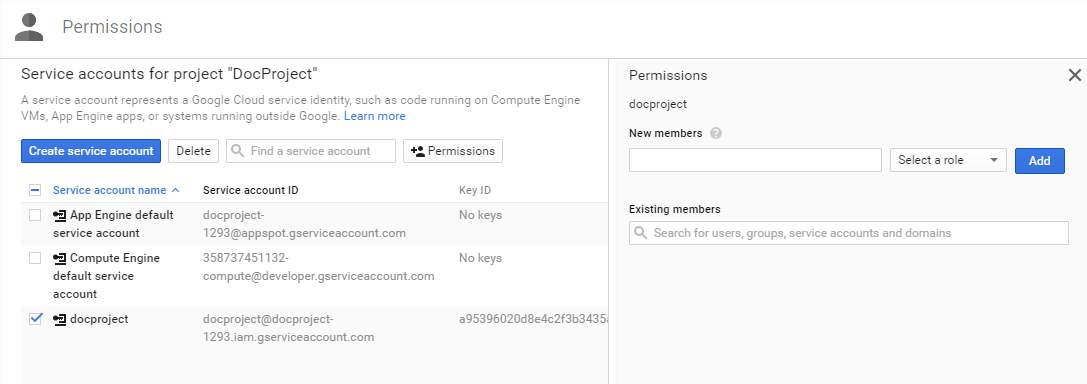
The service account is created and Google shows the Permissions screen for Service Accounts. You will need to have the Email address and Client ID shown on this page when configuring the driver.
-
Click on the button.
-
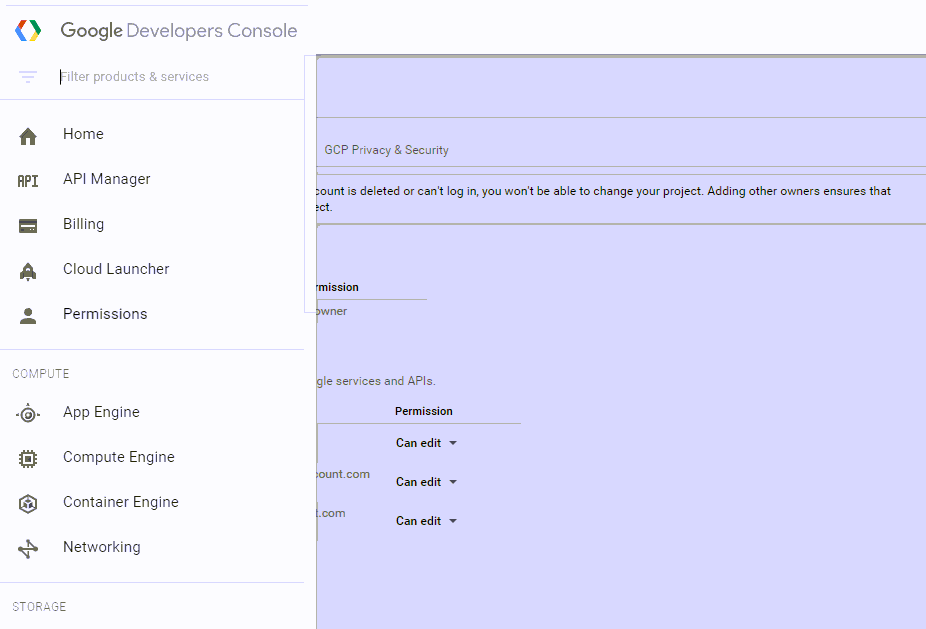
As a Best Practice, Google recommends that you create at least one additional owner for the project.
-
Enter the email address for the Google account to be added as owner in .
-
Click on the drop-down list and select a role. The options are . Select
-
Click
-
Return to enabling Google APIs required by the Google Driver. To do this click on the three horizontal lines to the left of
-
Select
-
-
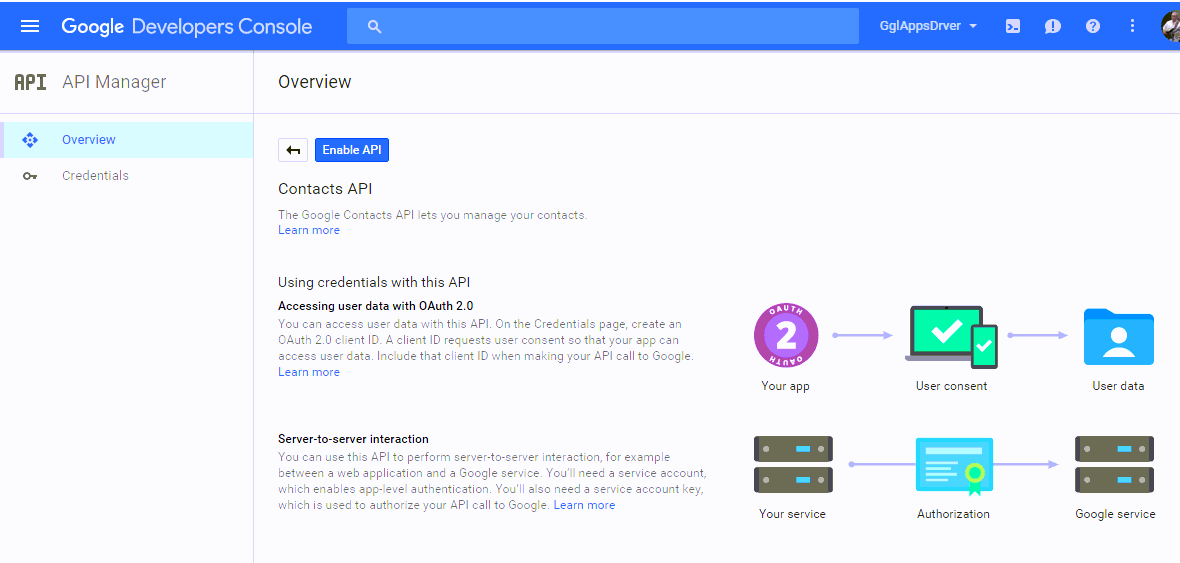
Continue enabling Google APIs

-
Select from
-
Click on to return to the list of Google APIs
-
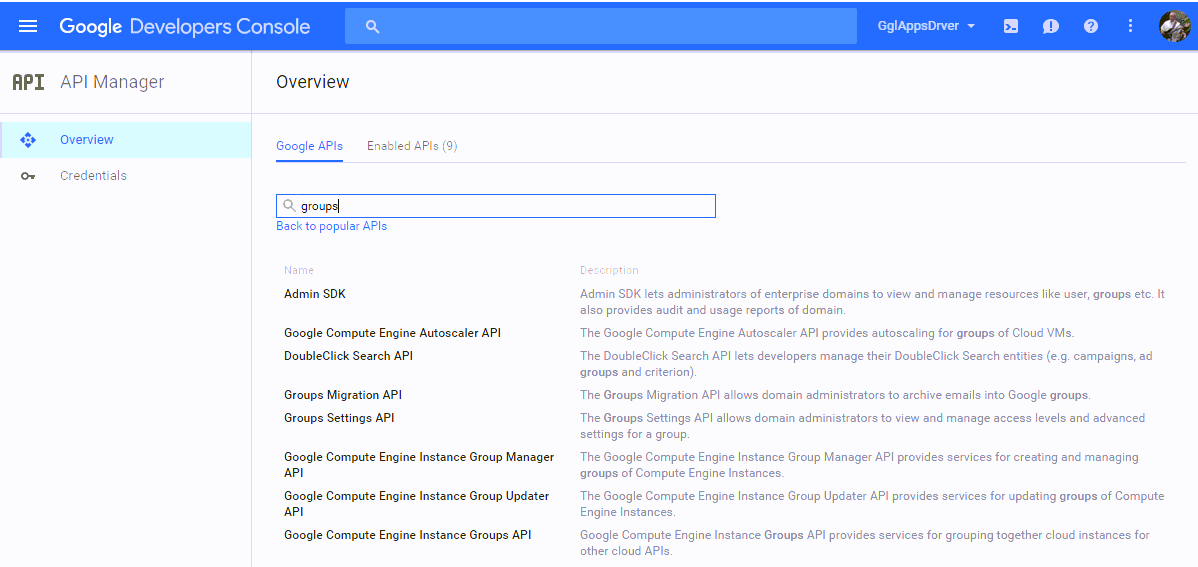
Click on
-
Search for the Groups Settings API by typing Groups in the control.
-
Select from the list of results.
-
Click on
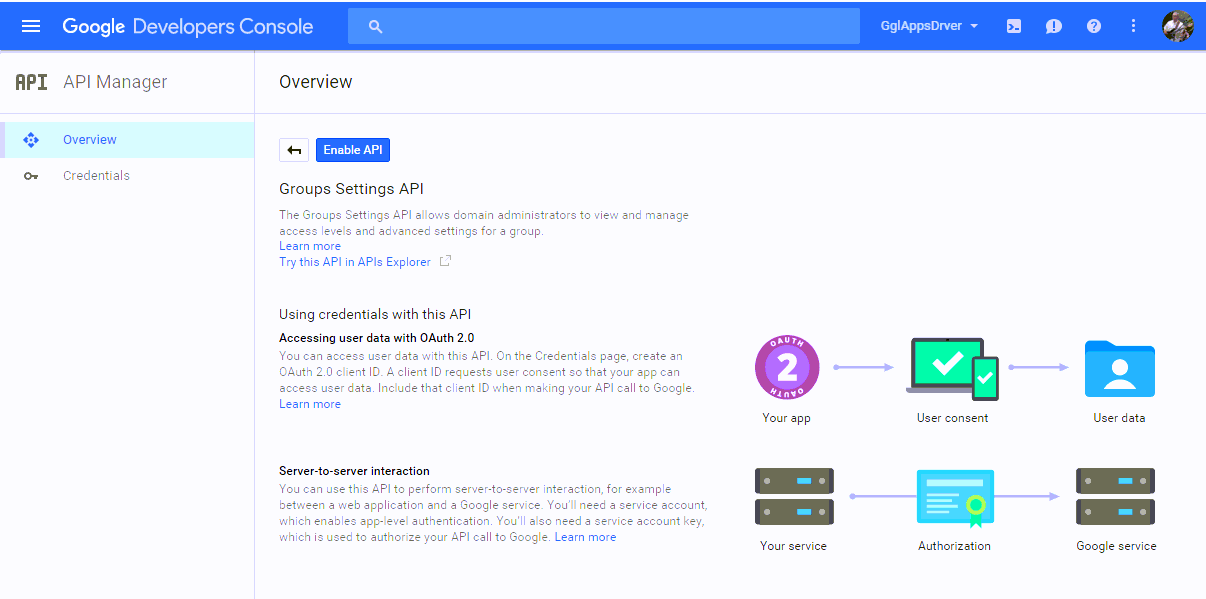
At this point the Service Account Credential to be used by the Google Driver is now created and the APIs required by the Google Driver have been enabled.
3.2.2 Delegate Domain-wide Administrative rights to the Google Service Account
-
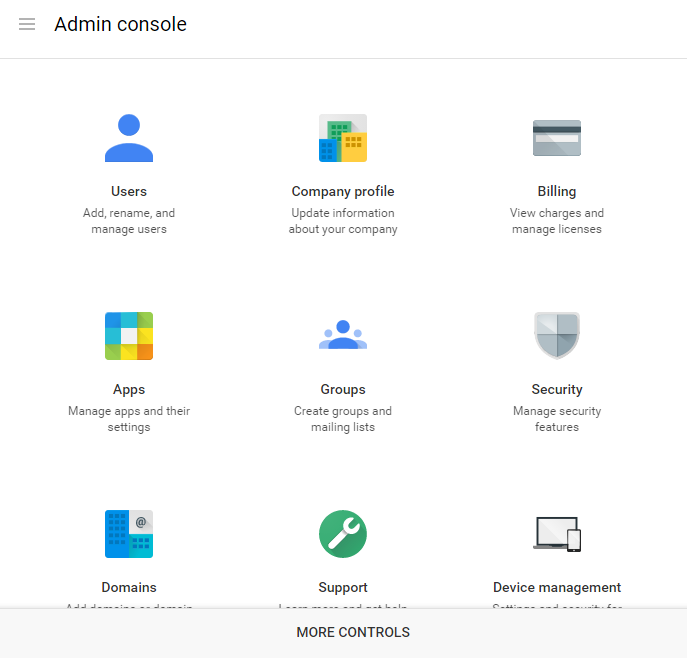
Go to the Google Administrative Console
-
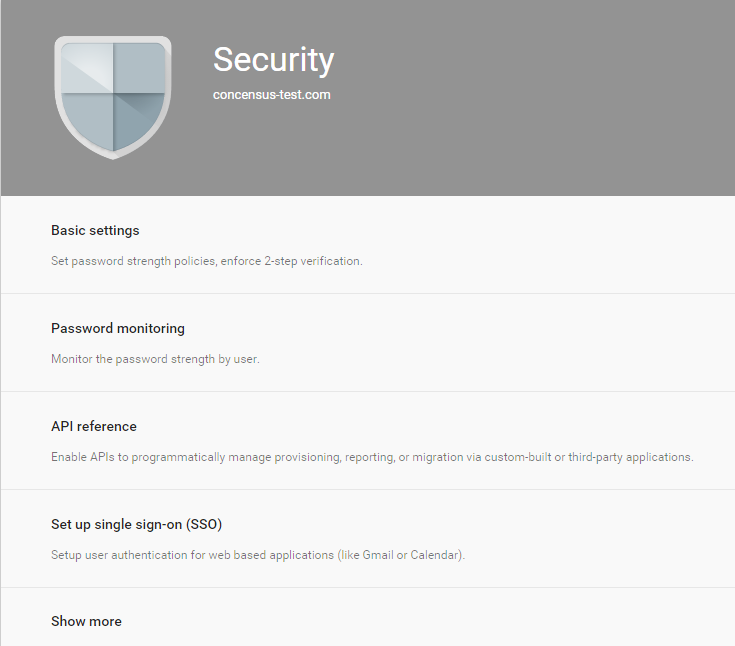
Click on the Security icon
-
Click If isn’t visible, click
-
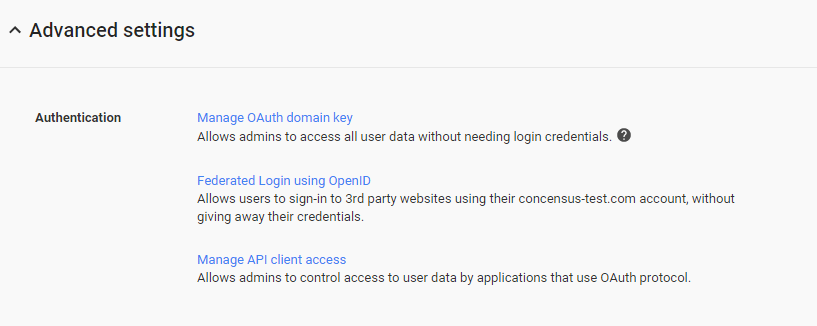
In the Advanced Settings tab, click under the Authentication tab.
-
Enter the value for the Client ID from the Service Account Credential in the Developer Console in the field.

-
Enter the list of scopes to authorize for the driver. The list of scopes shown below may not match the driver you are installing. Please refer to the list of scopes that is provided with the driver files in Directory Scopes.txt that comes in the Google Apps Driver download package.
https://www.googleapis.com/auth/admin.directory.group,https://www.googleapis.com/auth/admin.directory.group.member,https://www.googleapis.com/auth/admin.directory.orgunit,https://www.googleapis.com/auth/admin.directory.user,https://www.googleapis.com/auth/admin.directory.user.alias,https://www.googleapis.com/auth/admin.directory.user.security,https://www.googleapis.com/auth/admin.directory.userschema,https://www.googleapis.com/auth/admin.directory.userschema.readonly,https://www.googleapis.com/auth/userinfo.profile,https://www.googleapis.com/auth/userinfo.email,http://www.google.com/m8/feeds,https://www.googleapis.com/auth/contacts.readonly,https://www.googleapis.com/auth/apps.groups.settings,https://apps-apis.google.com/a/feeds/emailsettings/2.0/