12.4 Viewing and Editing Your Proxy Assignments
The action allows you to view your proxy assignments. If you are a Provisioning Administrator, Provisioning Manager, or Team Manager, you can also use this action to edit proxy assignments.
Only Provisioning Administrators, Provisioning Managers, and Team Managers can assign proxies, as described below:
-
The Provisioning Administrator and the Provisioning Manager have the ability to define proxy assignments for any user in the organization.
-
A Team Manager might have the ability to define proxy settings for users on his team, depending on how the team was defined. The proxies must also be within the team. To define a proxy, a Team Manager must use the action.
If a Team Manager needs to select a proxy who is not within the team, the manager must request that the Provisioning Administrator or Provisioning Manager define the proxy relationship.
12.4.1 Displaying Your Proxy Settings
-
Click in the group of actions.
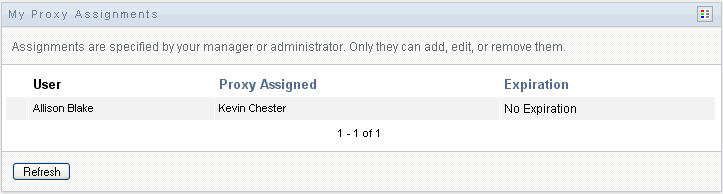
The User Application displays your current settings. The proxy assignments displayed are those that specify you as proxy for someone else, as well as those that specify someone else as proxy for you.
If you are not a Provisioning Administrator, Provisioning Manager, or Team Manager, you see a read-only view of your proxy assignments:
If you have administrative privileges, you are provided with buttons that let you create and edit proxy assignments.
-
To refresh the list, click .
12.4.2 Creating or Editing Proxy Assignments
-
To create a new proxy assignment, click .
-
To edit an existing proxy assignment, click next to the assignment:

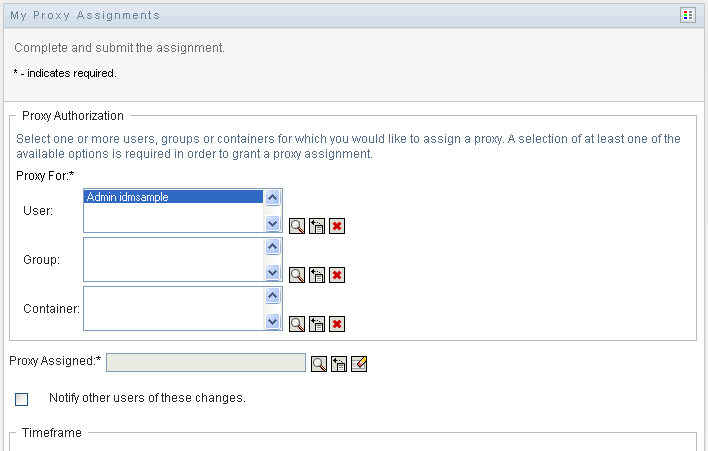
If you are the Provisioning Application Administrator, the User Application presents the following interface to allow you to define proxy assignments:
-
If you are a Provisioning Administrator, select one or more users, groups, and containers for which you want to define a proxy.
Use the or the tool to select a user, group, or container.
-
If you are a team manager, select one or more users for whom you want to define a proxy.
-
Specify a user to be the proxy in the field.
-
Specify when the time period ends by clicking one of the following:
Button
Description
Indicates that this proxy assignment does not expire.
Lets you specify the end date and time. You can type the date and time, or click the calendar button and select the date and time from the calendar.
-
Click to commit your changes.
12.4.3 Deleting Proxy Assignments
To delete an existing proxy assignment:
-
Click next to the assignment:

NOTE:The User Application does not log you out of proxy mode right after you change permissions for a proxy assignment. This allows you to change a value if you have made a mistake. Therefore, if you delete a proxy assignment while in proxy mode, you are still able to edit the proxy assignment and also work on the proxy user’s tasks even after removing the proxy assignment.