4.3 Creating the Role and Resource Service Driver
To create the Role and Resource Service Driver in Designer:
-
Select in the palette in the view:
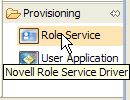
-
Drag the icon for onto the view.
Designer displays the .
-
Select and click .
NOTE:For the 4.0.2 release, you need to have version 2.0.0.20120509191258 of the Role and Resource Service Base package.
The wizard displays a screen that allows you to specify a name for the driver.
-
You can accept the default driver name, or change it if you like.
Press .
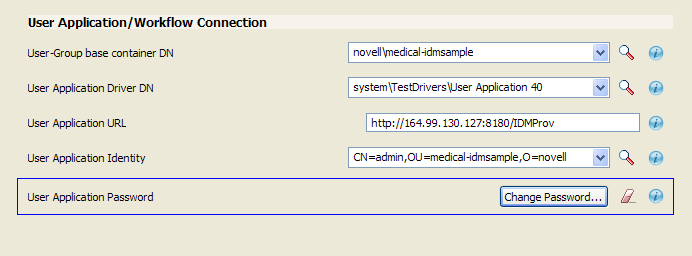
The wizard now displays a screen that allows you to specify the connection parameters for the driver.
NOTE:Because the Role and Resource Service Driver uses jClient, Identity Manager does not support using the Role and Resource Service Driver with the Remote Loader.
-
Specify the DN for the base container and the User Application Driver you just created. Since the driver has not yet been deployed, the browse function will not show the User Application Driver you just configured, so you may need to type the DN for the driver.
Also, provide the URL for the User Application, along with the ID and password for the User Application Administrator:
Click .
The wizard now displays the screen.
-
If everything looks correct, click .
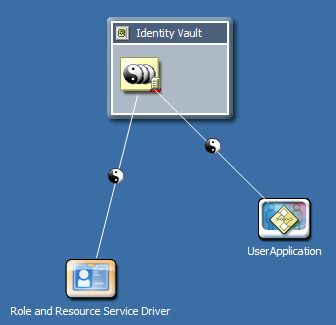
Designer adds the driver to the view: