F.11 Support for Migrating Legacy Workflow Forms to the Forms Created in the Workflow Form Builder
Currently, there is no tool to migrate the legacy forms to the new forms. The only way to accomplish it is by manually creating a new form in the Form Builder and then mapping the data items of the existing form to the new form.
-
Take a backup of the legacy Provisioning Request Definition by making a copy of the workflow and/or exporting the Provisioning Request Definition to a file.
-
Create a new form in the Workflow Form Builder.
-
Open the Provisioning view, right-click under the User Application driver and select .
The New Workflow Forms dialog is displayed.
-
Provide the and click . The Form Builder is launched.

-
Create and save the form. For more information, see NetIQ Identity Manager - User’s Guide to Form Builder.
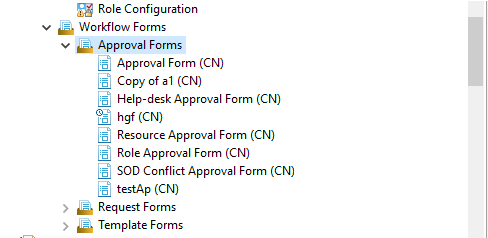
The form is saved in same location in the Workflow Forms container under the type of the form that you chose to create. For example, an approval form is saved under Approval Forms container.
-
-
Associate the new form with your existing workflow.
-
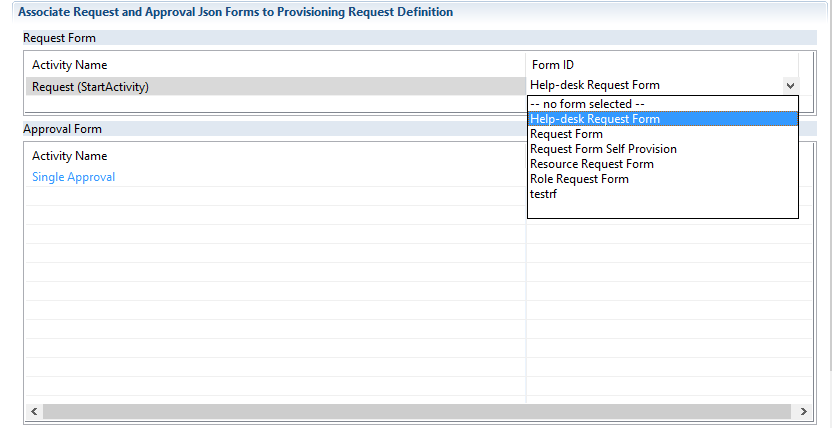
In the Provisioning Request Definition editor, click the tab.
-
For the Workflow activity that will use the new form, select the form that you created from the column.
-
-
In the Workflow tab, right click the Start activity icon or the activity icon to which you wish to associate the form to display the Data Item Mapping view for the selected activity.
The values in the Target Form Field are prepopulated from the new form.
-
Deploy the provisioning request definition and form to the Identity Vault from Designer. The form is saved in the Workflow Forms container in the User Application driver.