3.7 Customizing the Report in Jaspersoft Studio
-
In Jaspersoft Studio, open the new JRXML file that you generated by using the Report Packaging Tool.
The JRXML file should be located in the IDM/6.1 subdirectory under the directory where when you created the report template.
-
After you have opened the report in Jaspersoft Studio, you can make the necessary customizations:
-
Define a SQL query to get the data for your report.
To provide data for your custom reports, you need to use database views. The core database views that ship with the product include both current state and history information for reporting. In addition to these views, there is a separate set of views that includes only the current state information, thereby providing a slight improvement in reporting performance. For example, the
idmrpt_approver_v
view provides both current state and history information, whereas theidmrpt_approver_cs_v
view provides just the current state information. The structure of the two views is identical, so the columns used are exactly the same. Only the view names are different. The name for each current state view includes_cs
before the_v
suffix.For most applications, you can use the views that provide both current state and history information.
NOTE:You can only use views in custom reports. If you use your root username to log into the database, Jaspersoft Studio will let you select data from the tables. However, the report will fail when you deploy it and try to run it.
-
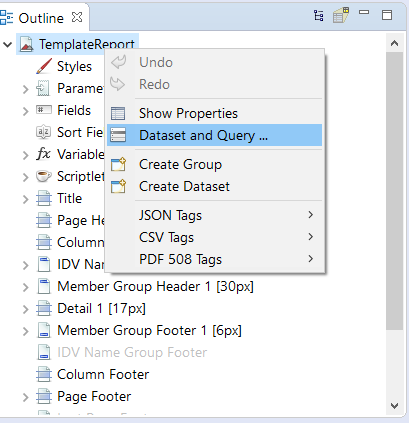
To define the SQL query for a report, right-click on TemplateReport.jrxml in the Outline tab. Click the Database and Query ... option to open the Dataset page.
-
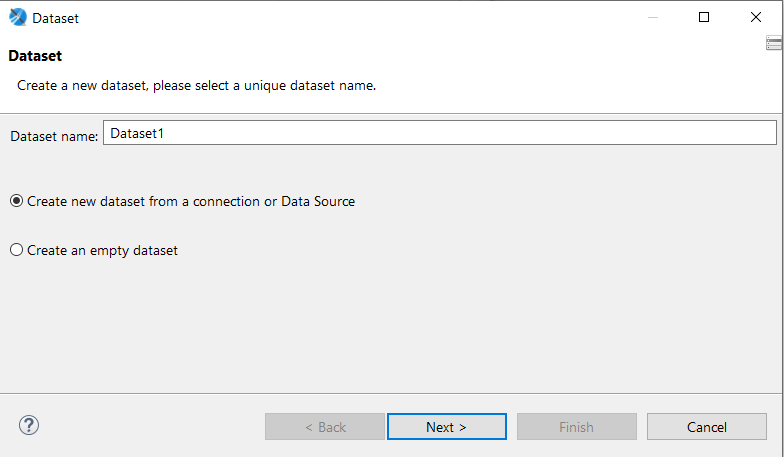
Specify a Dataset name, select the Create new dataset from a connection or Data Source option, and then click Next to advance to the Data Source page.
-
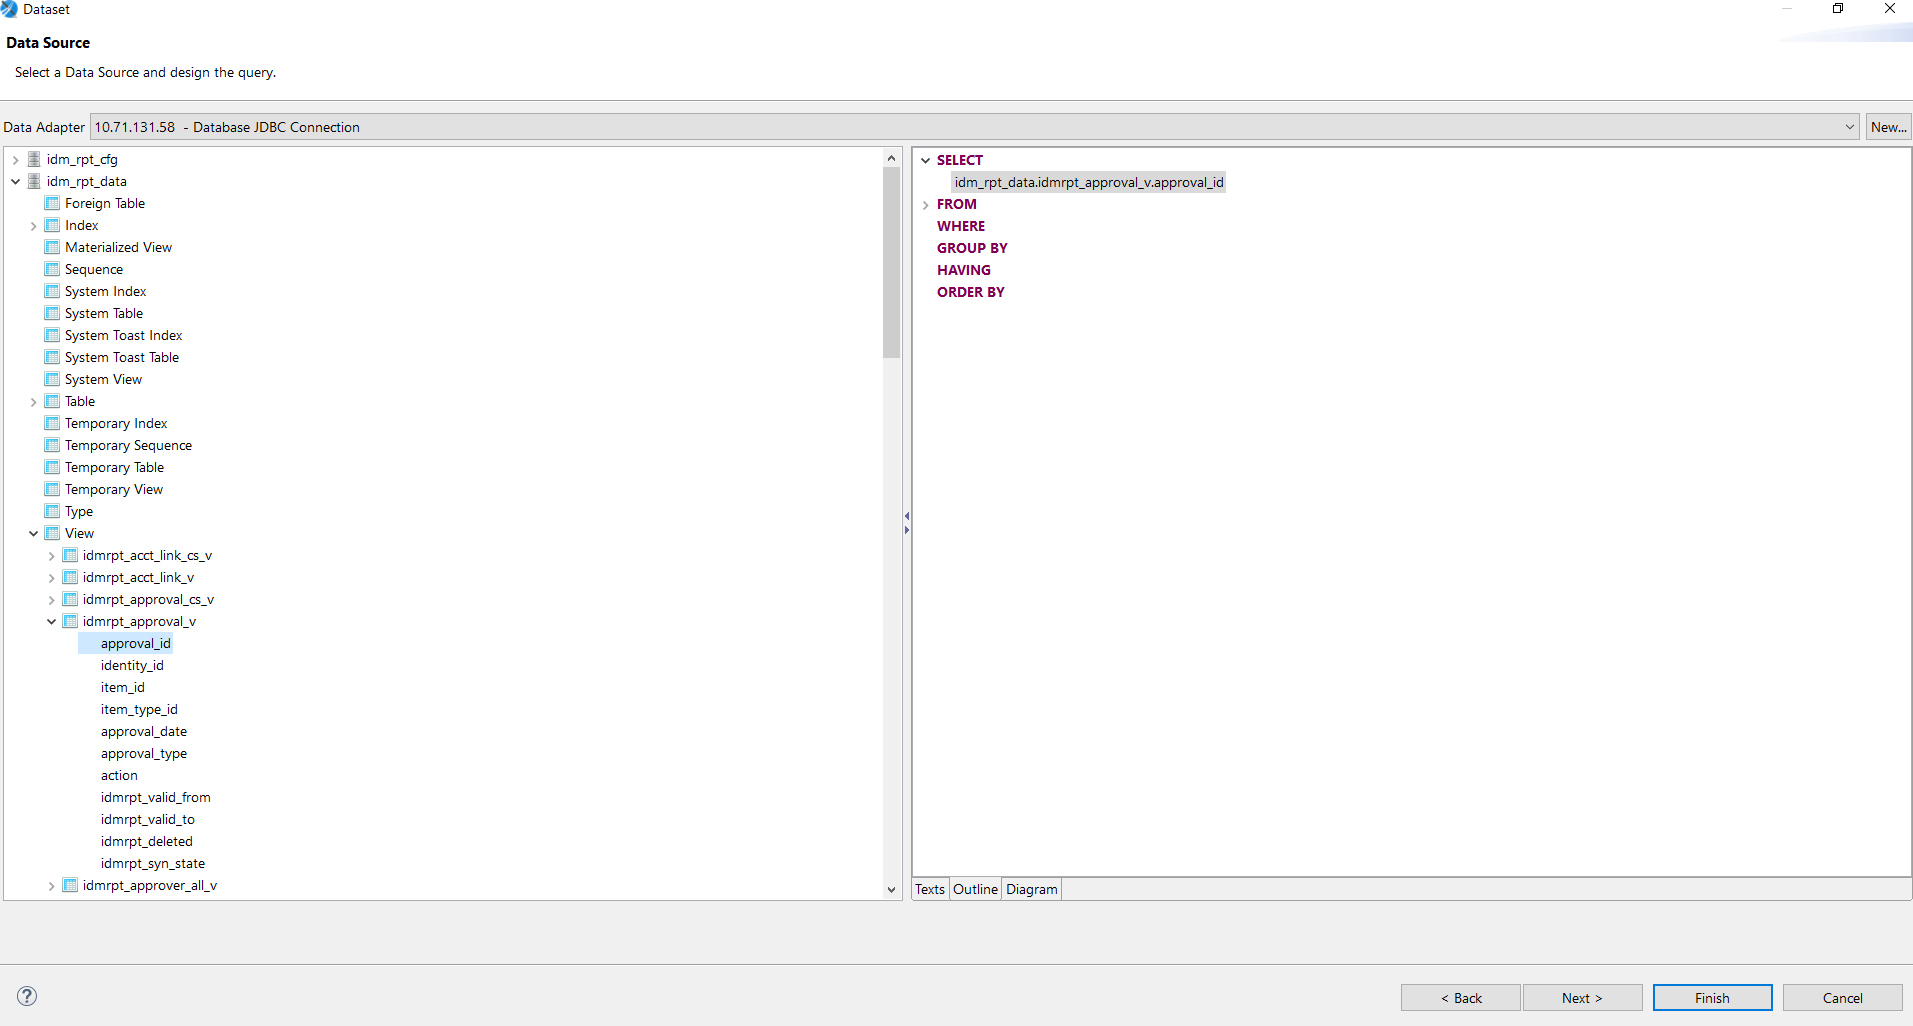
Select the Data Adapter that you have created while configuring JDBC Connection in the beginning and then expand the content of database. After expanding the views and tables, drag the fields to the SELECT query. Customize the SQL query and click the Finish button.
-
-
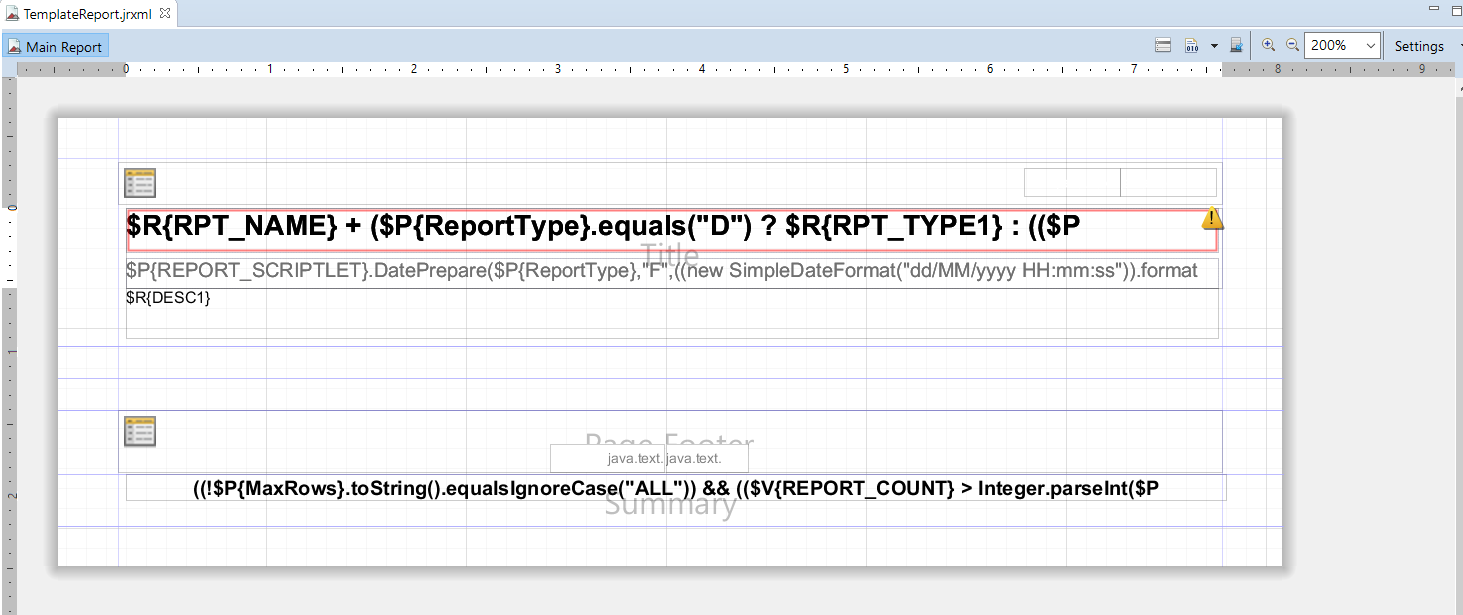
Define the report layout.
To define the report layout, you need to add elements to the report definition. Jaspersoft Studio supports many different types of report elements. You can choose the elements you need from the section of the .
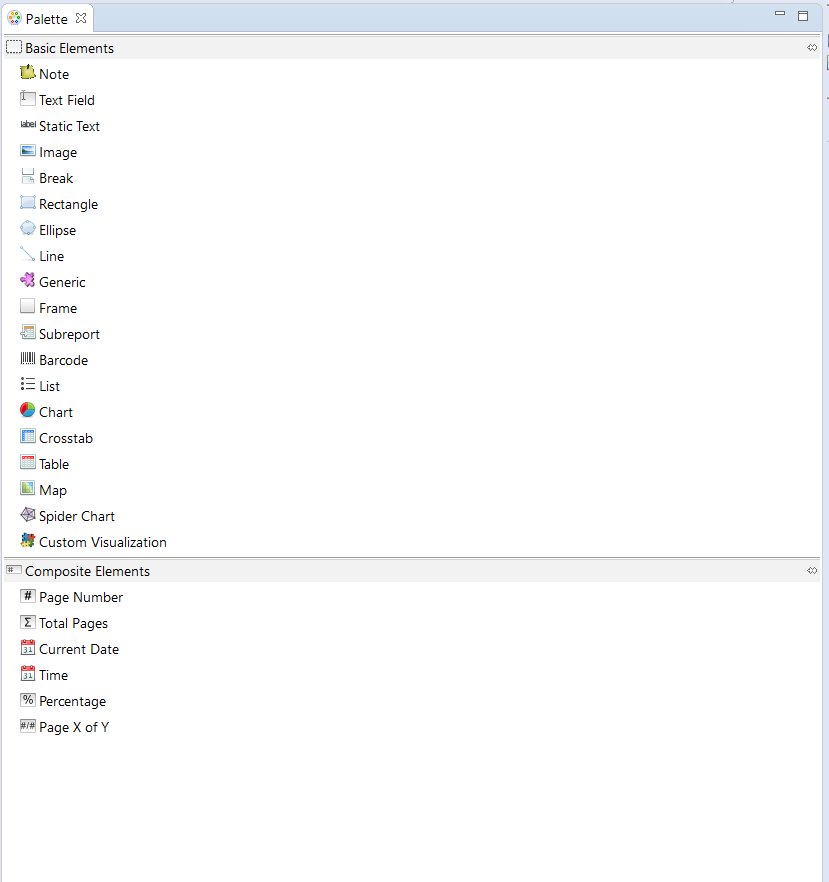
For example, to add a column header, drag the icon from the onto the header band of the report layout canvas.
To add a data field, drag the field name from the node in the onto the detail band of the report layout canvas.
When you drag a field onto a report, Jaspersoft Studio creates an expression to bind the display element to the appropriate database value.
Once you’ve added the fields you need, you can format the fields to suit your requirements by stretching them or moving them on the report canvas.
-
-
Save your report.
After saving your report, you need to package the report before you can import or deploy it. For details on packaging the report, see Building Your Report.