2.2 Installing the Method
Installation consists of installing the method on the eDirectory server and on the client workstations.
2.2.1 eDirectory Server - Method Installation
The method is installed using iManager.
-
Log in to iManager as an Administrator.
-
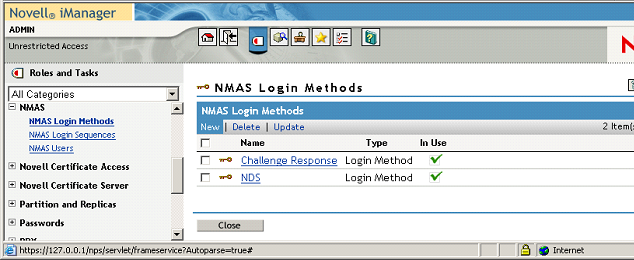
From Roles and Tasks, select , then select .
Figure 2-1 New Login Method
-
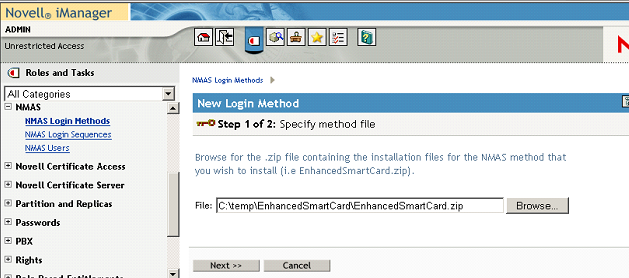
Click and select the EnhancedSmartCard.zip file that comes with the method.
This zip file contains the server components and the iManager components.
Figure 2-2 Specify Method File
-
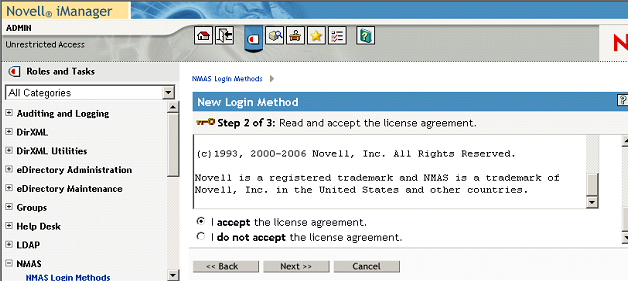
Read and accept the license agreement.
Figure 2-3 License Agreement
-
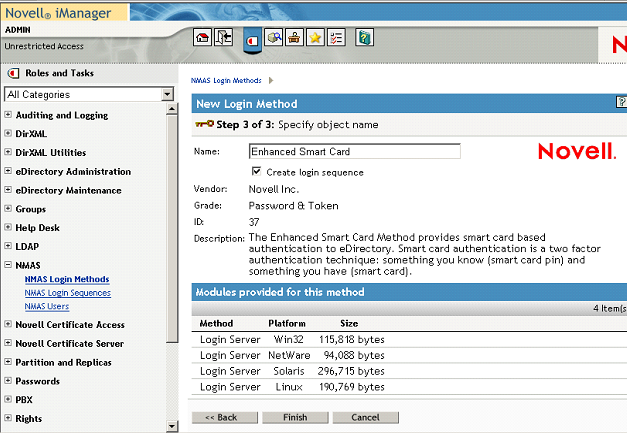
Review the method information and modify the values as needed.
If you don’t change the name, the default name (Enhanced Smart Card) is used for the method and login sequence name.
Figure 2-4 Review Screen
-
Click .
-
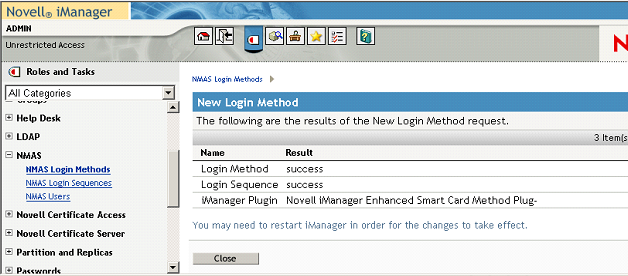
Review the installation summary page, then click .
Figure 2-5 Summary Screen
-
Restart iManager to ensure that the plug‑in is enabled.
2.2.2 Client Workstation Installation
The method must be installed on each workstation.
-
Log in to each workstation as an Administrator.
-
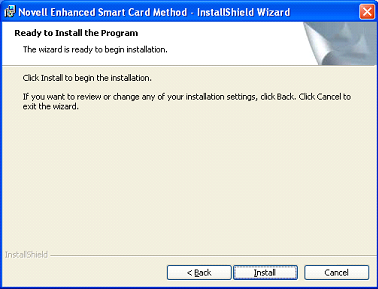
Run Setup.exe.
This installation program is located in the ...\enhancedsmartcard\client directory.
-
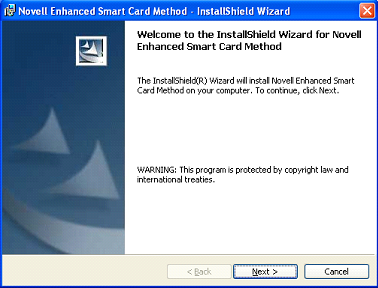
Review the Welcome Screen, then click
Figure 2-6 Welcome Screen
-
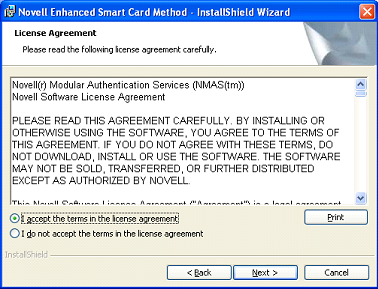
Accept the License Agreement, then click .
Figure 2-7 License Agreement
-
Choose whether you need disconnected support, then click .
Disconnected support allows you to log in to the workstation locally using the smart card.
Figure 2-8 Disconnected Support Page

-
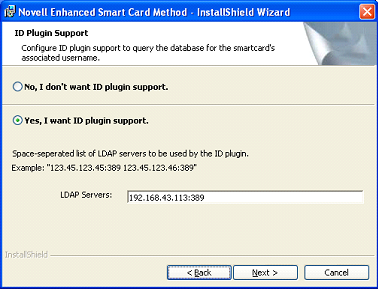
If you want ID Plugin support, select and specify the LDAP server’s DNS name or IP address, then click .
Figure 2-9 ID Plugin Support Page
-
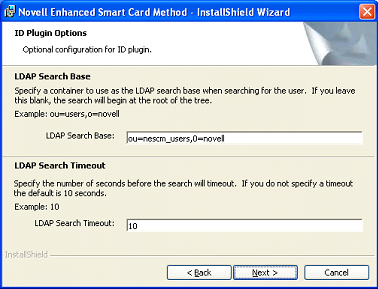
(Conditional) If you selected ID Plugin support, you must also specify the container to search and the search timeout period, then click .
The ID Plugin will do a sub-tree search starting at the specified base.
Figure 2-10 ID Plugin Options Page
-
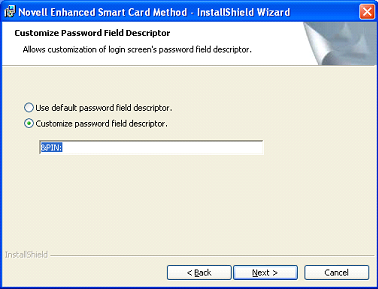
To use a custom password field description, select and type the custom description, then click .
Use an ampersand (&) in the description to enable Windows’ Alt+letter functionality. In the example below, Alt+P would place focus on the field labeled with the “PIN:” description.
Figure 2-11 Customized Password Field Description
-
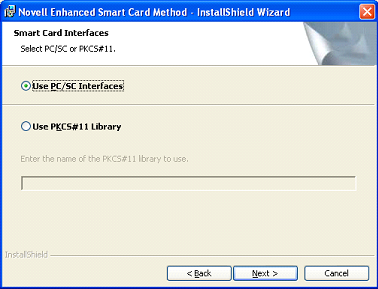
Select the communication interface the method will use to connect to the smart card, then click .
PC/SC functionality is the preferred interface. Select PKCS#11 if you know the smart card middleware does not integrate with the Windows PC/SC functionality. If you select PKCS#11, you must also specify a name of the module that is to be used.
Figure 2-12 Smart Card Interfaces Page
-
Click .
You can distribute the method to each workstation automatically using tools such as Zenworks®. See Section A.0, Silent Method Installation on Workstations for detailed information about scripting the method install.
Figure 2-13 Installation Screen