6.1 Discovering VM Hosts and Repositories
-
Ensure that the policies appropriate to the VM technology are configured. For more information, see
Orchestration Provisioning Adapters
in the Cloud Manager Administrator Reference.For vSphere, the default number of slots is 4. We recommend that you increase this number to 10, depending on the hardware and available computing resources (RAM/CPU) of the server where the agent is running (this is also the server associated with the vsphere_client policy). Each joblet slot causes a separate Java instance on this resource. Each Java instance uses 50-60 MB of RAM and is quite CPU-intensive.
For more information on the policies, see
Orchestration Provisioning Adapters
in the Cloud Manager Administrator Reference. -
Ensure that you have set the correct number of joblet slots for the VM hosts in the policies appropriate to the VM technology. For more information, see Joblet Slots in the Cloud Manager Administrator Reference.
-
In the Orchestration Console, click > .
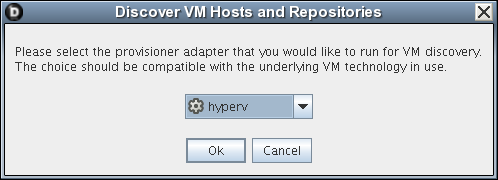
The Discover VM Hosts and Repositories dialog is displayed.
-
Select your provisioning adapter from the drop-down list.
-
Click .
-
Click to view the section in the Orchestration Console and verify that the job has started.
After your VM host machines are discovered, you can refresh your tree view or wait for the automatic tree refresh to see the VM host machine listed under the provisioning adapter, although no VMs are listed.
This also discovers:
-
Local repositories for all types of hypervisors.
-
SAN and NAS repositories for vSphere.
To view the discovered repositories, click , then click .
For a list of the supported guest operating systems supported by both Cloud Manager and vSphere, see
Requirements and Cloud Manager Support for the Virtual Environment
in the Cloud Manager Installation and Upgrade Guide. -